


Why Your Basic Label Isn't Enough
A label that just says “Chicken Soup, May 2026” is a job half-done. It solves the mystery of what the food is, but it creates new questions for your future self. Should you thaw it first? Can it go in the microwave? Does it need to be baked in the oven,
and if so, at what temperature and for how long? Answering these questions on a busy weeknight defeats the purpose of having a convenient, pre-made meal. Without proper instructions, you risk ruining the texture and flavour of the food you worked so hard to preserve. This uncertainty can lead to meals that are rubbery, dry, or unevenly heated, and often results in perfectly good food being thrown away.
The Power of a Perfect Freezer Label
The goal of a freezer meal is to make life easier, and a detailed label is your instruction manual for future success. Adding reheating notes is a simple act of kindness to your future self. It removes the guesswork, saves precious time, and ensures a better-tasting meal. This simple step transforms a frozen block into a predictable, delicious dinner. It’s also incredibly helpful for other members of the household. If someone else is handling dinner, they won't have to interrupt you to ask for instructions. It’s a small system that fosters independence in the kitchen and makes mealtime run more smoothly.
What to Write on Every Label
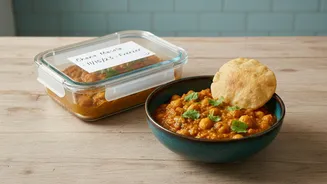
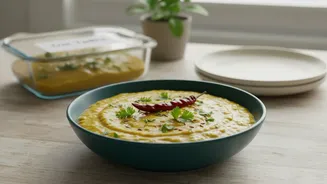
To create the ultimate freezer label, you need more than just the dish's name. Think of it as a complete guide for the person reheating it. Every great label should include five key pieces of information. First, the name of the dish. Be specific—is it “Spicy Chicken Curry” or “Mild Lentil Soup”? Second, the date it was frozen, which helps you use older items first. Third, the number of servings. This prevents you from thawing a family-sized lasagna for one person. Fourth, the best reheating method, like oven, stovetop, or microwave. Finally, and most importantly, include specific instructions: temperature, time, and any extra steps like “thaw overnight in the fridge,” “remove lid before heating,” or “add a splash of water before microwaving.”
Tailoring Instructions to the Meal
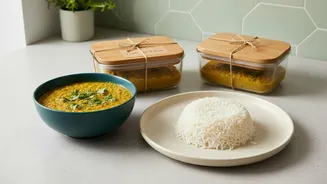
Different foods require different reheating methods to restore their original texture and taste. Soups, stews, and sauces are often best reheated gently on the stovetop over medium heat to prevent them from scorching. For casseroles like lasagna or baked ziti, the oven is your best friend; reheating at around 175°C ensures the centre gets hot without drying out the edges. Covering the dish with foil can help retain moisture. For grains like rice or quinoa, the microwave works well, especially if you add a tablespoon of water and cover the container to create steam. For burritos, thawing first and then baking can yield a great result, while a microwave is faster if you're short on time. The key is to think about how the food was originally cooked and aim to replicate that process.
Tools for the Job
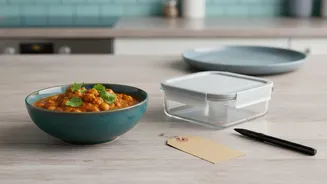
Your detailed label is useless if it peels off or the ink smudges. Regular labels and pens often fail in the cold, moist environment of a freezer. The adhesive can become brittle and the ink can smear. For a reliable, low-cost option, use masking tape and a permanent marker. Be sure to write on the label before applying it to a cold or frozen container. For reusable containers, you might consider dissolvable labels that wash away easily, or reusable erasable labels paired with chalk markers. Freezer-grade labels are specifically designed with an adhesive that remains flexible at low temperatures, ensuring your instructions stay put. Whatever you choose, the most important thing is that it survives the freeze so your instructions are clear and legible when you need them most.