



Why Smartphone Scans Lack Clarity
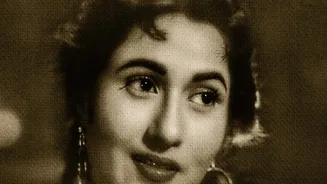
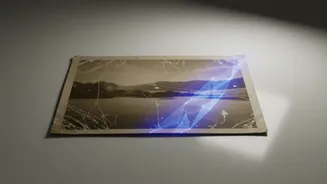
Before diving into the solution, it helps to understand the problem. When you take a picture of an old photograph with your smartphone, several issues can degrade its quality. The original print may have faded colours, scratches, or tears from age. The lighting
when you scan it might be uneven, creating glare or shadows. Furthermore, the camera's sensor, combined with the slight shake of your hand, often results in a digital copy that is blurry, noisy, or lower in resolution than the original print. These digital flaws are precisely what modern AI tools are designed to fix, often with just a single click.
The Magic of AI Photo Restoration
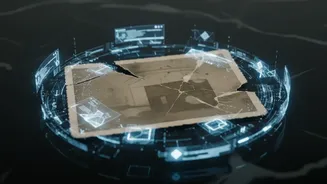
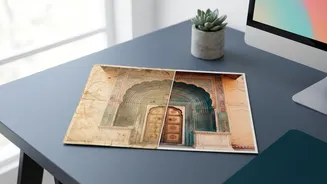
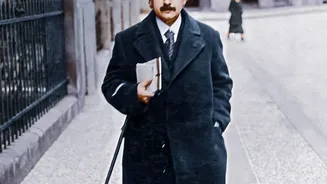
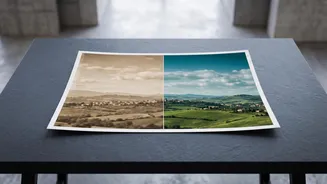
AI photo restoration tools use complex algorithms trained on millions of images. This training allows them to intelligently analyze your photo and make improvements that would have once required hours of manual work. They can identify and remove scratches, reduce digital noise, and correct faded colours. More impressively, they can 'upscale' an image, which means increasing its resolution while realistically reconstructing details like facial features, textures, and sharp edges. The AI essentially predicts what missing or blurry details should look like, resulting in a clearer, more vibrant final image.
Choosing Your AI Enhancement Tool
A wide range of AI photo enhancers are available, from simple mobile apps to more powerful desktop software. For beginners and quick fixes, web-based tools and mobile apps are fantastic. Tools like Remini, MyHeritage, and Fotor are popular for their user-friendly, one-click enhancements. Many are free to try or offer affordable subscription plans. For instance, Remini is a strong mobile choice, while MyHeritage is great if you're also interested in genealogy. Platforms like Canva and Picsart have also integrated easy-to-use AI restoration features into their editors. For those wanting more control, desktop applications like Adobe Photoshop now include powerful AI features, often called 'neural filters', while dedicated programs like Topaz Photo AI offer advanced noise reduction and sharpening for professional-level results.
A Simple Step-by-Step Enhancement Guide
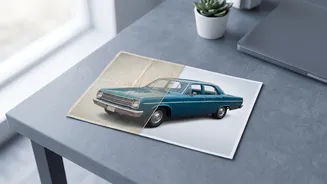
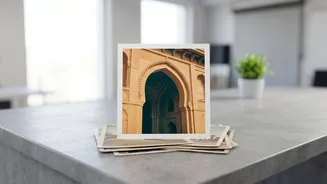
While every tool is slightly different, the basic workflow is remarkably consistent and simple. First, start with the best possible scan you can manage; good lighting and a steady hand go a long way. Next, upload your selected image to your chosen AI tool, whether it's a website or an app. You will typically see options like 'Enhance', 'Restore', or 'Upscale'. Select the function that best matches your goal. The AI will process the image, which usually takes a few seconds to a minute. Most tools will present you with a before-and-after comparison, allowing you to judge the result. If you're happy with the enhancement, you can then download and save your newly restored memory.
Tips for Achieving Natural-Looking Results
AI is powerful, but it's not perfect. To get the best results, it's wise to manage your expectations. Severely damaged or extremely blurry photos may not be fully recoverable. When using an enhancement tool, avoid over-processing. Some tools have intensity sliders; a gentler enhancement often looks more authentic and less 'artificial'. For particularly tricky photos, you might even combine tools—for example, using one app for scratch removal and another for colourisation. Finally, once you have your enhanced photos, be sure to back them up. Store them in the cloud and on a physical drive to ensure your newly restored family history is preserved for generations to come.