




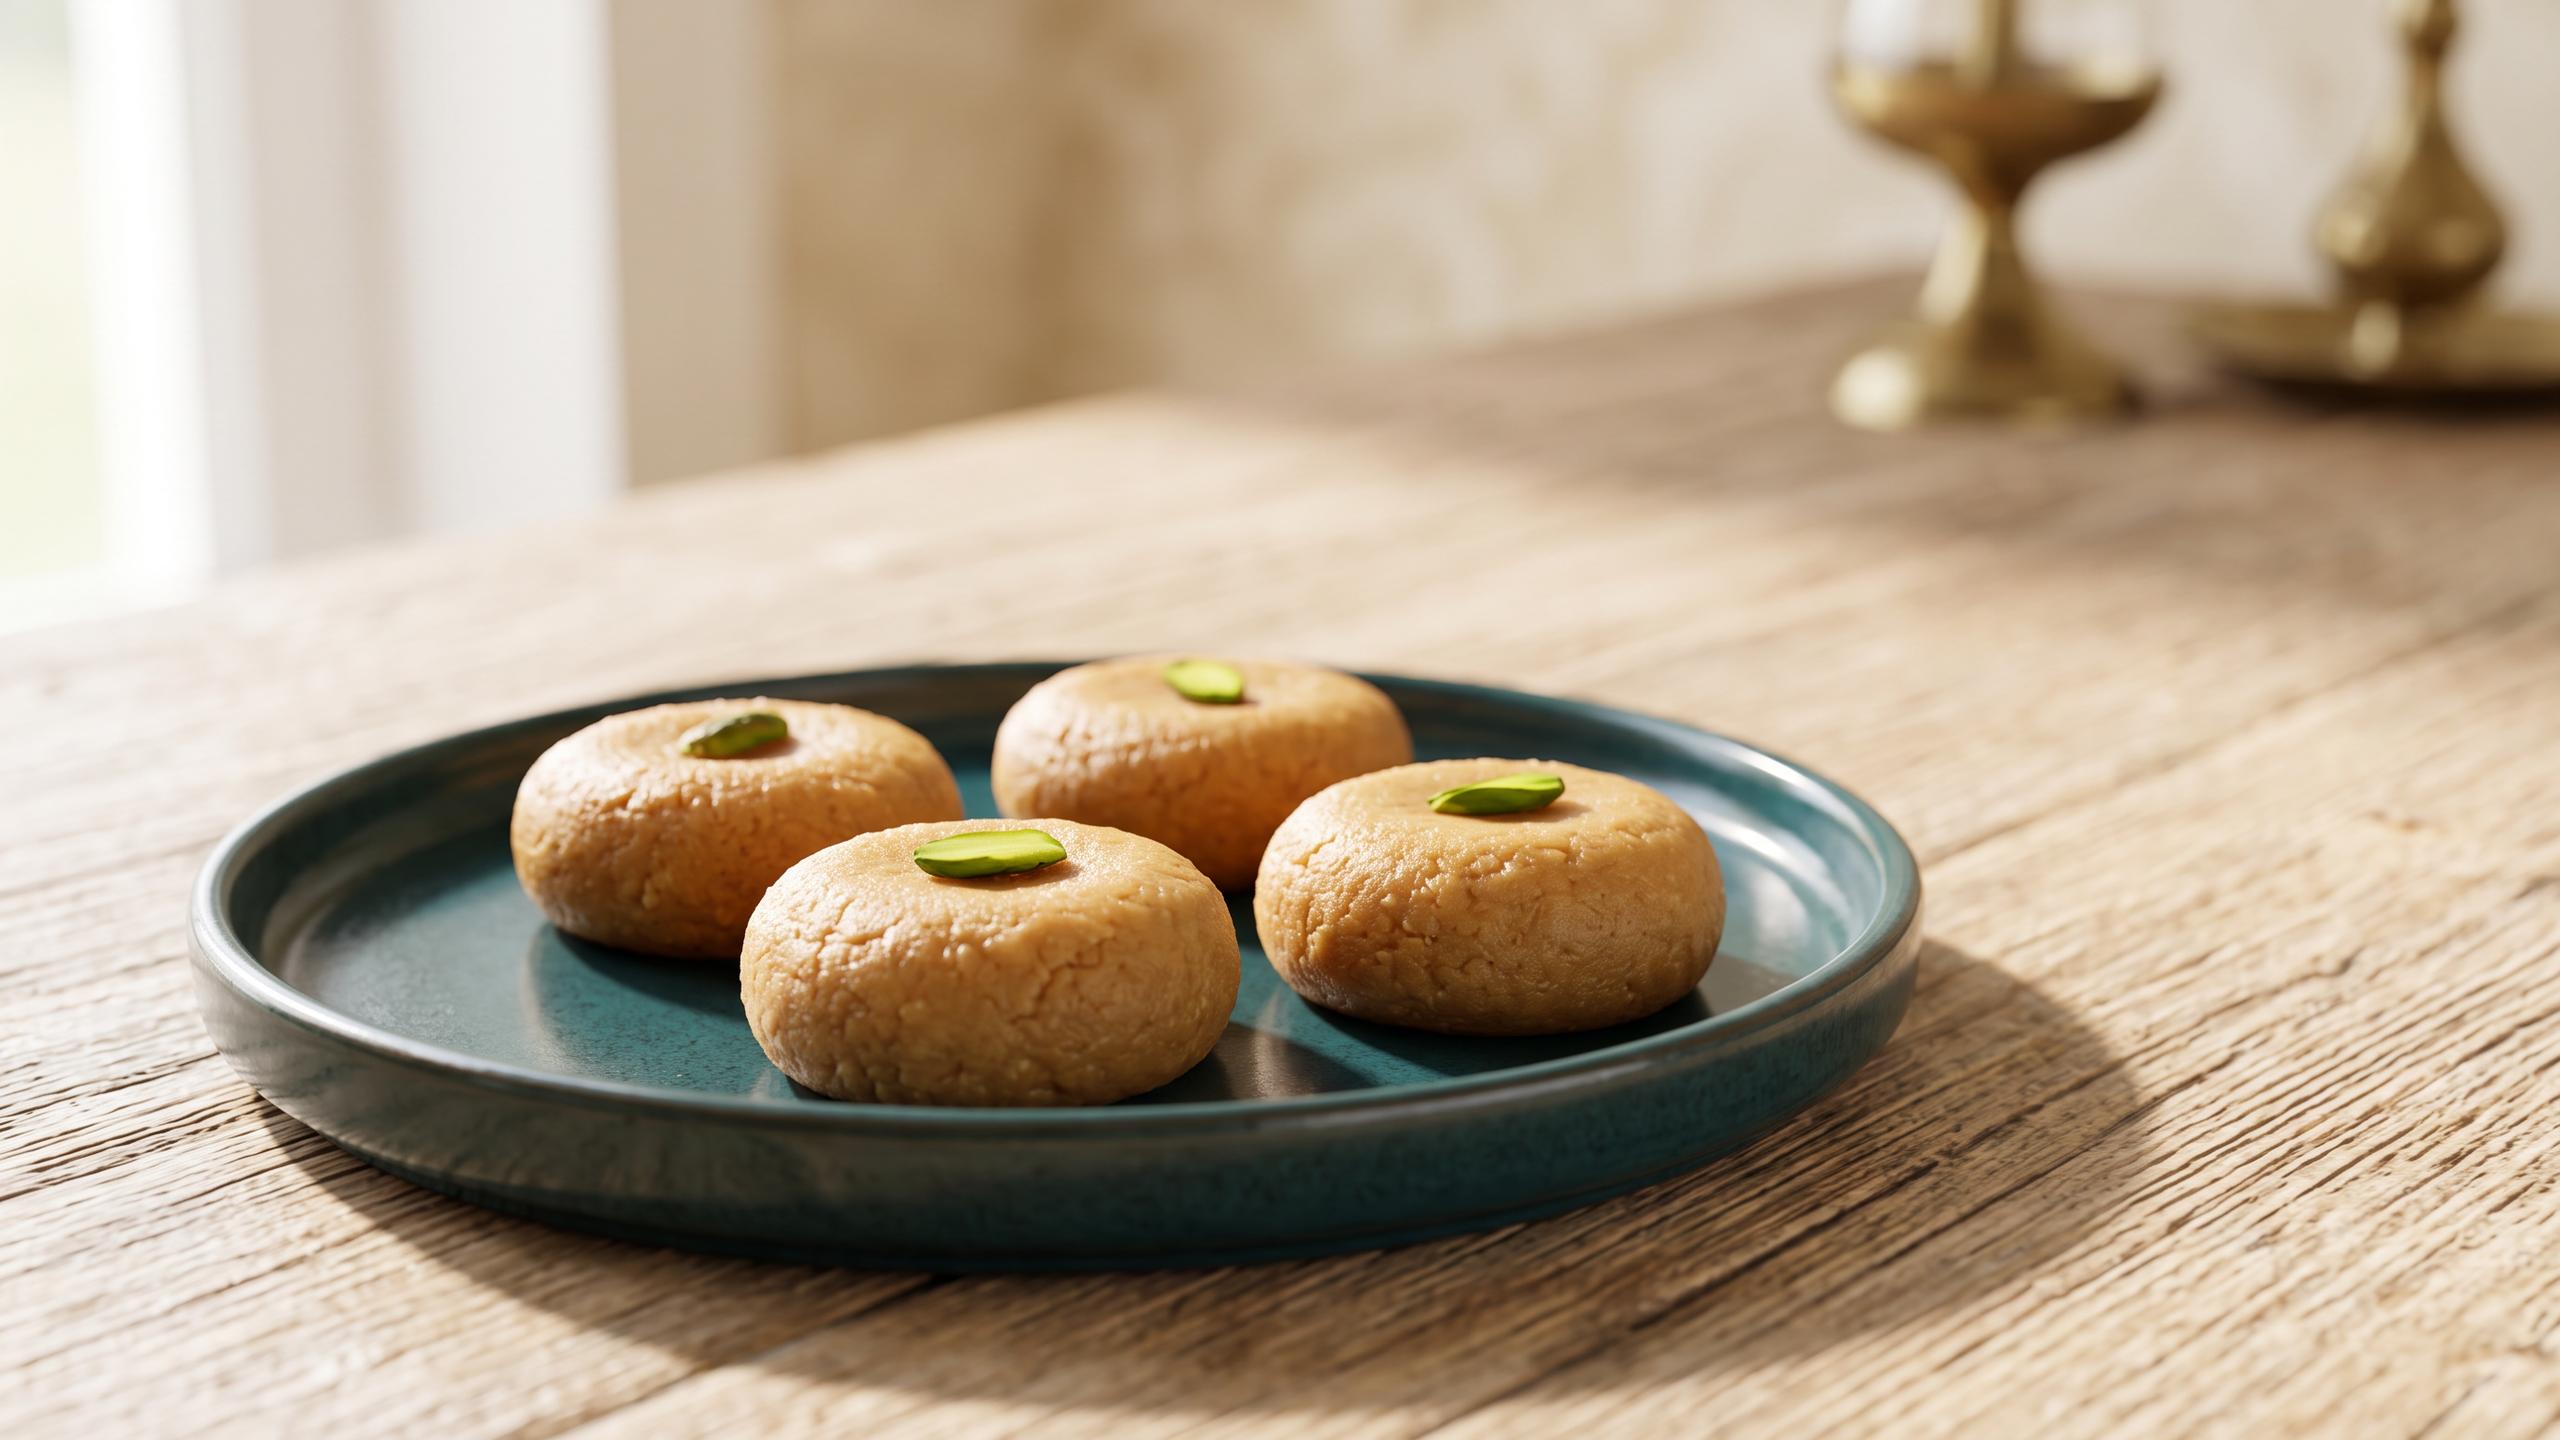
A Sweet Steeped in Devotion
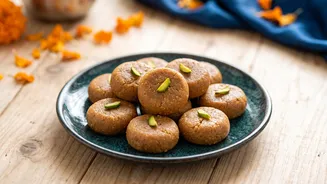
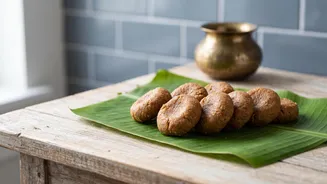
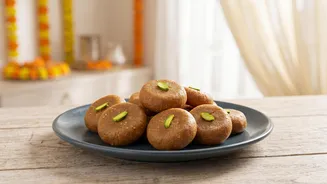
Mathura Peda is more than just a dessert; it is a sacred offering, or 'prasad', deeply connected to the story of Lord Krishna. According to folklore, this milk-based fudge was a favourite of the young god, who was known for his love of milk, butter, and
sweets. The city of Mathura in Uttar Pradesh is Lord Krishna's birthplace, and this iconic sweet carries its name, making it an essential part of Janmashtami celebrations. Preparing this peda at home is a way to partake in a rich tradition that connects devotees to the divine through flavour.
Gather Your Ingredients
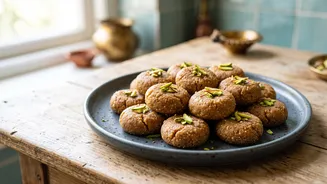
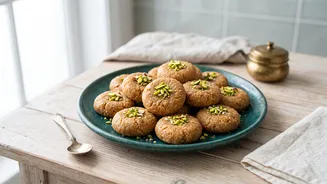
This recipe uses easily available ingredients to recreate the classic taste. The key to authentic Mathura peda is slowly browning the milk solids (khoya) to achieve a rich, caramelised flavour and its characteristic brown colour. You will need: 2 cups (approx. 250 grams) unsweetened khoya/mawa, grated 1/2 cup powdered sugar (or boora/tagar), plus extra for coating 2-3 tablespoons ghee (clarified butter) 2-3 tablespoons milk 1/2 teaspoon cardamom powder Sliced pistachios or almonds for garnish (optional)
Step-by-Step Guide to Making Peda
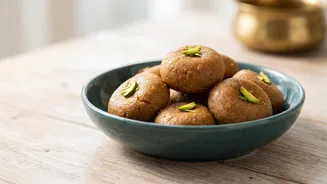
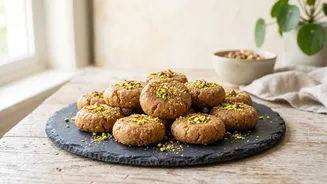
Follow these simple steps for perfect, melt-in-your-mouth pedas. The process requires patience, especially while roasting the khoya, but the result is well worth it. 1. Roast the Khoya: In a heavy-bottomed, non-stick pan, add the grated khoya and begin to roast it on low to medium heat, stirring continuously. 2. Brown the Mixture: After about 5 minutes, the khoya will start to change colour. Add the ghee and continue to stir. Keep roasting for another 10-15 minutes until it turns a consistent dark, golden-brown. Constant stirring is crucial to prevent it from burning. 3. Cool the Mixture: Once the desired colour is achieved, turn off the heat and transfer the mixture to a bowl to cool down. Let it cool until it is just warm enough to handle. If you add sugar while it's too hot, the pedas will become too soft. 4. Add Sugar and Flavour: To the lukewarm mixture, add the powdered sugar and cardamom powder. If the mix feels too dry, add a splash of milk. Knead it well for a minute until it forms a smooth, soft dough. 5. Shape the Pedas: Grease your palms with a little ghee. Take small portions of the dough and roll them into smooth, crack-free balls. 6. The Final Touch: Gently flatten each ball into a patty shape. You can create a design on top using a peda stamp or the back of a spoon. Roll the finished pedas in powdered sugar for the classic Mathura-style finish. Garnish with a slice of pistachio or almond if desired.
Tips for Perfect Pedas Every Time
Achieving the right texture and flavour is key. Keep these tips in mind: Use a Heavy Pan: A heavy-bottomed pan ensures even heat distribution and prevents the khoya from scorching. Low and Slow Roasting: Do not rush the process of browning the khoya. Roasting it slowly on a low flame is essential for developing its deep, nutty flavour. Check the Temperature: Ensure the khoya mixture is lukewarm, not hot, when you add the sugar. This helps the pedas hold their shape properly. Storing: Store the pedas in an airtight container. They will stay fresh at room temperature for a few days and for up to a month when refrigerated.