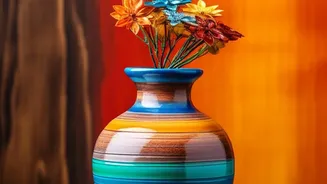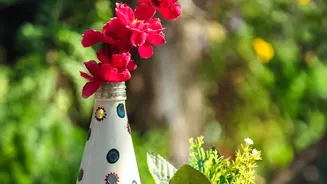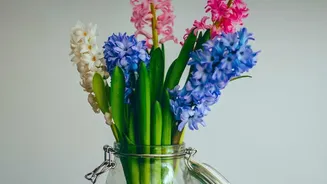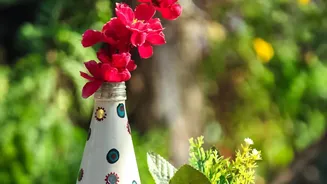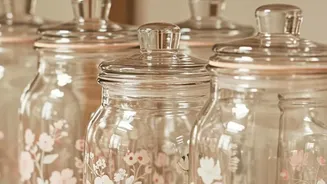


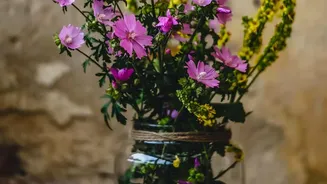
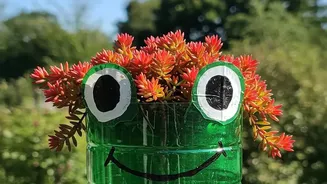
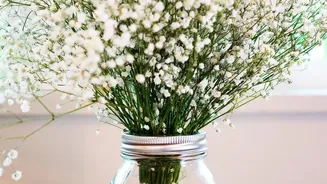
That collection of empty jam, sauce, and pickle jars piling up in your cabinet is not clutter; it's a treasure trove of creative potential. With a few simple supplies, you can transform these everyday items into charming, personalised vases.
The Classic Paint Job
One of the
simplest ways to give a glass jar a new identity is with a coat of paint. Acrylic or chalk paint works wonderfully on glass, and you can choose a colour that perfectly matches your home decor. For a clean, opaque look, apply two to three thin coats, letting each layer dry completely before adding the next. You can paint the outside for a rustic finish or pour paint inside and swirl it around for a sleek, modern effect. For added durability, especially if you plan to wash the jar, consider using a paint formulated for glass, which can often be cured in a home oven for a permanent finish. A final spray of a clear sealant will also help protect your design from chipping.
A Rustic Twine or Yarn Wrap
For a touch of rustic or coastal charm, wrapping a jar in twine or yarn is a wonderfully effective technique. Starting at the bottom, apply a small dot of hot glue to secure the end of the twine. Then, simply begin wrapping the twine tightly around the jar, adding a bit of glue every few rows to keep it in place. You can cover the entire jar or just a section for a two-toned look. Feel free to mix different colours of yarn or combine twine with a band of lace or burlap for a more layered, farmhouse aesthetic. This method is not only easy but also very forgiving, making it perfect for beginners.
Elegant Lace and Fabric
Give your jars a vintage or romantic feel by decorating them with lace, burlap, or fabric scraps. A simple band of lace wrapped around the middle of a jar and secured with hot glue can be beautifully understated. For a more complete transformation, you can use Mod Podge to adhere fabric directly to the glass, a technique known as decoupage. Cut lace or another pretty fabric to size, apply a thin layer of Mod Podge to the jar, and smooth the fabric over it. Once it's in place, apply another coat of Mod Podge on top to seal it. You can even create removable sleeves by sewing the fabric, allowing you to wash the jars easily.
Decoupage with Paper Napkins
The art of decoupage extends beautifully to paper napkins, which come in an endless variety of patterns. This technique allows you to add intricate floral designs or bold graphic prints to your jars with minimal effort. Start by painting your jar with a light_coloured base coat, like white chalk paint. While it dries, carefully cut out the designs from your chosen paper napkin and separate the thin, printed top layer from the plain layers underneath. Apply a thin coat of Mod Podge to a section of the jar, gently press your napkin cutout onto it, and smooth out any wrinkles. Once dry, apply a final layer of Mod Podge over the top to seal your design.
Elevated with a Pedestal
For a more dramatic and elegant vase, you can create a pedestal base using an old candlestick. This simple trick instantly gives a standard jam jar the silhouette of a high_end decorative piece. After thoroughly cleaning your jar, use a strong craft adhesive, such as E6000, to glue the bottom of the jar to the top of a candlestick. To create a unified look, you can spray paint the entire piece—jar and candlestick together—in a single colour like matte black, metallic gold, or a textured stone finish. Arranging a few of these at varying heights can create a stunning centrepiece.