

The Great Debate: Canned vs. Dried
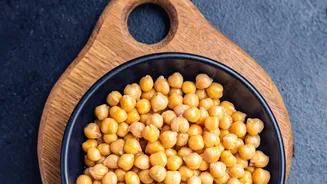
Your journey to crunchy perfection begins with the chickpea itself. For Indian households, starting with dried chickpeas (chana) is often standard. While it requires more planning—an overnight soak and a boil until tender—it pays off. Cooking from dried gives
you superior flavour and a firmer starting texture, which is a big advantage for achieving a final crunch. Canned chickpeas are the undisputed champion of convenience. They are already cooked and ready to go after a quick drain and rinse. However, they are packed in liquid and tend to be softer, which means they can easily steam in the oven instead of roast, leading to a chewy outcome. For the absolute best results, go with dried. If you’re short on time, canned will work, but the next step becomes even more critical.
Moisture Is The Enemy of Crunch
The single most important secret to truly crispy chickpeas is ensuring they are bone dry before they see a drop of oil or a hint of heat. Any moisture left on the surface will create steam in the oven, and steam is the mortal enemy of crispiness. After rinsing your canned chickpeas or boiling your dried ones, spread them on a clean kitchen towel. Gently roll them around and pat them dry. For even better results, let them air-dry on the counter for 20-30 minutes. As you dry them, some of the loose, papery skins will fall off. It’s a good idea to discard these, as they can burn during roasting. While you don't have to peel every single one, removing the skins that come off easily helps create a crunchier final product.
The Roasting Method for Peak Crispiness
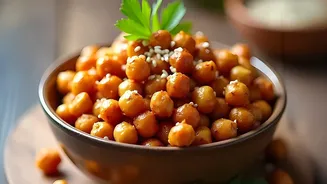
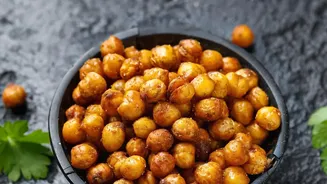
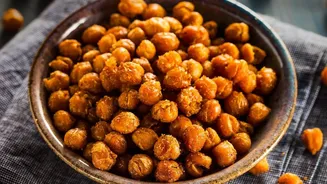
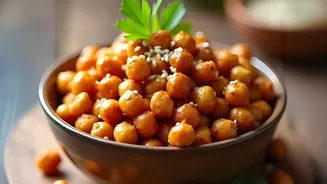
Most recipes will tell you to toss chickpeas in oil and spices before roasting, but there’s a better way. Try a two-stage roasting process. First, spread your completely dry chickpeas on a baking sheet in a single, uncrowded layer. Do not add oil yet. Roast them in a preheated oven at 200-220°C for about 20 minutes. This initial 'dry roast' removes even more internal moisture. After 20 minutes, pull them from the oven, drizzle with a bit of oil, and toss to coat. Now, return them to the oven for another 15-20 minutes, or until they are deeply golden and make a rattling sound when you shake the pan. The total roasting time can be 30 to 40 minutes. For those with an air fryer, it’s a great alternative for achieving a crisp texture quickly.
When and How to Add Flavour
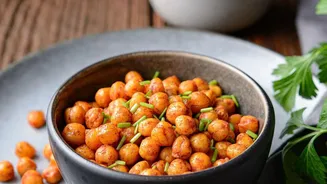
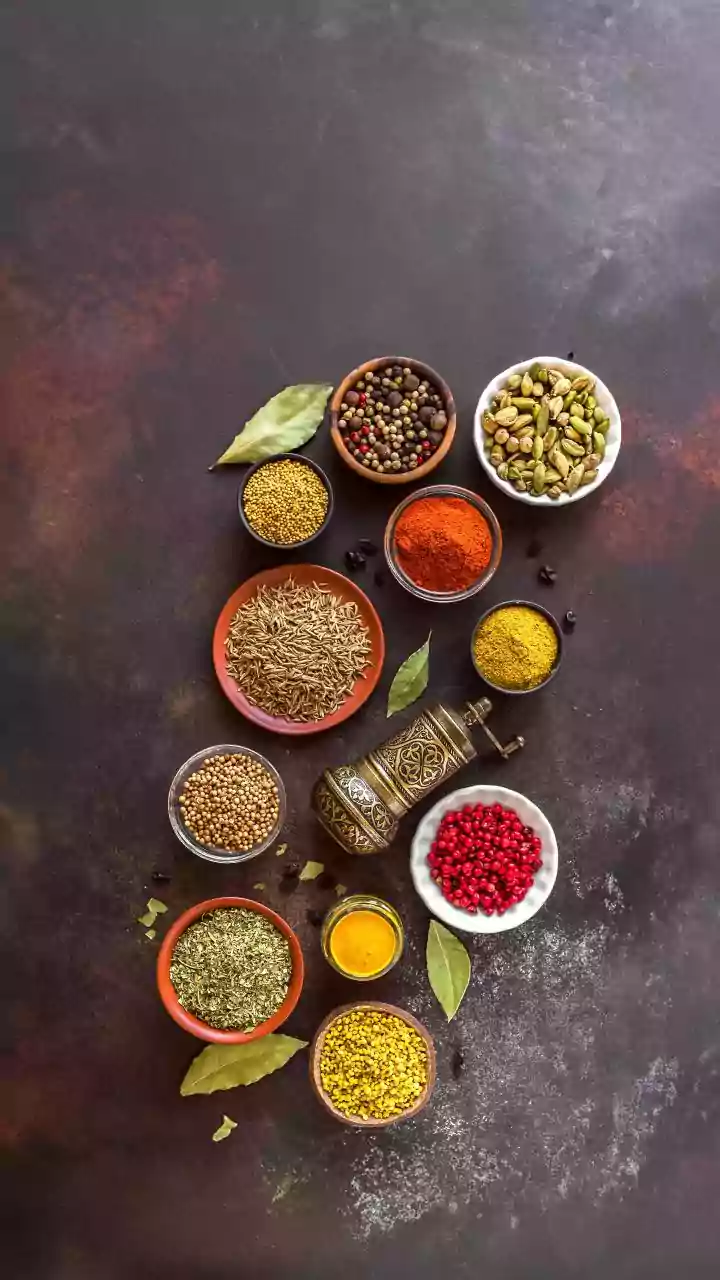
Adding spices too early is a common mistake that leads to them burning and becoming bitter. For the best flavour, toss the hot, roasted chickpeas with your chosen seasonings immediately after they come out of the oven for the final time. The residual heat and the light coating of oil will help the spices cling perfectly. The options are endless. For a classic Indian touch, try a mix of chaat masala, red chilli powder, and a pinch of amchur (dried mango powder). Other fantastic combinations include smoked paprika and garlic powder, lemon juice and pepper, or a simple curry powder blend. For a sweet treat, toss them in cinnamon and a little sugar while they are still hot.
Storing to Maintain the Crunch
You’ve done it. You've created a batch of perfectly crunchy chickpeas. Now, how do you keep them that way? The key is to let them cool completely on the baking sheet before storing them. Transferring them to a sealed container while still warm will trap steam, making them soft again in no time. Once they have cooled for at least an hour, store them in a glass jar. For maximum crunch, if you plan to eat them within a day or two, don’t seal the lid tightly. Instead, cover the opening with a paper towel to allow any remaining moisture to escape. Roasted chickpeas are at their absolute best the day they are made, as they will naturally lose some crispness over time.