


Why Grow Your Own Chillies?
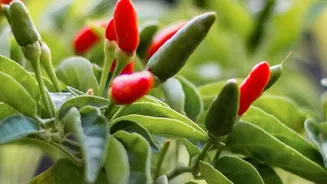
Thai chillies, also known as Bird's Eye chillies, are a cornerstone of Southeast Asian and Indian cuisine, adding a sharp, zesty heat to everything from curries to stir-fries. Having a plant on your balcony or windowsill means having access to the freshest,
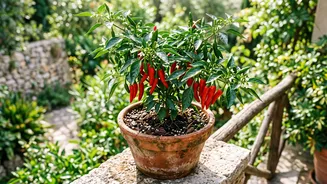
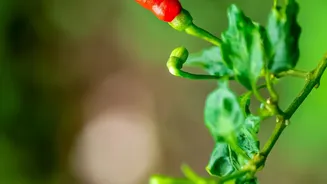
most flavourful chillies whenever you need them. Not only are they culinary stars, but their compact size and attractive green and red foliage make them a beautiful ornamental plant for any home. They are relatively easy to grow, even for beginners, and a single plant can produce a surprisingly large harvest throughout the season.
The Perfect Potting Mix Recipe
Regular garden soil is not suitable for pots as it compacts easily, choking the roots and leading to poor drainage. A successful container garden relies on a well-aerated, nutrient-rich, and free-draining medium. Here’s a simple and effective potting mix recipe perfect for your Thai chilli plants. You can think of it in terms of 'parts' to easily scale up or down. Simple Potting Mix: • 3 parts Coco Peat (or peat moss): This forms the base of your mix. Coco peat, made from coconut husks, is excellent at retaining moisture while also allowing for good aeration. This ensures the roots have access to water without becoming waterlogged. • 2 parts Compost or Vermicompost (Worm Castings): This is the powerhouse of nutrients for your plant. Good quality compost provides essential organic matter and a slow release of food, promoting strong, healthy growth. • 1 part Perlite: These small, white volcanic rocks are key for drainage and aeration. They create air pockets in the soil, preventing compaction and allowing roots to breathe, which is crucial for preventing root rot.
Choosing Your Pot and Planting
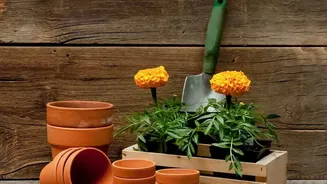
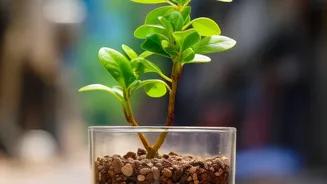
Thai chilli plants have a compact growth habit, making them ideal for containers. Choose a pot that is at least 30 cm (about 12 inches) wide and deep to give the roots enough space to develop. Ensure the pot has plenty of drainage holes at the bottom. To plant, fill your chosen pot with the prepared potting mix. If you are starting with a seedling, gently transfer it into the new pot, ensuring the top of its root ball is level with the soil surface. You can plant the stem a little deeper, as chillies can grow new roots from the buried part of the stem. Water thoroughly after planting to settle the soil.
Sunlight, Water, and Feeding
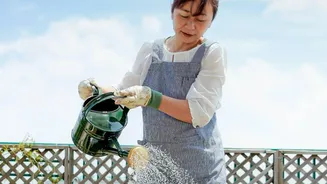
Chilli plants are sun-lovers. Place your pot in a location where it will receive at least 6-8 hours of direct sunlight every day. A sunny balcony or a south-facing windowsill is ideal. When it comes to watering, consistency is key. Keep the soil consistently moist but never soggy. A good rule of thumb is to water deeply whenever the top inch of soil feels dry to the touch. Reduce watering slightly once the plant starts to fruit heavily to avoid diluting the heat of the chillies. Your initial potting mix provides a good start, but chillies are heavy feeders. About a month after planting, start feeding your plant every two to three weeks with a liquid fertiliser rich in potassium, like a tomato feed. This will encourage flowering and a bountiful fruit set.
Harvesting Your Fiery Rewards
Thai chillies typically mature in about 80-100 days. The peppers will first appear green and can be picked at this stage for a milder flavour. For maximum heat, flavour, and that classic vibrant red colour, wait for them to fully ripen on the plant. Regular harvesting encourages the plant to produce more flowers and, consequently, more chillies. Simply snip the peppers off with a small piece of stem attached. Be mindful of common pests like aphids; a strong jet of water can often dislodge them. With the right care, your plant will provide a steady supply of chillies for your culinary adventures.