




Why a Clean Start is Crucial
It might be tempting to simply crack open a coconut, empty it, and fill it with soil, but this shortcut can lead to problems. Any remaining coconut meat or residue, often called copra, will begin to decay once it's in contact with moist soil. This process
of rot can attract pests, promote the growth of harmful fungi and mold, and negatively affect the soil's chemistry. An unclean shell can create an unhealthy environment for a young plant's delicate root system, leading to root rot or other issues that prevent it from thriving. Taking a few extra minutes to properly clean the inside ensures your natural planter is a healthy home, not a hazard.
Gather Your Simple Tools
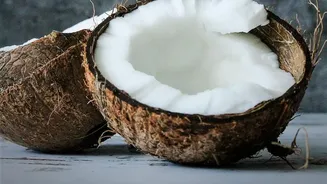
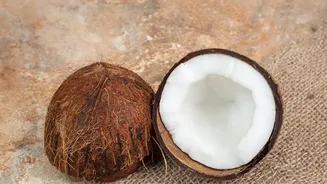
You don't need a professional workshop to prepare your coconut shell. The entire process can be done with a few common household items. Before you begin, gather the following: a mature, hard coconut shell half, a sturdy spoon or a similar scraping tool, medium-grit sandpaper, and a drill, screwdriver, or other sharp tool to create drainage holes. If you plan to hang your planter, you will also need some twine or rope. The hardest part is often cracking the coconut open evenly, which can be done with a saw for a clean line or by carefully tapping along the circumference with a hammer.
The Scraping and Cleaning Process
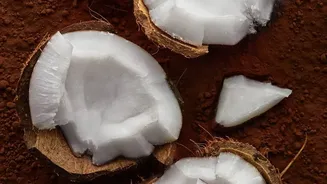
Once your coconut is open, the main task is to remove all the white flesh from the inside. A sturdy metal spoon is often the perfect tool for this job; use its edge to scrape and pry the meat away from the hard shell. Some people use a special curved knife, but persistence with a spoon works just as well. Your goal is to get all of the fleshy residue out, leaving only the hard, brown interior. Don't worry if the surface looks a bit rough at this stage; the next step will smooth things out. Once scraped, give the shell a good rinse with water to wash away any remaining small particles.
Sanding for a Smooth Finish
After scraping, the inner surface will likely have some lingering fibrous strands. Sanding is the key to creating a smooth, clean finish. Take a piece of medium-grit sandpaper and thoroughly sand the entire inside of the shell. This step removes the last bits of residue that scraping might have missed and smooths out any rough patches. A smoother surface is less likely to trap moisture and develop mold. You can also sand the outside of the shell if you want to remove the rough, hairy fibers for a more polished look. Once you're satisfied with the texture, wipe it clean to remove any dust.
Don't Forget Drainage
Proper drainage is non-negotiable for almost any potted plant, and coconut shells are no exception. Without a way for excess water to escape, the soil will become waterlogged, leading to root rot. To create drainage, use a drill to make a few small holes in the bottom of the shell. If you don't have a drill, you can carefully use a hammer and a nail or a sharp screwdriver to poke holes through. The natural 'eyes' of the coconut are often thinner and can be a good starting point. These holes will ensure your plant's roots get the oxygen they need to stay healthy.
Your Shell is Ready for Planting
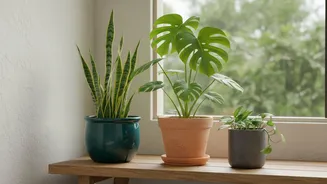
With the shell cleaned, sanded, and drilled, it is now a perfect, biodegradable home for a new plant. These small planters are ideal for plants that don't require a large amount of space. Succulents and cacti are excellent choices, as they thrive in well-draining conditions. Herbs like mint or chives also do well and can be conveniently kept on a sunny windowsill. Trailing plants such as string of pearls or certain types of pothos can create a beautiful cascading effect, especially if you decide to make a hanging planter. Fill your prepared shell with a suitable potting mix, gently place your plant inside, and enjoy your beautiful, upcycled creation.