

The First Rule: A Clear Dish Name
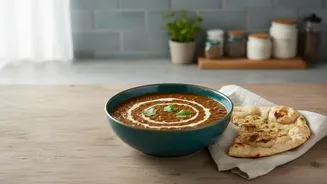
The most fundamental piece of information on your freezer label is the name of the food. While it sounds obvious, ambiguity is the enemy of an organized freezer. “Chicken” isn’t enough. Is it raw chicken breasts, chicken curry, or shredded chicken for tacos?
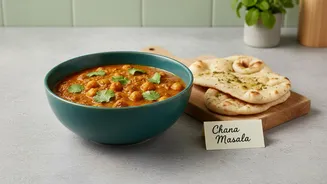
Be specific. “Spicy Chicken and Lentil Soup” is far more useful than just “Soup.” This level of detail prevents confusion, especially when you’re in a hurry to get dinner on the table. If you have multiple versions of a dish—one spicy, one mild—make sure the label reflects that. This simple act of specific naming ensures you never have to thaw a container just to identify its contents, a crucial first step in preventing food from being forgotten and ultimately wasted.
The Timeline: Always Add the Date
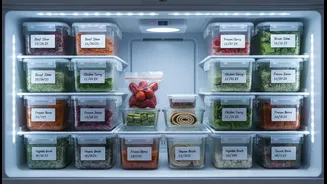
The second non-negotiable detail is the date. This tells you how long an item has been stored and helps you practice the “First In, First Out” (FIFO) method, a system used in professional kitchens to ensure older items are used before newer ones. By placing newly frozen foods at the back and older ones at the front, you create a natural rotation that minimizes waste. Most experts recommend using the date the food was frozen. You can also add a “use by” date for extra guidance, but the freeze date is essential for tracking freshness and quality. Food doesn't last forever, even in the freezer, and knowing its age helps you decide what to eat first, preserving its flavor and texture.
The Game Changer: Note the Portion Size
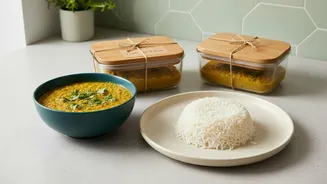
This is the detail that elevates your freezer from a simple storage unit to a strategic meal-planning tool. Noting the portion size—whether it's “serves 2,” “4 cups,” or “1 single portion”—transforms ambiguous leftovers into ready-to-use meal components. When you know exactly how much is in a container, you can pull out the perfect amount for a meal without guesswork. This is incredibly useful for busy weeknights, managing household food intake, and practicing portion control. Freezing food in single or family-sized portions makes life easier; labeling them this way makes your system foolproof. You’ll no longer thaw a giant block of chilli when you only need enough for one person, preventing re-freezing or wasting the excess.
Putting It Into Practice: Tools and Techniques
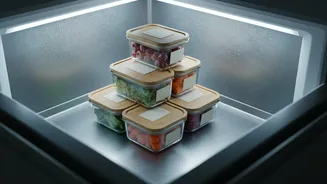
The best system is one you’ll actually use, so choose tools that are convenient and effective. While some people successfully use masking tape and a permanent marker, freezer-specific labels are designed to withstand cold and moisture without peeling off. Oil-based permanent markers or specialty freezer pens are ideal, as they won’t smudge or fade in the cold. For best results, apply labels to containers when they are clean, dry, and at room temperature before filling and freezing. If you’re using reusable containers, dissolvable labels are a fantastic modern option; they stick firmly in the freezer but wash away completely in water, leaving no sticky residue behind. Consider organizing your freezer into zones—soups in one area, meats in another, and vegetables elsewhere—to make finding items even faster.
Extra Credit: Reheating Instructions and More
Once you have the core three details down, you can add other information that makes life even easier. Including simple reheating instructions like “Thaw overnight, simmer on stove” can be a huge help, especially for other members of your household. If you have family members with allergies or dietary restrictions, noting key ingredients like “contains nuts” or “gluten-free” is a valuable safety measure. By thinking ahead to the moment you’ll be using the food, you can turn a simple label into a comprehensive guide that takes all the stress out of pulling a meal from the freezer.