




The Foundation: Perfecting Your Batter
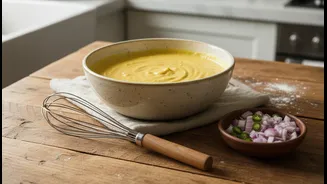
The secret to a great chilla lies in its foundation: the batter. For a smooth, lump-free base, always add water to your besan (gram flour) gradually while whisking continuously. The ideal consistency is pourable but not watery, similar to a pancake batter. A
thicker batter will result in softer, more pliable chillas, while a thinner batter will yield a crispier result. Once mixed, let the batter rest for 15-20 minutes. This allows the besan to hydrate fully, resulting in a softer texture and better flavour. It also aids in digestion.
The Crispy Edge Secret
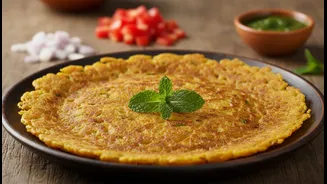
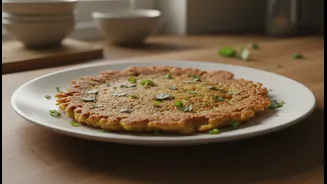
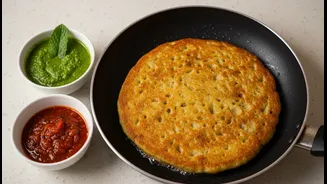
Everyone loves a chilla with a crispy, golden-brown edge. One simple trick to achieve this is to add a tablespoon of semolina (sooji) or rice flour to your besan batter. These ingredients help create a better binding and provide that desirable crunch. When cooking, ensure your tawa or pan is well-heated before pouring the batter. Cook on a steady medium heat; high heat can burn the outside before the inside is cooked, while low heat can make it sticky. Drizzling a little oil or ghee around the edges as it cooks will also help it crisp up beautifully.
Elevating Flavour and Aroma
Move beyond the basic salt and turmeric. To make your chillas truly smart, incorporate spices that enhance both taste and health. Ajwain (carom seeds) is a classic addition for a reason—it imparts a distinctive flavour and aids digestion, which is especially helpful with besan. A pinch of asafoetida (hing) can also be added for a savoury depth. Finely chopped ginger, green chillies, and fresh coriander leaves are non-negotiable for that fresh, zesty kick that cuts through the earthiness of the gram flour.
Pack in the Nutrition with Vegetables
Monsoon is the perfect time to load your chillas with vegetables. Finely chopped onions, tomatoes, and capsicum are popular choices that add texture and juiciness. However, don't stop there. Grated carrots, zucchini, finely chopped spinach, or even crumbled paneer can be folded into the batter for a significant nutritional boost. The key is to chop or grate the vegetables very finely. This ensures they integrate well into the batter and cook evenly without causing the chilla to break apart.
The Art of the Flip
The most dreaded moment for many home cooks is the flip. To avoid a broken chilla, patience is key. Pour the batter onto a moderately hot, lightly greased pan and spread it evenly. Let it cook undisturbed until the edges start to lift away from the pan and the top surface appears dry and set. This is the sign that the chilla has cooked through and is ready to be flipped. Trying to turn it too early is the most common reason for it breaking. Once flipped, cook for another minute or two until golden spots appear.
For a Lighter, Fluffier Texture
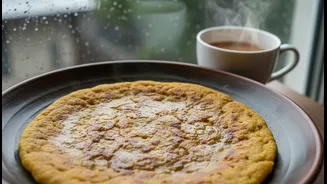
If you prefer your chillas less like a crepe and more like a fluffy pancake, sometimes referred to as a 'vegan omelette', there's a simple hack. While not traditional, adding a tiny pinch of baking soda or about ¼ teaspoon of baking powder to the batter just before cooking can make a world of difference. This acts as a leavening agent, introducing air into the batter and resulting in a chilla that is noticeably lighter and fluffier in texture.