



The Tools of the Trade
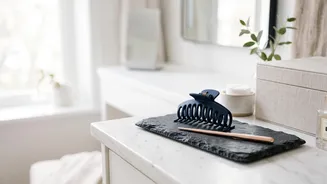
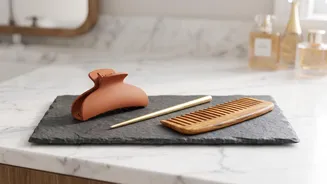
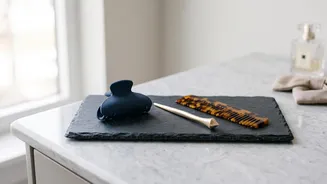
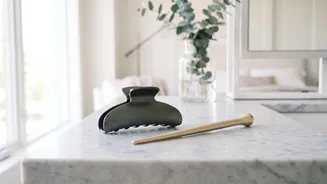
Before you start twisting and pinning, gathering a few key items will make the process much smoother. While each style has specific needs, a good vintage hair toolkit generally includes strong-hold hairspray, a teasing comb or brush for building volume,
and an ample supply of bobby pins that match your hair colour. For more complex styles, you might also want a hair rat or bun-former—a small mesh donut that adds structure and volume without endless teasing. Finally, a smoothing brush with soft bristles is essential for taming flyaways and creating a polished finish.
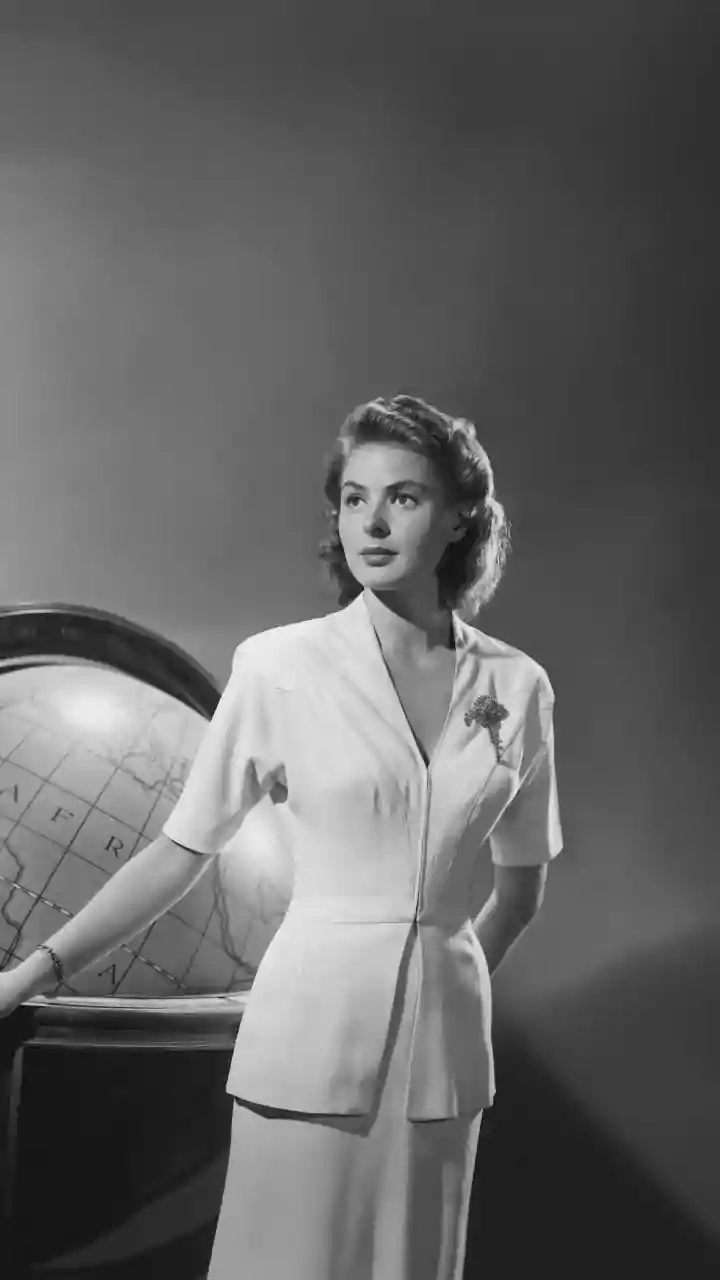
The Iconic 1940s Victory Roll
Perhaps the most recognizable vintage hairstyle, victory rolls are synonymous with the 1940s. These polished, voluminous rolls frame the face and can be worn as a pair or as a single statement roll. While they look intricate, the technique is surprisingly straightforward. Start by sectioning off the hair on one side of your part. Brushing the section upward, begin rolling the ends of your hair around two fingers to create a loop. Carefully slide your fingers out and continue rolling the hair down towards your scalp. Once the roll is snug against your head, secure it firmly with bobby pins at the front and back of the roll. A generous spritz of strong-hold hairspray is crucial to keep it in place. You can style the rest of your hair in loose waves or gather it into a simple bun at the nape of your neck.
The Dramatic 1960s Beehive
For a look that delivers maximum height and drama, the 1960s beehive is an eternal classic. This style is all about creating a tall, elegant shape at the crown of your head. To begin, section off the top portion of your hair, leaving the front and sides loose for now. This top section is where you'll build the volume. For an easier approach, you can place a hair rat or a bun-former at the crown and secure it with pins. Then, begin back-combing the roots of the sectioned hair to create a cushion of volume. Once you have enough height, gently smooth the hair back over the hair rat or the teased base, covering it completely. Pin the ends of the hair underneath the 'hive' to secure it. Finally, take the loose hair from the sides and sweep it back, tucking and pinning it neatly around the base of the updo to create a seamless, polished finish.
The Effortless Gibson Tuck
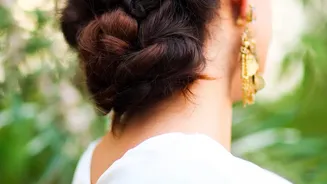
Inspired by the 'Gibson Girl' illustrations of the late 19th and early 20th centuries, the Gibson Tuck is a softer, more romantic updo that is incredibly easy to create at home. This style works wonderfully for long hair and is perfect for beginners. Start by gathering your hair into a very loose, low ponytail, but don't tie it off. Instead, create a 'pocket' by parting the hair with your fingers just above where an elastic would sit. Then, take the tail of your pony, flip it upward, and begin tucking and rolling it into the pocket you created. Continue tucking until all the hair is rolled neatly into a soft chignon at the nape of your neck. Secure the roll from the inside with several bobby pins. For a softer look, you can pull out a few face-framing tendrils.
The Playful 1950s Bandana Updo
Channeling the iconic 'Rosie the Riveter' look, a bandana updo is a fun and practical way to manage long hair with retro flair. This style is perfect for casual days and is one of the quickest vintage looks to achieve. First, gather all of your hair into a high, messy bun or a pile of curls on top of your head; perfection isn't the goal here, so don't worry about it being too neat. Secure it with an elastic and pins. Next, fold a square bandana into a long, thin strip. Place the center of the bandana at the base of your neck, then bring the ends up and tie them in a knot at the top of your head, just in front of your bun. You can tuck the ends of the bandana under for a clean look or leave them out for a more playful bow-like effect.