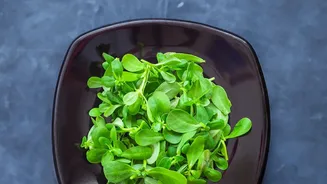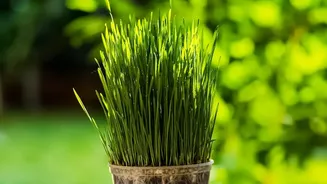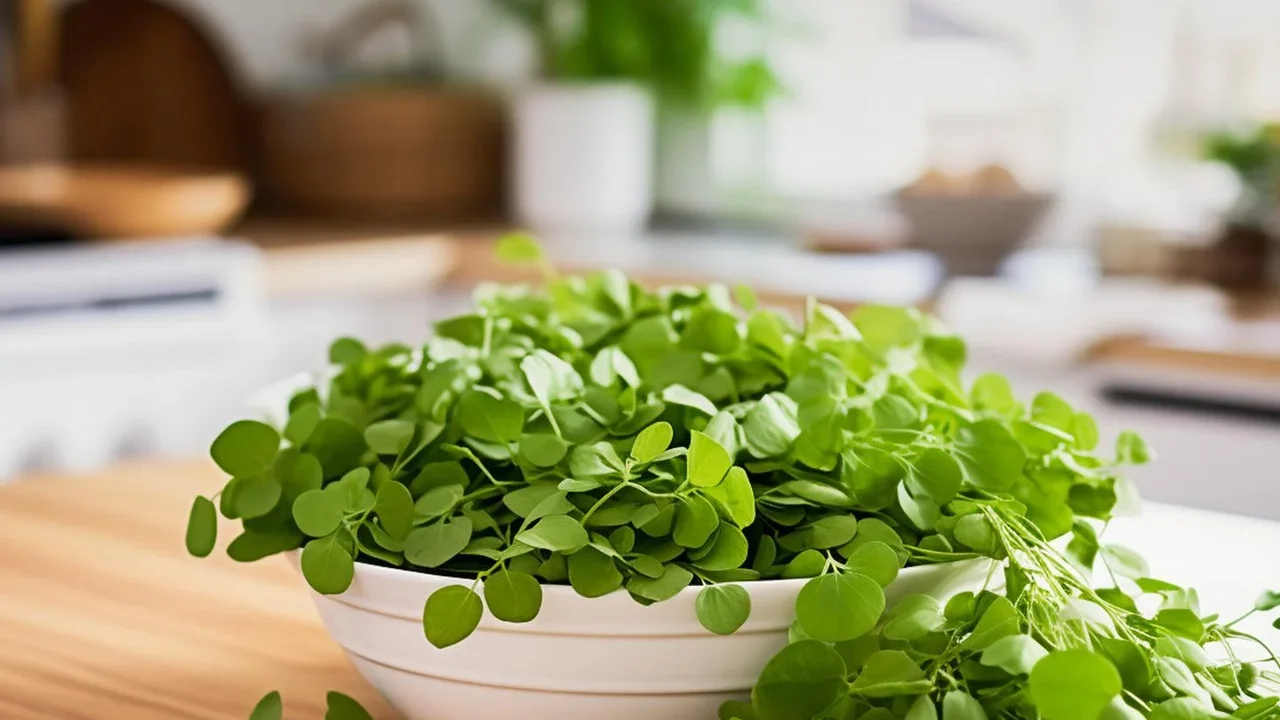




What Exactly Are Microgreens?
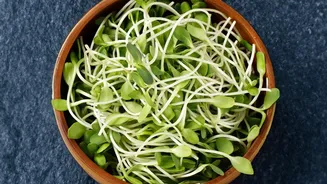
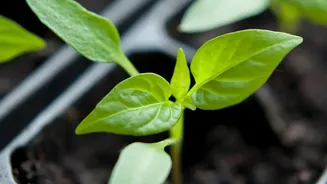
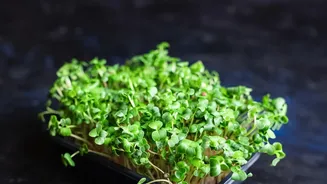
Microgreens are not to be confused with sprouts. While sprouts are germinated seeds that are eaten whole (seed, root, and shoot), microgreens are young vegetable greens that are harvested just after the first true leaves have developed. You grow them
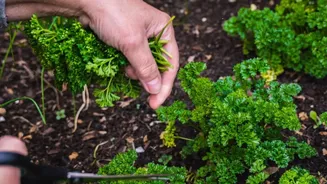
in a medium like soil or cocopeat and snip the stems and leaves for eating, typically within 7 to 21 days of planting. This makes them tiny, tender, and packed with flavour, often more intense than their fully-grown counterparts. Think of them as the stage between a sprout and a baby green.
The Power of a Windowsill Garden
For the urban dweller, space is a luxury. This is where microgreens shine. They require minimal space and can be grown indoors year-round, safe from weather fluctuations. A bright windowsill is the perfect real estate for a few harvesting trays. The biggest benefits are freshness and nutrition. Store-bought greens can lose nutrients during transport and storage, but when you grow your own, you harvest moments before eating, ensuring maximum freshness and potency. Studies have shown that microgreens can contain up to 40 times more nutrients, like vitamins C, E, and K, than the mature plants. Plus, the cost savings are significant compared to buying pre-packaged microgreens from a store.
Choosing Your Harvesting Tray
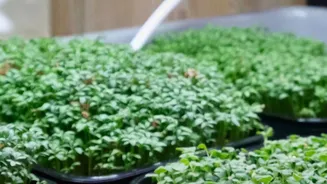
Getting started doesn't require expensive or specialised equipment. A microgreen harvesting tray is simply a shallow container that holds your growing medium. You can buy stackable, multi-tiered kits designed for microgreens, but a simple, clean plastic takeaway container, a foil baking tray, or even an old tiffin lid will work perfectly. The main requirement is that it is shallow (about one to two inches deep) and ideally has drainage holes to prevent waterlogging, which can lead to mould. For beginners, starting with a simple, food-safe container is a great way to experiment without a big investment.
Your Simple Starter Guide
Ready to grow? Follow these simple steps. First, fill your tray with about an inch of a growing medium like cocopeat or potting soil. Moisten it with a spray bottle. Next, scatter your chosen seeds evenly across the surface. You don’t need to bury them deeply. Cover the seeds with a thin layer of soil or just press them gently into the surface. For the first few days, cover the tray to create a dark, humid environment for germination. Once you see sprouts, remove the cover and move the tray to a sunny windowsill that gets at least four hours of light. Keep the soil moist by spraying it daily. In about 7 to 14 days, your greens will be a few inches tall and ready to harvest. Simply take a pair of scissors and snip them just above the soil line.
Best Microgreens for Indian Beginners
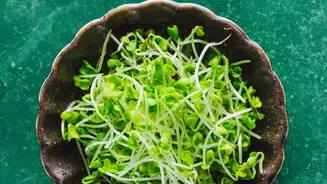
Choosing the right seed makes all the difference for a successful first harvest. Some of the easiest and fastest-growing microgreens are perfect for beginners and work well in Indian climates. Mustard (sarson) is a top choice, often ready in 7-8 days and providing a familiar peppery kick. Radish (mooli) is another fast and forgiving option, adding a spicy flavour and vibrant colour to meals. For a taste of home, try growing Fenugreek (methi); its earthy flavour is perfect for dals and parathas. Alfalfa is also incredibly easy for beginners, with a mild, nutty taste that fits into almost any dish. These varieties are known for their high germination rates and quick results, building confidence for your new gardening hobby.