
What Exactly Are Micro-Greens?
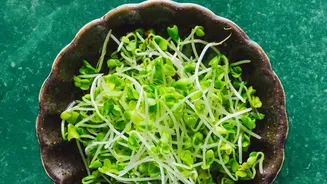
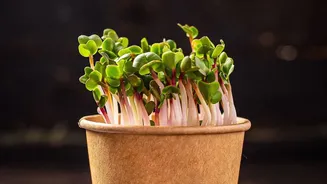
You’ve likely seen them garnishing a fancy meal, but what are micro-greens? They are the young, tender seedlings of edible vegetables and herbs, harvested just after the first true leaves have developed. Unlike sprouts, which are germinated seeds eaten
whole (root, seed, and shoot), micro-greens are grown in a medium like soil or a coco-coir mat and are harvested by snipping the stem just above the surface. This happens typically between 7 and 21 days from planting, making them a fast and rewarding crop. They are prized not just for their intense flavour and vibrant colour, but for their incredible nutritional density.
The Urban Gardener's Advantage
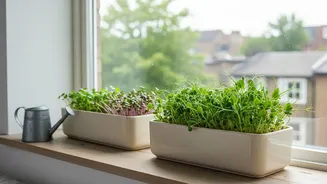
For those in apartments or homes with limited to no outdoor space, micro-greens are a game-changer. They require minimal space; a sunny windowsill is often all you need. Research has shown that micro-greens can contain four to 40 times more nutrients like vitamins C, E, and K by weight than their mature counterparts. This means you get a significant health boost from a very small harvest. Growing them indoors also provides a clean, controlled environment, free from common garden pests and urban pollutants, and gives you access to fresh, flavourful greens year-round, regardless of the weather outside.
Your Essential Windowsill Setup
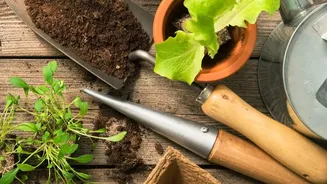
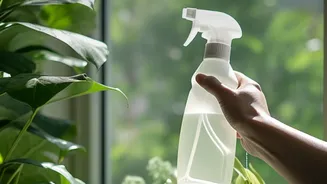
Getting started is surprisingly simple and doesn't require a lot of expensive equipment. In fact, you may already have most of what you need. The basic setup includes a shallow tray (recycled plastic takeout containers work well), a growing medium, seeds, and water. A two-tray system is ideal: one with drainage holes that nests inside another without holes to catch excess water. For the growing medium, a sterile potting soil, coco coir, or a specialized growing mat are all excellent choices. You'll also need a spray bottle for gently misting the seeds and, of course, your choice of micro-green seeds. While a bright, south-facing window is often sufficient, a small LED grow light can ensure even growth if natural light is limited.
A Simple Step-by-Step Guide
Ready to start? First, moisten your growing medium in the tray, ensuring it's damp but not waterlogged. Sprinkle your seeds evenly and densely across the surface. Gently press them into the medium and give them a light misting of water. For the first few days (the germination phase), cover the tray to block out light and maintain humidity. Once the seeds have sprouted, uncover the tray and move it to your sunny windowsill or place it under a grow light. Water consistently, preferably from the bottom by adding water to the lower tray, to keep the medium moist. In just a few days, you'll have a lush carpet of greens ready for harvest. Use a clean pair of scissors or a sharp knife to snip the greens just above the soil line.
Choosing Your First Crops
If you're new to growing micro-greens, it's best to start with varieties that are known to be easy and fast-growing. Radish, broccoli, kale, and mustard are fantastic beginner options, often ready to harvest in as little as 6 to 10 days. These brassica family members have a peppery, robust flavour that can liven up salads and sandwiches. Pea shoots and sunflower micro-greens are also very popular for windowsill growing, known for their substantial, crunchy texture and sweet, nutty taste. Many companies sell beginner-friendly seed mixes, which can be a great way to sample different flavours and textures to find your favourites.