



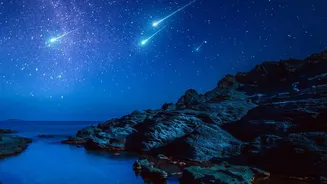
Mark Your Calendar and Find a Dark Sky
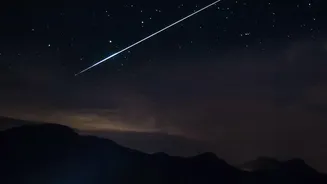
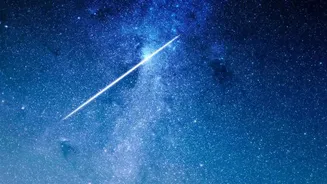
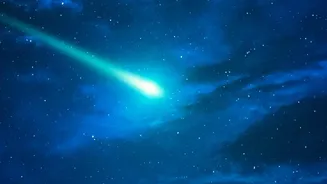
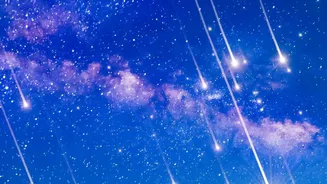
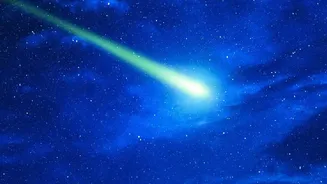
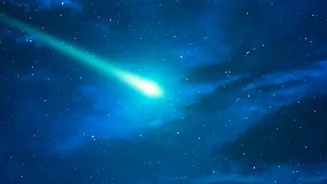
The Orionid meteor shower is active throughout October, but it is expected to peak on the nights of October 21 and 22, 2026. The best part? The new moon falls around October 19, meaning moonlight will not interfere, providing perfect dark-sky conditions
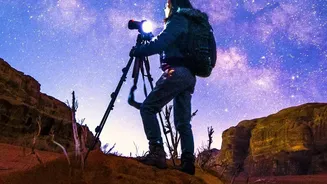
for the peak. The most critical step for any astrophotography in India is escaping light pollution. Your smartphone's weather app is useful, but also use a light pollution map to find a 'dark site'. This could be a remote village, a hilltop far from city limits, or designated areas in national parks. Plan to arrive before dusk to set up your equipment safely and comfortably.
The Essential Camera and Tripod
You need a camera that allows manual control over its settings. A DSLR or a mirrorless camera is your best tool for the job. While high-end models offer better low-light performance, even entry-level cameras can produce stunning results with the right technique. The single most important accessory is a sturdy tripod. You will be using long shutter speeds, and any tiny vibration will result in a blurry image. Do not try to balance your camera on a rock or a bag; a solid, reliable tripod is non-negotiable. Ensure its legs are firmly planted and the head is locked tight before you start shooting.
Choosing the Right Lens
The lens you choose is more important than the camera body itself. For meteor showers, you want a lens that is both 'wide' and 'fast'. A wide-angle lens, typically with a focal length between 14mm and 24mm, allows you to capture a large expanse of the sky, increasing your chances of a meteor streaking through your frame. A 'fast' lens has a wide maximum aperture, indicated by a low f-number like f/1.8 or f/2.8. This allows the lens to gather as much light as possible in a short time, which is crucial for capturing the faint, fleeting light of a meteor.
Dialling in the Perfect Settings
This is where preparation pays off. Set your camera to Manual (M) mode. First, set your aperture to its widest setting (the lowest f-number). Next, set your shutter speed to between 15 and 25 seconds. If you go much longer, the Earth's rotation will cause the stars to appear as trails instead of pinpoints. Set your ISO between 1600 and 3200 to start. A higher ISO makes the sensor more sensitive to light but also creates more digital 'noise'. Take a few test shots and review them on your camera screen to find the right balance. Finally, switch your lens to manual focus. Use your camera's Live View, digitally zoom in on the brightest star you can find, and carefully turn the focus ring until that star is a sharp, tiny dot. Once set, do not touch the focus ring again.
Crucial Accessories You Shouldn't Forget
An intervalometer or remote shutter release is a game-changer. This device allows you to take pictures without physically touching the camera, eliminating vibrations. More importantly, you can program it to take a continuous series of photos, one after another. Since you can't predict when a meteor will appear, this method maximises your chances of capturing one. Also, long exposures and cool nights drain batteries fast, so bring at least two fully charged spares. A high-capacity memory card is also essential, as you should be shooting in RAW format to capture the most detail for later editing. Finally, pack a headlamp with a red light mode. Red light preserves your night vision, allowing you to see your gear without ruining your eyes' adaptation to the dark.