



The Discard Dilemma
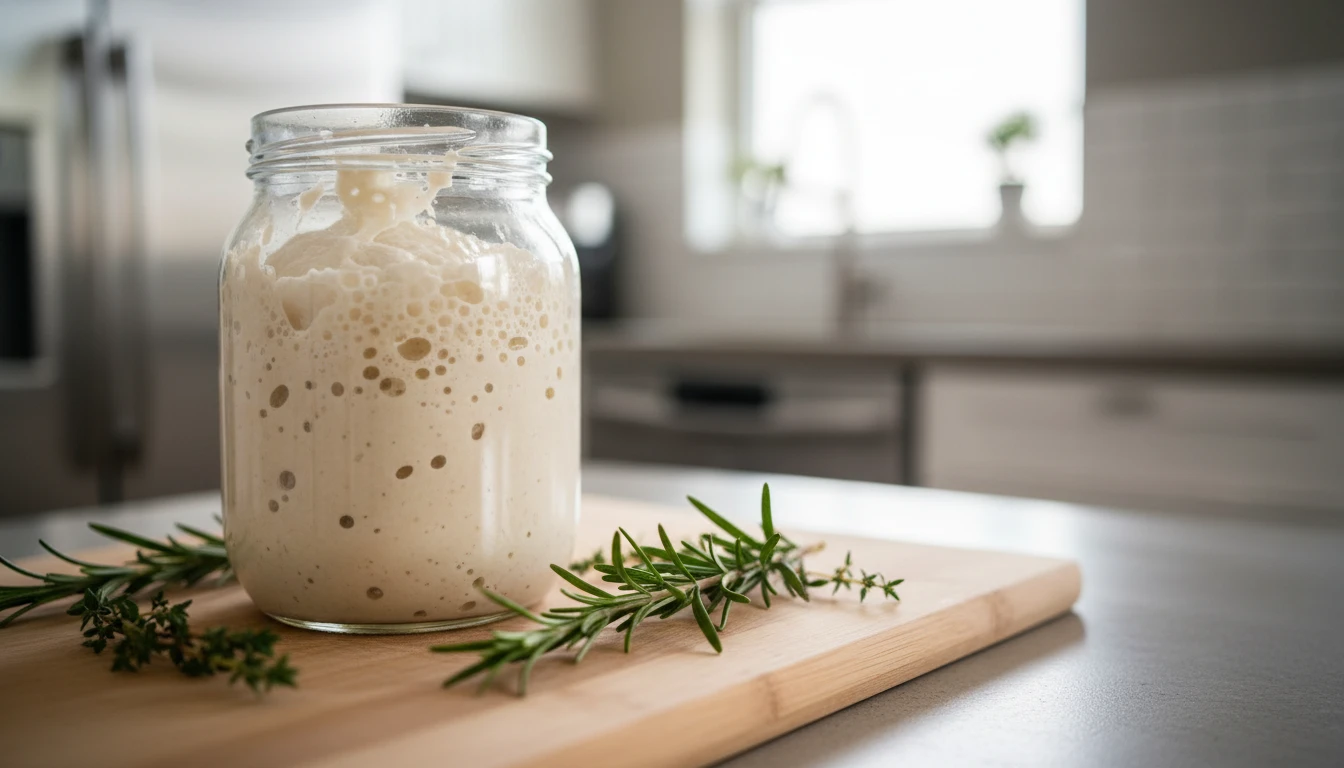
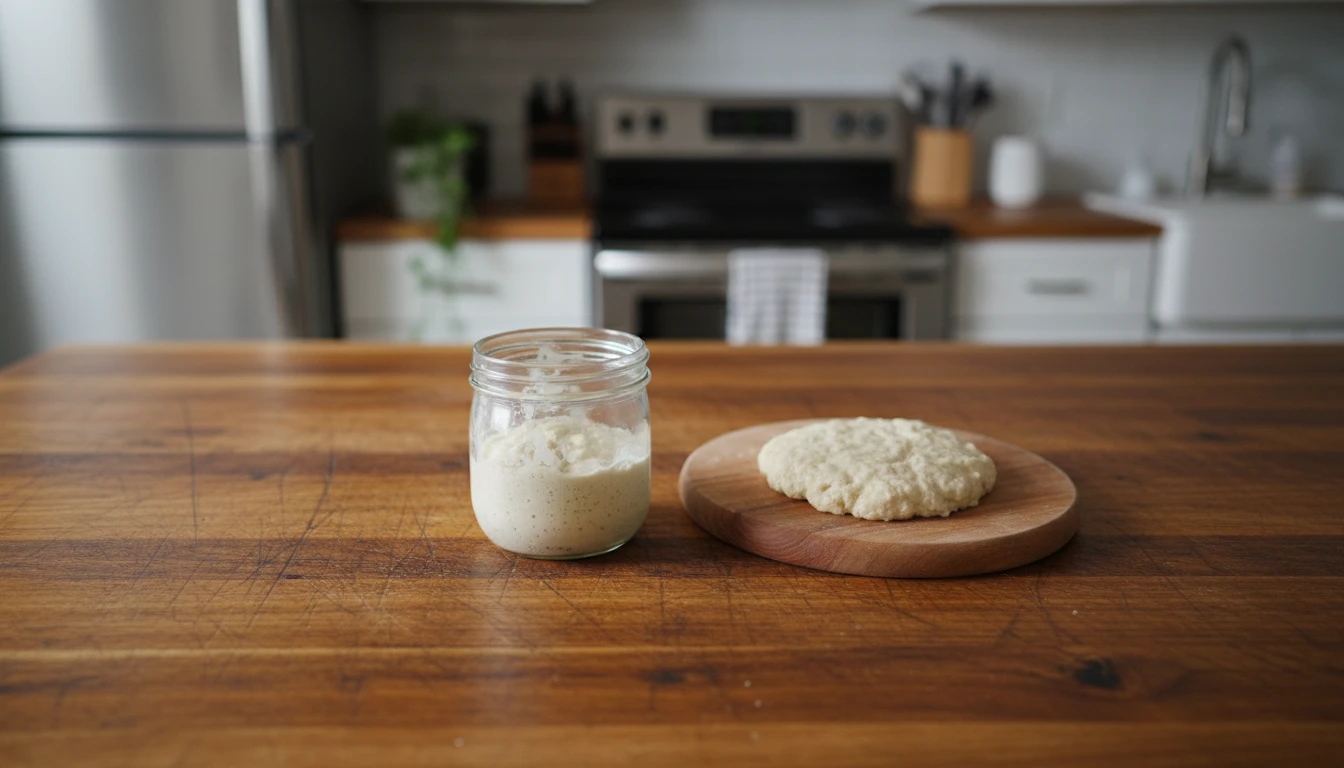
If you maintain a sourdough starter, you're familiar with the process of discarding a portion before each feeding. This isn't waste; it's a necessary step to keep your starter vigorous and healthy. The discard is simply unfed starter, a potent mix of flour,
water, and wild yeasts. While it may not have the power to leaven a full loaf of bread on its own, it’s packed with the complex, tangy flavour that makes sourdough unique. Rather than viewing it as a byproduct to be thrown away, think of it as a flavour-packed ingredient waiting for a new purpose. Many bakers keep a dedicated jar in the fridge to collect discard over several days, building up a supply for various recipes. This practice is the first step toward a truly zero-waste baking routine.
Why Pan-Fry Your Discard?
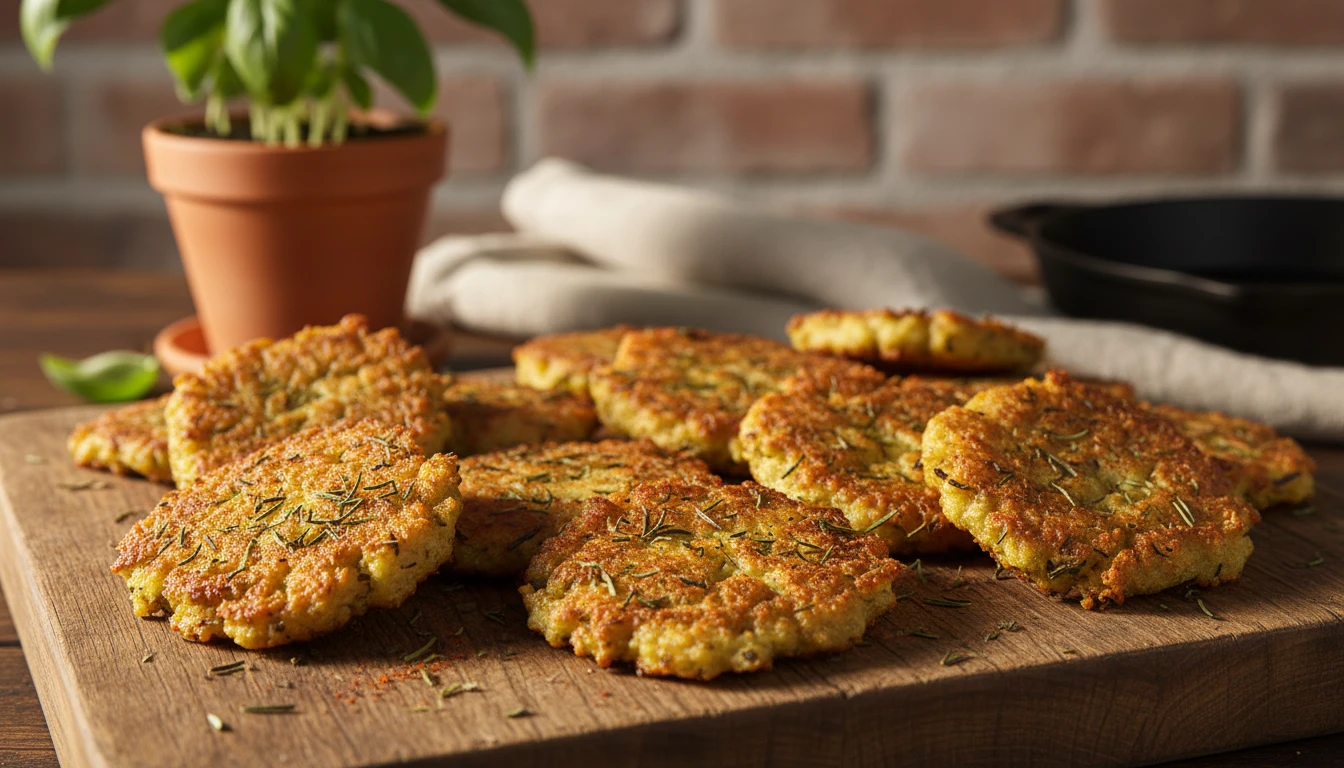
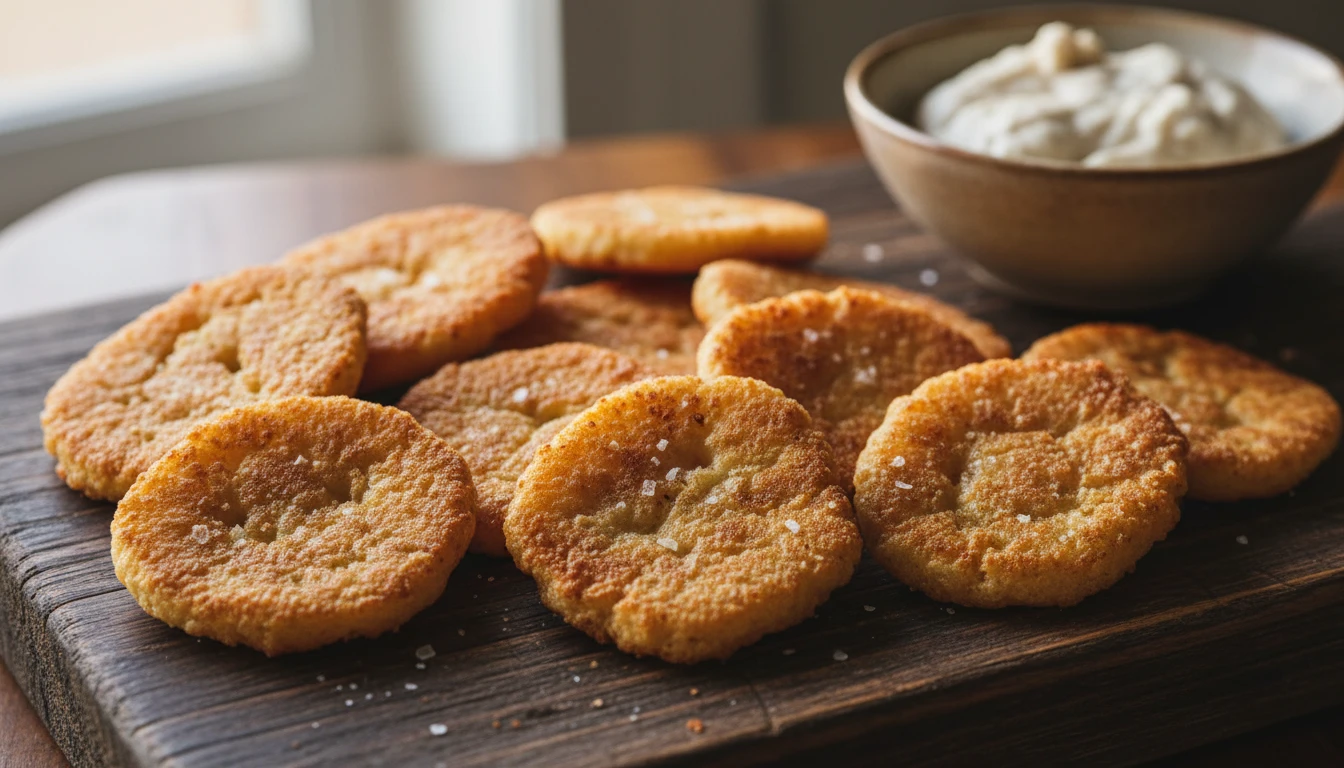
While there are countless recipes for using sourdough discard, from pancakes to cookies, the pan-frying method is uniquely satisfying for its speed and simplicity. There’s no need to turn on the oven or mix up a complicated dough. All you need is your discard, a hot pan, and a little fat. This technique directly converts the discard batter into a finished snack in minutes. The result is a delightful contrast in textures: shatteringly crisp edges with a soft, slightly chewy interior. The fermentation in the discard lends a savoury, almost cheesy depth of flavour that you can’t get from a simple flour-and-water batter. It's an immediate, gratifying way to see (and taste) the benefits of not wasting a single drop of your starter.
The Basic Method for Crispy Snacks
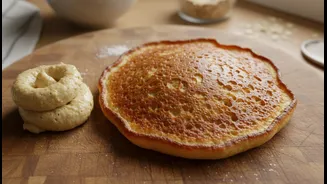
Creating these snacks couldn't be easier. Start with your sourdough discard, straight from the fridge is fine. For every cup (about 200 grams) of discard, you'll need a bit of fat for the pan, like butter or olive oil, and a pinch of salt. Heat your pan over medium-low heat with the butter or oil. Once hot, pour or spoon the discard directly into the pan, using a spatula to spread it into a thin, even layer. The thinner you spread it, the crispier the final product will be. Cook for about 4-5 minutes on the first side, until the edges are golden brown and lifting from the pan. Flip carefully and cook for another 3-4 minutes on the other side until it's cooked through and crisp. The key is to cook it low and slow; too high a heat will burn the outside before the inside is cooked.
Customising Your Crisps
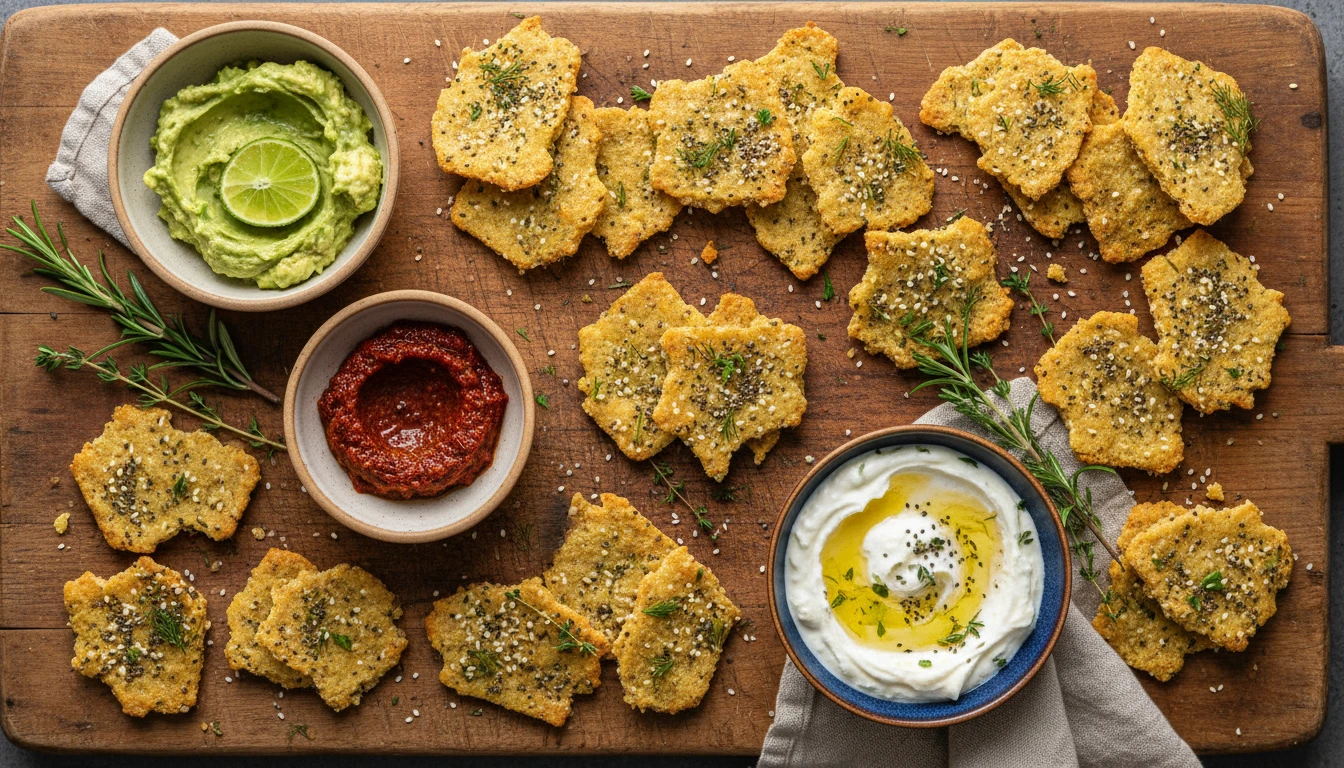
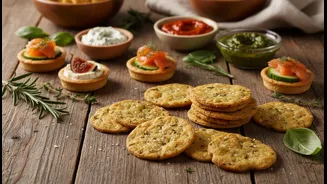
The basic recipe is a perfect blank canvas for your culinary creativity. Before you pour the batter, consider mixing in seasonings to elevate the flavour. A sprinkle of flaky sea salt on top as it cooks is a must, but don't stop there. Try adding dried herbs like rosemary or thyme, everything bagel seasoning, garlic powder, or even a dash of paprika for a smoky kick. For a cheesy flavour without the cheese, nutritional yeast is a fantastic addition. You can also add finely chopped fresh ingredients like chives or scallions. These additions transform the simple snack into a gourmet cracker substitute, perfect for dipping or serving on a charcuterie board.
Serving and Storing
Once your crispy snacks are golden brown, transfer them to a wire rack to cool completely. This is a crucial step to ensure they stay crisp. They are fantastic on their own, but they truly shine when paired with dips like hummus, a creamy cheese spread, or fresh guacamole. Think of them as a hybrid between a cracker and a flatbread. Store any leftovers in an airtight container at room temperature for a few days. If they lose some of their crispness, you can easily refresh them in a hot, dry pan for a minute or two on each side. This simple, adaptable recipe not only helps you reduce kitchen waste but also provides a delicious, homemade snack you can feel good about making and eating.