


A Sweet from Krishna's Birthplace
The Mathura Peda is more than just a sweet; it is a piece of cultural heritage deeply intertwined with the story of Lord Krishna. Originating from Mathura in Uttar Pradesh, the city where Krishna was born, this milk-based delicacy is the quintessential
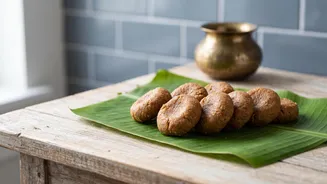
offering, or 'prasad', during Janmashtami celebrations. Its signature dark, caramelized colour and rich, grainy texture come from the unique process of slowly roasting milk solids, known as khoya or mawa. Legend holds that peda is one of Krishna's favourite sweets, making it an essential part of the festive bhog offered to him. Preparing it at home allows you to connect with this tradition in a personal and heartfelt way, filling your kitchen with the sacred aroma of devotion.
Gathering Your Ingredients
This recipe simplifies the traditional process without compromising on the authentic taste. The key is using good quality khoya, which is readily available at most Indian grocery stores. For about 12-15 pedas, you will need just a handful of ingredients. Khoya (Mawa): 250 grams, grated for even roasting. Ghee (Clarified Butter): 2 to 3 tablespoons. Powdered Sugar: About ½ cup (or to taste). It's best to use 'boora' or 'tagar' if available, as it gives a better texture, but regular powdered sugar works well too. Cardamom Powder: ½ teaspoon, for a gentle fragrance. Milk: 2 to 3 tablespoons, only if needed. Granulated or Turbinado Sugar: For coating the finished pedas.
The Art of Roasting Khoya
The most crucial step in making authentic Mathura peda is the roasting of the khoya. This is what develops its unique colour and nutty, caramelized flavour. Patience is key here. Start by heating a heavy-bottomed, preferably non-stick, pan on low heat. Add the grated khoya and begin to roast it, stirring continuously. After a few minutes, as the khoya starts to melt and release its fat, add the ghee. Continue to stir and break up any lumps with your spatula. Over the next 15 to 20 minutes, you will see the mixture transform. It will go from pale white to a light golden and finally to a rich, dark brown. Keep the flame low throughout to prevent it from burning. If the mixture looks too dry at any point, you can add a tablespoon of milk. The goal is a granular, dark brown, and fragrant mixture.
Bringing It All Together
Once your khoya has reached the desired dark brown colour, turn off the heat and transfer it to a separate plate or bowl to stop the cooking process. Allow the mixture to cool down until it is just warm to the touch. This step is very important; if you add sugar to hot khoya, it will melt and turn the mixture into a sticky paste. When the roasted khoya is comfortably warm, add the powdered sugar and cardamom powder. Using your hands, mix everything together thoroughly until the sugar is fully incorporated and you have a consistent, dough-like mixture. It should not be overly smooth; the slight graininess is a hallmark of Mathura peda.
Shaping and Finishing Your Pedas
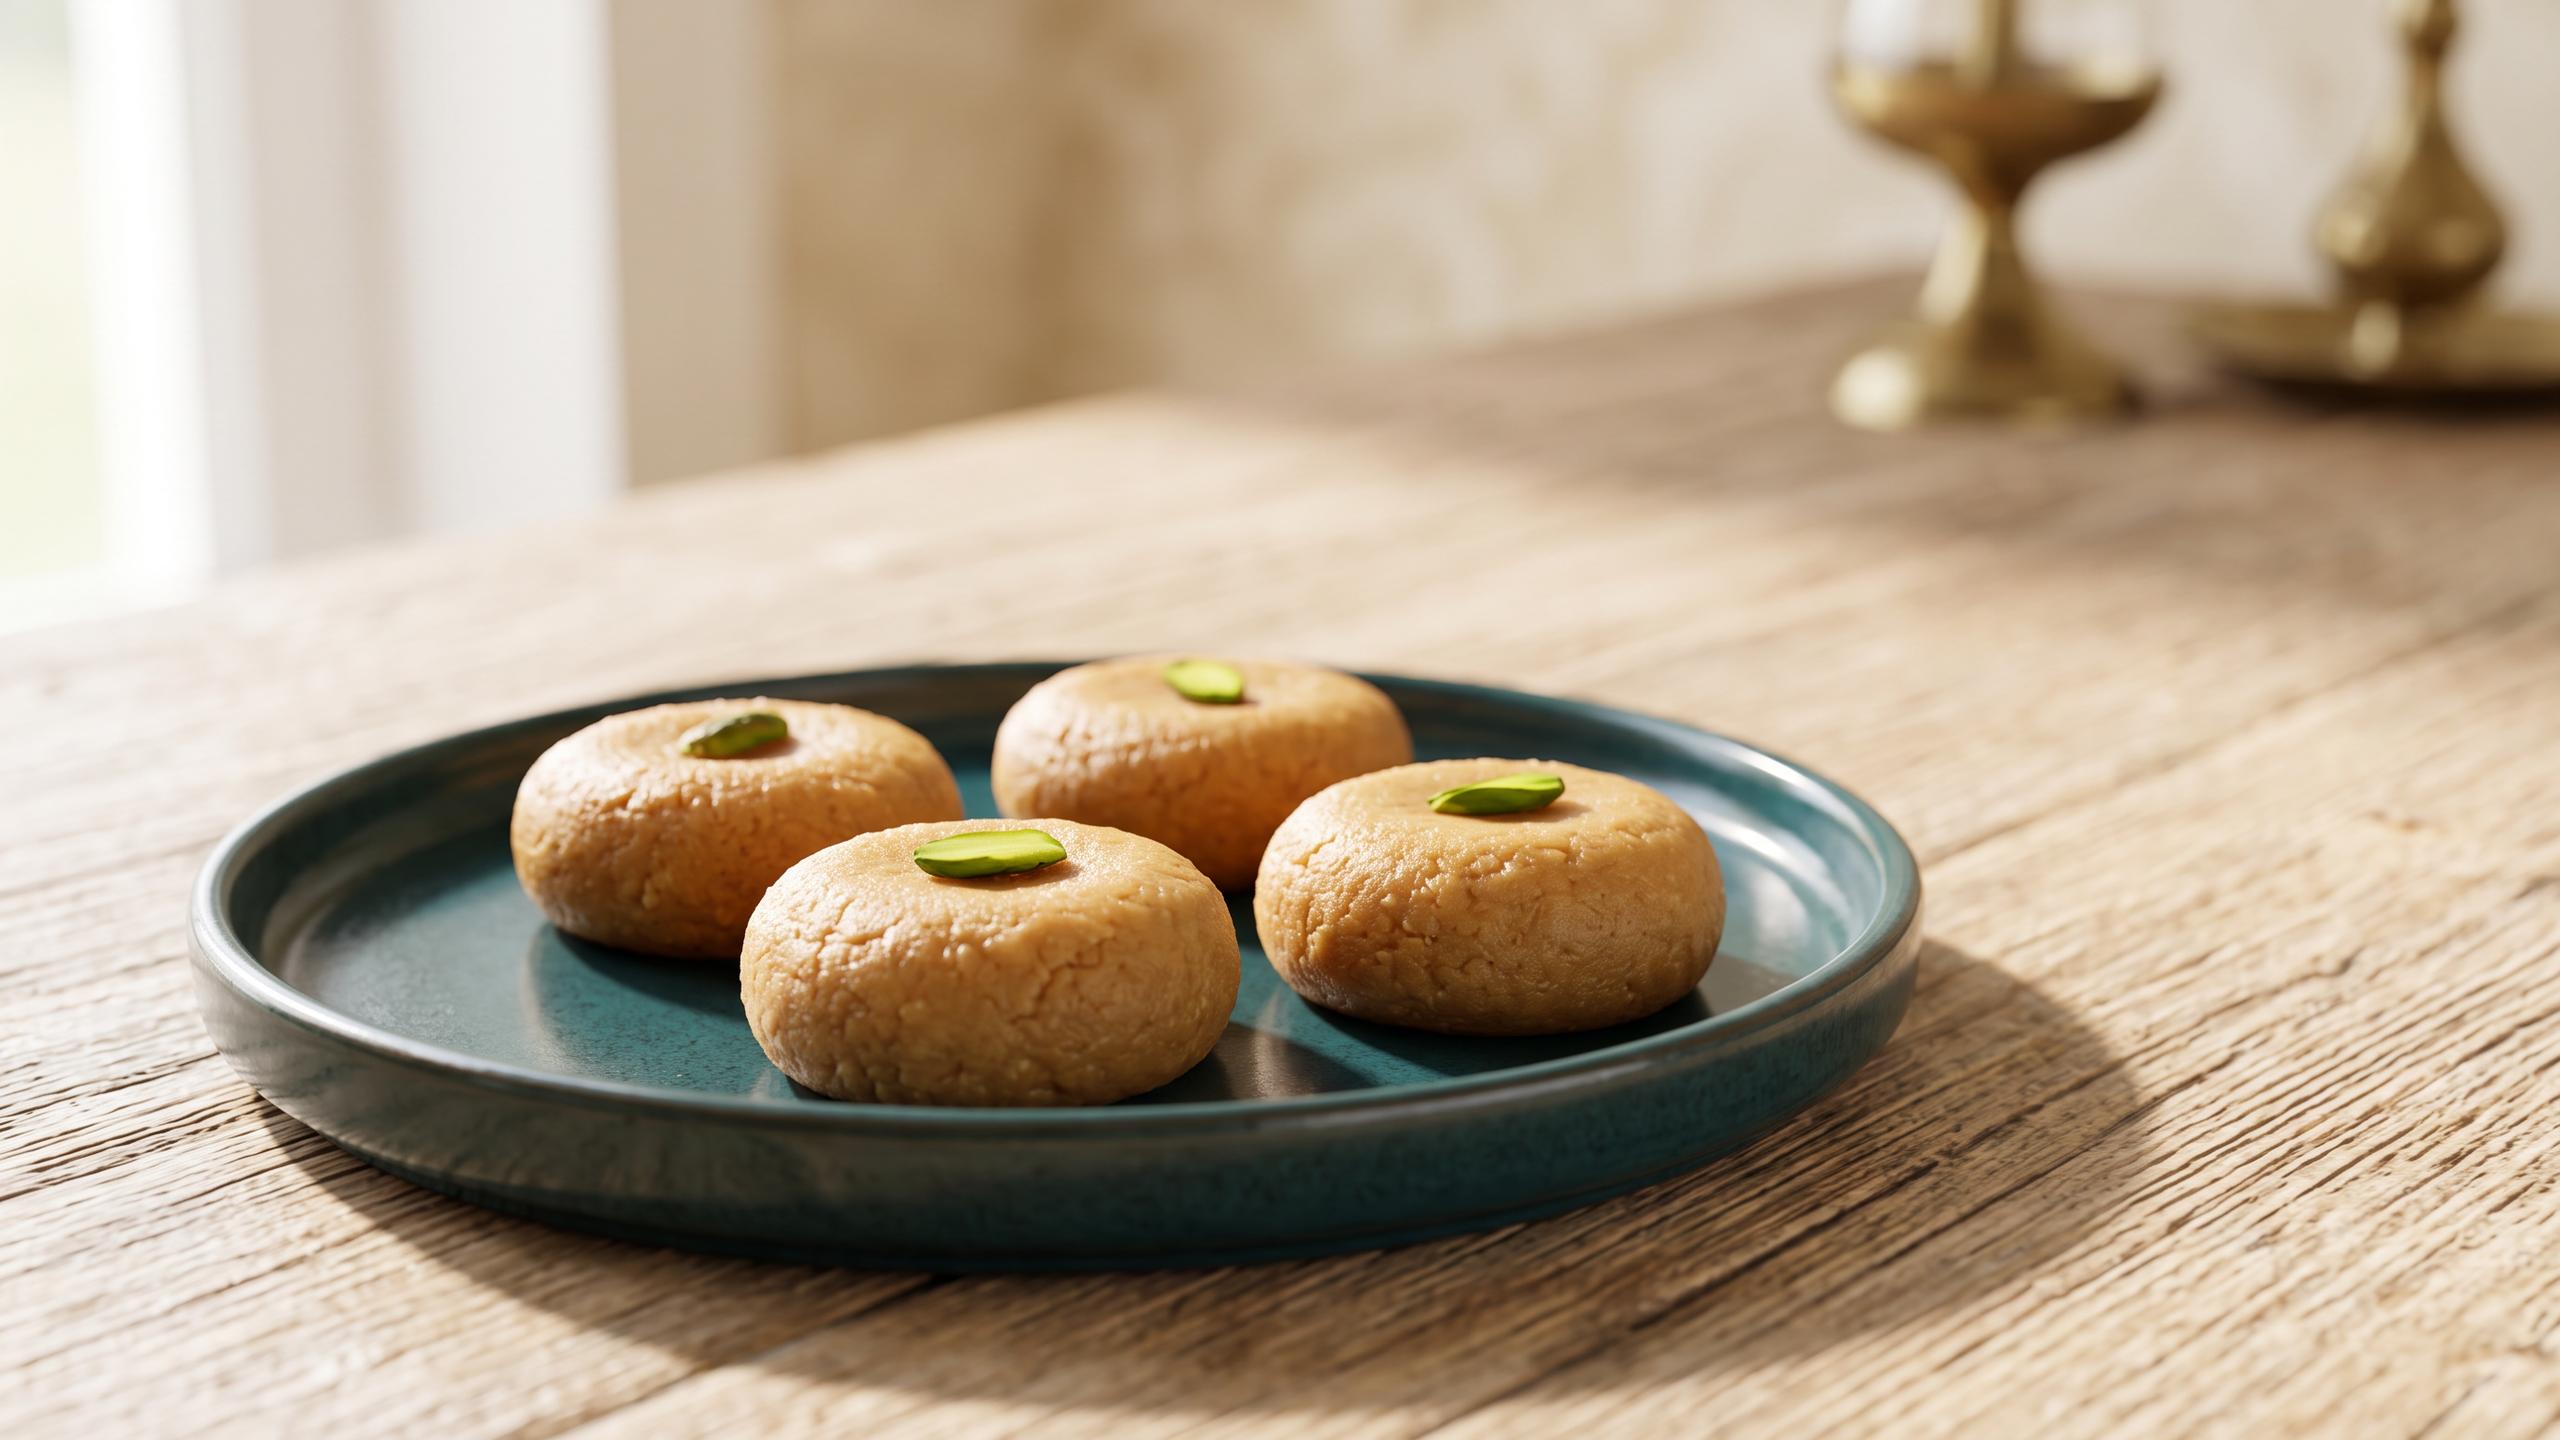
Now for the final, rewarding step. Take small portions of the prepared mixture and roll them between your palms to form round balls. You can then gently flatten them into the classic peda shape. Traditionally, Mathura pedas are not perfectly uniform; they often have a slightly rustic, irregular shape which adds to their charm. Once shaped, roll each peda in a plate of granulated or turbinado sugar. This gives them their characteristic sugary coating and a delightful textural contrast. You can make a small indentation in the centre and garnish with a sliver of pistachio if you wish, though it's not traditional. Your homemade Mathura ke Pede are now ready to be offered as bhog or enjoyed by your family.