


Why Everyone Is Obsessed
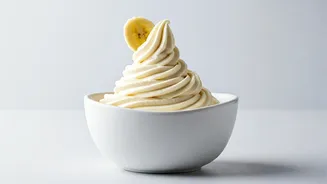
This dessert, often called "nice cream," has taken the internet by storm for good reason. Its popularity boils down to a few key points. First, it’s incredibly simple. All you truly need is one core ingredient: frozen bananas. Second, it's a healthy alternative
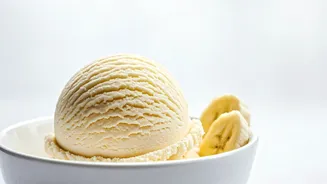
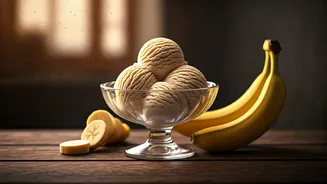
to traditional ice cream. Made from fruit, it's naturally sweet, dairy-free, and contains no added sugar, making it a guilt-free treat you can enjoy anytime. Finally, it's a brilliant way to use up those overripe bananas sitting on your counter, transforming them from a potential waste item into a delicious, creamy dessert. The result is a texture surprisingly similar to soft-serve ice cream, all achieved through the magic of blending frozen fruit.
The Basic 2-Ingredient Recipe
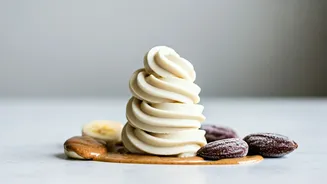
Ready to try it for yourself? The process couldn't be easier. The second ingredient is technically optional but helps achieve the perfect consistency. Start with 3-4 very ripe bananas—the more brown spots, the sweeter the flavor. Peel and slice them into coins, about a half-inch thick. Arrange the slices in a single layer on a tray or plate and freeze for at least two hours, or until solid. Once frozen, transfer the banana slices to a high-powered blender or food processor. Add a splash (about 1-2 tablespoons) of milk or a non-dairy alternative like almond or oat milk. This small amount of liquid helps the blending process without thinning the mixture too much. Blend on high, stopping to scrape down the sides as needed. Be patient; the bananas will first look crumbly, then pasty, and finally, they will transform into a smooth, creamy, soft-serve consistency.
Tips for Perfect Creaminess
While the recipe is straightforward, a few tips can elevate your banana nice cream from good to great. Using very ripe, spotty bananas is non-negotiable for the best natural sweetness and flavor. Freezing the bananas in slices rather than whole ensures they blend more easily and puts less strain on your appliance. A food processor often works best as it requires less liquid, resulting in a thicker, creamier final product. If you're using a blender, especially one that's not high-powered, you may need to let the frozen banana slices sit at room temperature for about 5-10 minutes to soften slightly. This makes them easier to break down. Don't be afraid to stop and scrape down the sides of the bowl multiple times. This ensures all the banana pieces are incorporated, leading to a uniformly smooth texture.
Endless Flavor Variations
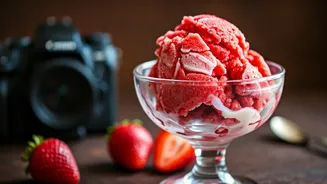
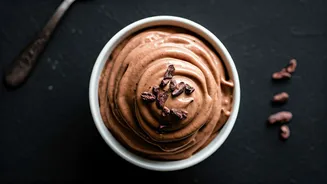
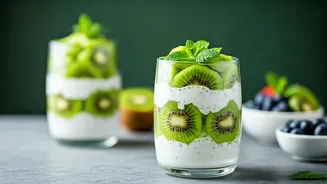
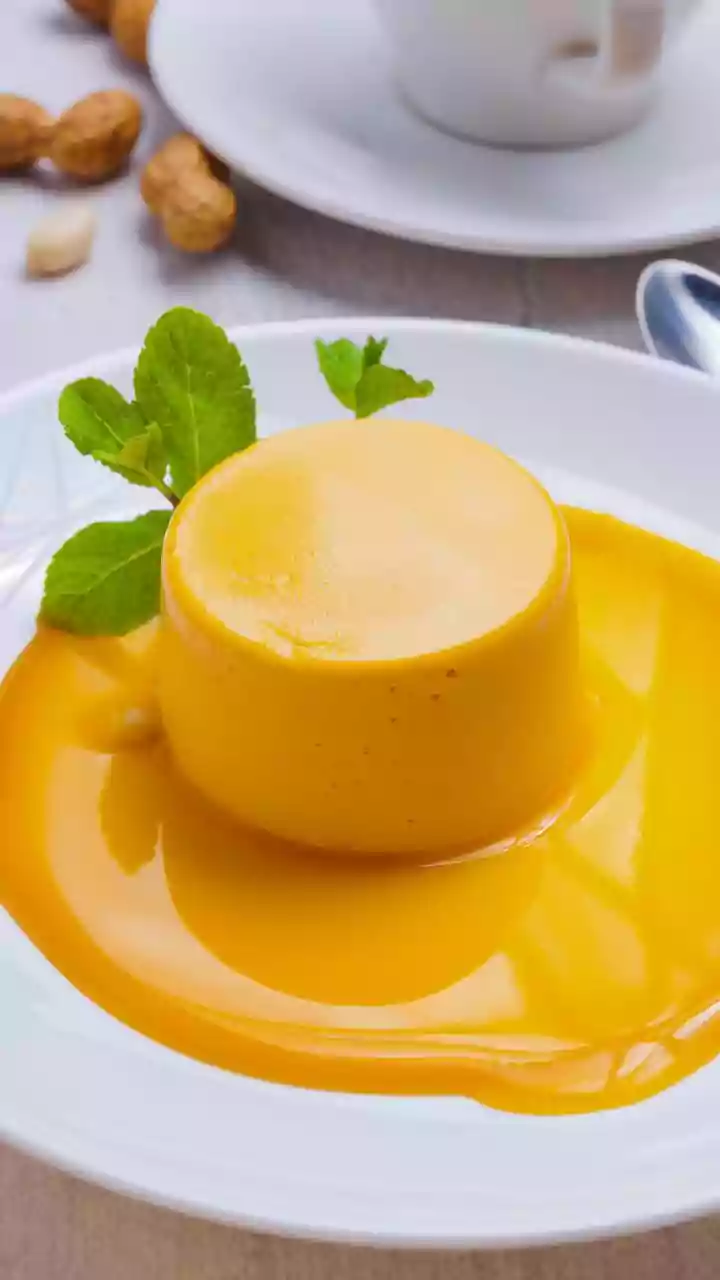
The simple banana base is a perfect canvas for your creativity. Once you've mastered the basic recipe, the possibilities for flavor variations are nearly limitless. For a classic chocolate version, add 2-3 tablespoons of unsweetened cocoa powder. For a nutty twist, blend in 2 tablespoons of peanut butter, almond butter, or even Nutella. Create a refreshing mint chocolate chip by adding a splash of peppermint extract and stirring in mini chocolate chips after blending. You can also incorporate other frozen fruits. Try a strawberry-banana version by swapping out one of the bananas for a cup of frozen strawberries. Other popular additions include vanilla extract, cinnamon, protein powder, or instant coffee for a mocha flavor.
Serving and Storing Your Nice Cream
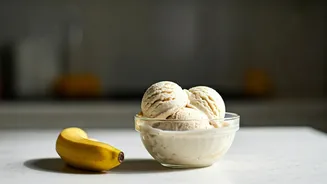
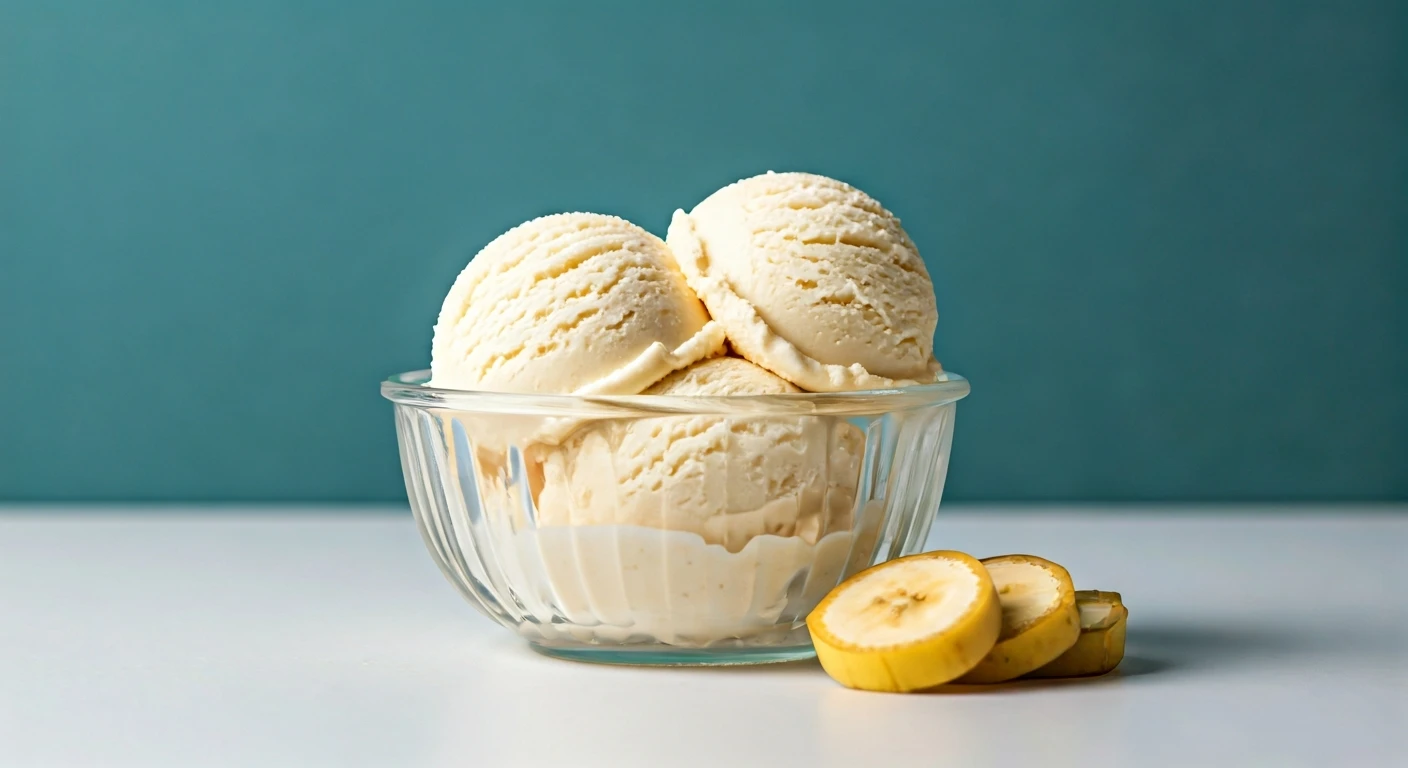
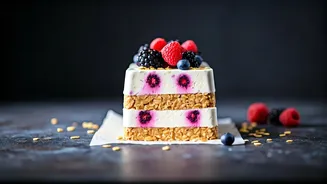
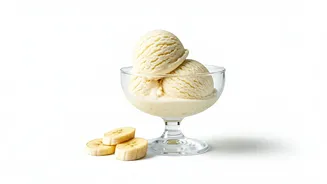
Banana nice cream is best enjoyed immediately after blending, when its texture is most like fresh soft-serve. Scoop it into a bowl and add your favorite toppings, such as fresh berries, chopped nuts, granola, or a drizzle of chocolate sauce. If you have leftovers or prefer a firmer, more scoopable ice cream, you can transfer the mixture to a loaf pan or a freezer-safe container. Freeze for at least two to four hours. Keep in mind that it will freeze quite hard. When you're ready to serve it again, let it sit at room temperature for about 10-15 minutes to soften enough to scoop easily. While the texture might be slightly icier than when first made, it will still be a delicious and refreshing treat.