
Is It Time for a New Home?
Before you get your hands dirty, it's crucial to know if your plant actually needs a new pot. Repotting can be stressful for a plant, so you only want to do it when necessary. Look for a few tell-tale signs. The most obvious is roots growing out of the
drainage holes at the bottom of the pot. You might also see roots pushing the plant up or circling the soil surface. Another key indicator is how quickly the soil dries out. If you find yourself watering far more frequently than you used to, it could mean the roots have displaced so much soil that there's little left to hold moisture. Similarly, slowed or stunted growth, especially during the growing season, can signal that the plant is 'root-bound' and has no more room to expand.
Gather Your Tools and Pot
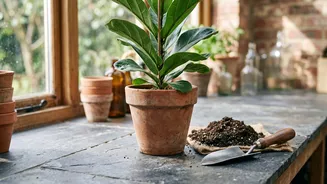
A little preparation makes the process smooth and stress-free for both you and your plant. You'll need a new pot, fresh potting mix, and a watering can. It's also helpful to have a trowel and a surface you don't mind getting messy. When choosing a new pot, size is everything. A common mistake is moving to a pot that is too large, which can lead to the soil staying wet for too long and causing root rot. As a general rule, select a new pot that is only about 2 to 4 inches larger in diameter than the current one. This gives the roots enough space to grow without being overwhelmed. Ensure the new pot has drainage holes; proper drainage is non-negotiable for a healthy plant.
The Secret is in the Soil
Never use soil directly from your garden to repot houseplants. Garden soil is too dense, can become compacted, and may contain pests or diseases that will harm your container plant. Always opt for a quality potting mix, which is specifically formulated for container environments. These mixes are lighter, help prevent soil compaction, and provide good drainage and aeration for the roots. Most common houseplants will do just fine in an all-purpose potting mix. However, for certain plants like succulents, cacti, or orchids, it's best to use a specialized mix designed for their specific needs, as these often contain more sand or bark for increased drainage.
Gently Removing the Plant
This is the stage where you need to be most careful to protect the roots. To minimize shock, water your plant thoroughly about an hour or two before you plan to repot it; this helps the root ball slide out more easily. To remove the plant, turn the pot on its side and gently tap the bottom and sides. With one hand supporting the base of the plant and the soil surface, gently guide the plant out. Avoid pulling it out by the stem. If it’s stuck, you can try squeezing the sides of a flexible plastic pot or running a knife around the inner edge of a rigid one to loosen it.
Inspecting and Loosening Roots
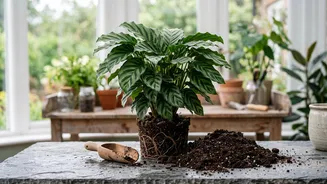
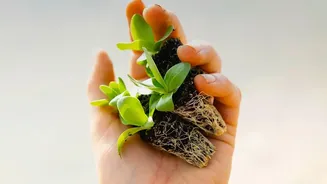
Once the plant is free, take a look at the root system. If the roots are tightly wound in a circle—a classic sign of a root-bound plant—you need to gently loosen them. You can tease them apart with your fingers to encourage them to grow outwards into the new soil. Don't be afraid to be firm but gentle; the goal is to break up the circling pattern. If the root ball is extremely dense, you can even make a few vertical cuts with a clean knife or trim away some of the outer roots. This stimulates new root growth. While you're there, trim off any roots that look black, mushy, or dead, as these are signs of rot.
Settling into the New Pot
Place a layer of fresh potting mix at the bottom of the new pot. Position your plant in the center, ensuring the top of the root ball sits about an inch below the rim of the new pot. This space at the top is important to prevent water from overflowing when you water it. Begin filling in the space around the root ball with more potting mix. Gently press the soil down as you go to eliminate any large air pockets, but don't compact it too tightly, as roots need air to breathe. Once filled, tap the pot on your work surface a couple of times to help the soil settle.
Essential Aftercare
After the plant is snug in its new home, give it a thorough watering until you see water run out of the drainage holes. This helps settle the soil around the roots. Your plant has just been through a significant event, so it needs time to recover. Place it in a spot with the same or slightly less light than it's used to, avoiding direct sun which can add stress. Most importantly, hold off on fertilizing for at least a month. The fresh potting mix contains plenty of nutrients, and adding more can burn the sensitive, recovering roots.