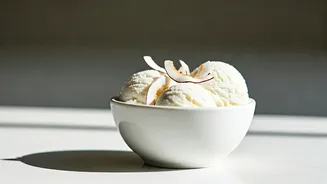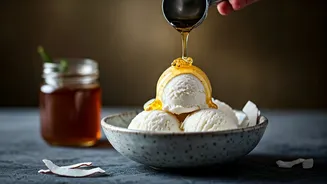


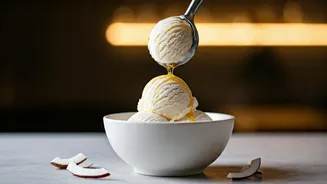


The Appeal of a Simple Treat
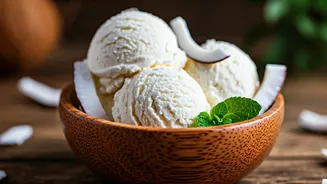
In a world of complex recipes and elaborate cooking shows, there's a certain magic to a dessert that's both stunningly delicious and incredibly easy to make. The viral tender coconut ice cream trend is built on this very principle. Its popularity, particularly
in India, stems from its connection to a beloved, nostalgic flavour—the fresh, sweet taste of coconut malai, often associated with a refreshing break on a hot day. The trend promises to replicate the taste of iconic brands like Naturals Ice Cream, which pioneered the flavour. What makes this homemade version go viral is its accessibility; it’s a “no-churn” recipe, meaning it sidesteps the need for an expensive and bulky ice cream machine. The result is a dessert that feels premium but is achievable for anyone with a freezer and a blender or even just a whisk.
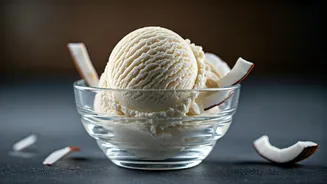
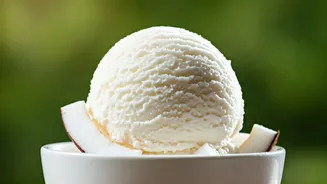
Gather Your Core Ingredients
The beauty of this recipe lies in its simplicity, typically requiring just four or five basic ingredients. Since the ingredient list is short, using high-quality components will make a noticeable difference in the final product. Here’s what you’ll generally need: Tender Coconut Meat (Malai): This is the star of the show. Use fresh, soft malai for the best flavour and a smooth texture. You will blend most of it and keep some chopped to add a delightful chewy texture to the ice cream. Heavy Cream or Whipping Cream: This forms the rich, creamy base of the ice cream. For best results, the cream should be chilled before you start whipping it. Sweetened Condensed Milk: This provides sweetness and also contributes to a soft, scoopable texture, preventing the ice cream from freezing into a solid, icy block. Tender Coconut Water: A small amount is often used to help blend the coconut meat into a smooth paste, adding another layer of authentic flavour.
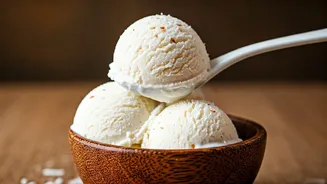
The No-Churn Method Explained
Making this ice cream is a straightforward process that can be broken down into a few simple steps. No fancy tools are required—a basic electric mixer, a blender, or even a wire whisk will do the job. 1. Prepare the Coconut: Start by blending most of your tender coconut meat with a little coconut water until you have a smooth paste. Set aside some finely chopped coconut meat to be folded in later for texture. 2. Whip the Cream: In a chilled bowl, whip the cold heavy cream until it forms soft or stiff peaks. This incorporates air and creates a light, voluminous base. Be careful not to over-whip, or you might end up with butter. 3. Combine the Ingredients: Gently fold the sweetened condensed milk into the whipped cream. Once combined, fold in the blended coconut paste and the reserved chopped coconut pieces. 4. Freeze: Pour the mixture into a freezer-safe container. To prevent ice crystals from forming, some recipes recommend pressing plastic wrap directly onto the surface of the mixture before covering it. Freeze for at least 6-8 hours, or until firm.
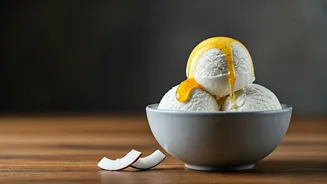
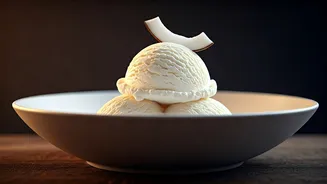
Tips for Perfect Creaminess
The main challenge with no-churn ice cream is avoiding an icy texture. The key is in the technique. One popular method to ensure creaminess is to take the container out of the freezer every hour for the first 3 hours and whisk the mixture vigorously. This breaks up any large ice crystals that are forming. Another pro-tip involves a second blending. Once the ice cream is frozen solid, you can chop it into chunks, put it back in a blender or food processor, and blend it again until it reaches a soft-serve consistency before freezing it a final time. This extra step guarantees an incredibly smooth, professional-quality texture. For a more intense coconut flavour, some variations suggest using full-fat coconut milk in addition to the cream. You can also customize your creation by adding a pinch of cardamom or vanilla extract.