


Decoding the Distress Signal
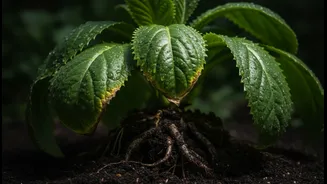
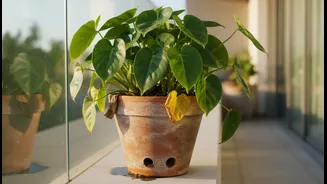
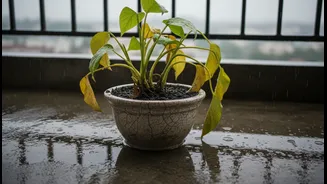
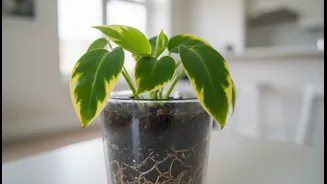
Not all yellow leaves signal doom. A plant can yellow for many reasons, including underwatering, nutrient deficiencies, or even natural ageing. The key difference with root rot is the context. If your plant's leaves are turning yellow, especially the lower
ones, and the soil is consistently damp, that's a major red flag. Another telltale sign is a plant that looks wilted and thirsty even after you've watered it. This happens because the rotting roots can no longer absorb water and nutrients, effectively starving the plant despite being in wet soil. An underwatered plant's leaves, by contrast, will often feel dry and crispy.
What is Root Rot?
Root rot is a disease that occurs when a plant's roots are deprived of oxygen due to waterlogged soil. This soggy, airless environment becomes a perfect breeding ground for fungi and bacteria that attack and decompose the roots. The main culprits are overwatering, poor drainage, or using a pot that is too large for the plant, as the excess soil holds too much moisture. Without functioning roots to transport water and nutrients, the plant's health rapidly declines, with yellowing leaves being one of the first visible symptoms above ground.
The Root of the Problem: A Visual Inspection
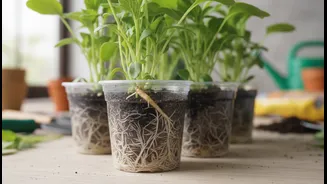
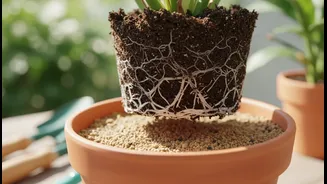
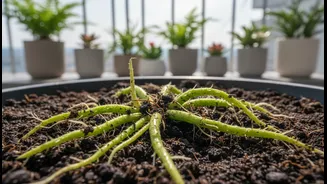
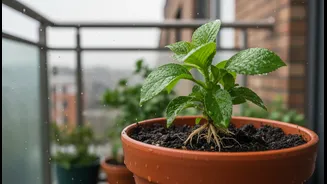
To confirm root rot, you must investigate beneath the soil. Gently slide the plant out of its pot to examine the root ball. You might immediately notice a sour or musty smell, a clear sign of decay. Healthy roots are typically firm and white or light tan. In stark contrast, roots suffering from rot will be brown or black, feel soft and mushy, and may even fall apart or pull away easily when you touch them. If you find these symptoms, it is time to act fast to save your plant.
The Rescue Mission: Treating Root Rot
If you've confirmed root rot but still see some healthy, white roots, there is hope. First, gently rinse all the soil from the root ball under lukewarm water to get a clear view. Using a pair of clean, sterilized scissors or pruning shears, carefully trim away all the brown, mushy roots. It's crucial to be thorough and cut back into healthy tissue to ensure no rot is left behind. Some gardeners also recommend rinsing the remaining healthy roots with a diluted hydrogen peroxide solution (one part 3% peroxide to one part water) to kill any lingering pathogens.
A Fresh Start: Repotting Your Plant
After trimming the roots, repot the plant in a clean pot with fresh, well-draining potting mix. Never reuse the old soil, as it can harbor the fungal spores that caused the problem in the first place. Ensure the new pot has adequate drainage holes. If you had to remove a significant portion of the roots, you may want to prune back some of the plant's foliage as well. This helps balance the plant, as the smaller root system will not have to support as much leafy growth. After repotting, water lightly and allow the soil to dry out more than usual before watering again.
Prevention Is the Best Medicine
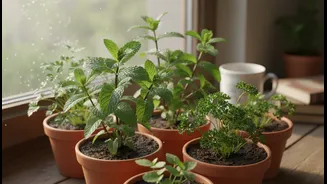
The best way to deal with root rot is to prevent it from ever starting. The single most important rule is to avoid overwatering. Always check the soil before watering; a common method is to stick your finger two inches deep—if it feels dry, it's time to water. Ensure all your pots have drainage holes to allow excess water to escape. Using a well-draining soil mix appropriate for your specific plant is also key to promoting healthy, aerated roots. Finally, avoid placing your plant in a pot that is too large for its root system, as this can lead to the soil staying wet for too long.