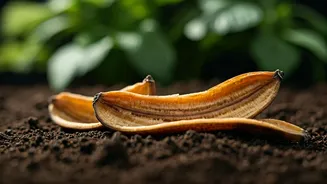


The Power Locked Inside the Peel
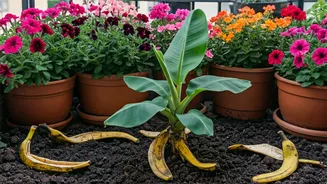
So, what’s the big deal with a banana peel? It’s all about the nutrients. Banana peels are a fantastic organic source of potassium, a vital macronutrient for plants. Potassium plays a crucial role in several key functions: it strengthens a plant's ability
to withstand pests and diseases, aids in water and nutrient transport, and is essential for developing strong flowers and fruits. If you have flowering plants like hibiscus, bougainvillaea, or even fruiting ones like chillies and tomatoes on your balcony, potassium is their best friend. While the peels also contain smaller amounts of phosphorus, calcium, and magnesium, potassium is the main event. Simply burying a peel in the soil works, but it's a slow process. Fermentation is the game-changer. This process uses beneficial microbes to break down the tough peel, converting its locked-up nutrients into a liquid form that plant roots can absorb almost immediately. It’s like pre-digesting the food for your plants, giving them a quick and easy-to-use boost.
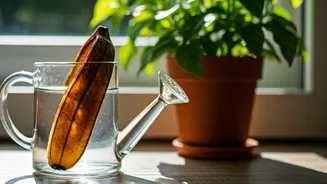
Your Step-by-Step Fermentation Guide
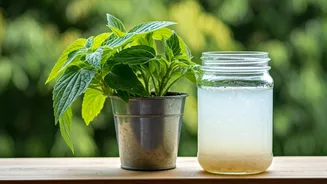
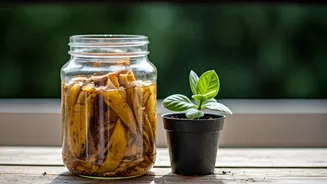
Creating your own fermented banana peel fertilizer is surprisingly simple and a great way to reduce kitchen waste. All you need is a large glass or plastic jar with a lid, banana peels, and water. 1. **Collect and Chop:** As you eat bananas through the week, save the peels. Chop them into small, 1-inch pieces. The smaller the pieces, the faster they will break down. 2. **Fill the Jar:** Place the chopped peels into your jar. A good rule of thumb is to fill the jar about one-third to one-half full with the peels. 3. **Add Water:** Fill the rest of the jar with water, leaving an inch or two of space at the top. It’s best to use unchlorinated water; you can leave tap water out for 24 hours to let the chlorine evaporate. 4. **Seal and Wait:** Screw the lid on tightly and place the jar in a cool, dark place, like under your kitchen sink or in a cupboard. For the first few days, you may need to 'burp' the jar daily by opening the lid for a second to release the gases produced during fermentation. After that, just let it sit. The water will slowly turn cloudy and then brownish, and you might see bubbles. This is a good sign! Let it ferment for one to two weeks.
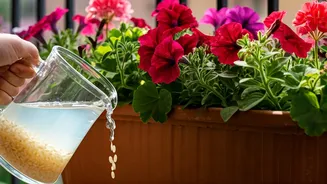
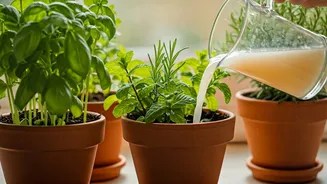
How to Use Your Liquid Gold
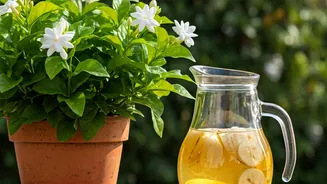
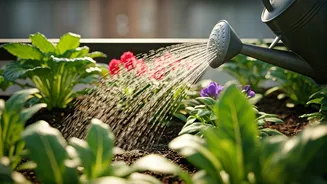
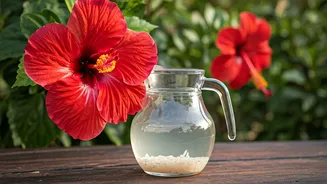
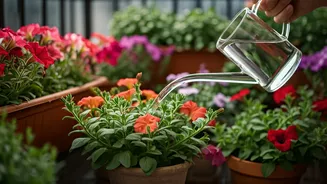
After a week or two, your fermented banana water is ready to use. The liquid will have a slightly sweet, vinegary smell, and the peels will look mushy and broken down. Now, it’s time to feed your plants. First, strain the liquid into another container to separate it from the solid peel remnants. Don't throw away the solids! You can add them to your compost bin or bury them deep in the soil of a larger pot. The strained liquid is concentrated, so you must dilute it before use. A safe ratio is one part fermented banana water to four or five parts plain water. For example, mix one cup of your banana brew with four cups of regular water. Use this diluted solution to water your plants as you normally would, pouring it directly onto the soil around the base of the plant. Avoid splashing it on the leaves. This tonic is especially beneficial for flowering plants, fruiting vegetables, and houseplants like pothos or monsteras that appreciate a potassium boost. Using it once every two weeks during the growing season is a great schedule to follow.
Pro-Tips and What to Avoid
While this is a fantastic natural fertilizer, it's not a complete meal for your plants. It lacks significant nitrogen, which is crucial for leafy growth. Think of it as a powerful supplement or a booster, not a replacement for good quality soil or a balanced all-purpose fertilizer. Be mindful of a few things. If your brew develops a foul, rotten smell instead of a tangy one, or if you see fuzzy green or black mould, it’s best to discard it and start over. A healthy ferment smells more like pickles than garbage. To avoid attracting fruit flies or other pests, always ensure you are watering the soil directly and not leaving pools of the solution on the surface. Straining the solids out is also key to preventing pests. Lastly, be patient. The benefits of organic feeding are cumulative and help build healthier soil and stronger plants over time, rather than producing the sudden, dramatic growth you might see from chemical fertilizers.