




The Link Between Water and Gnats
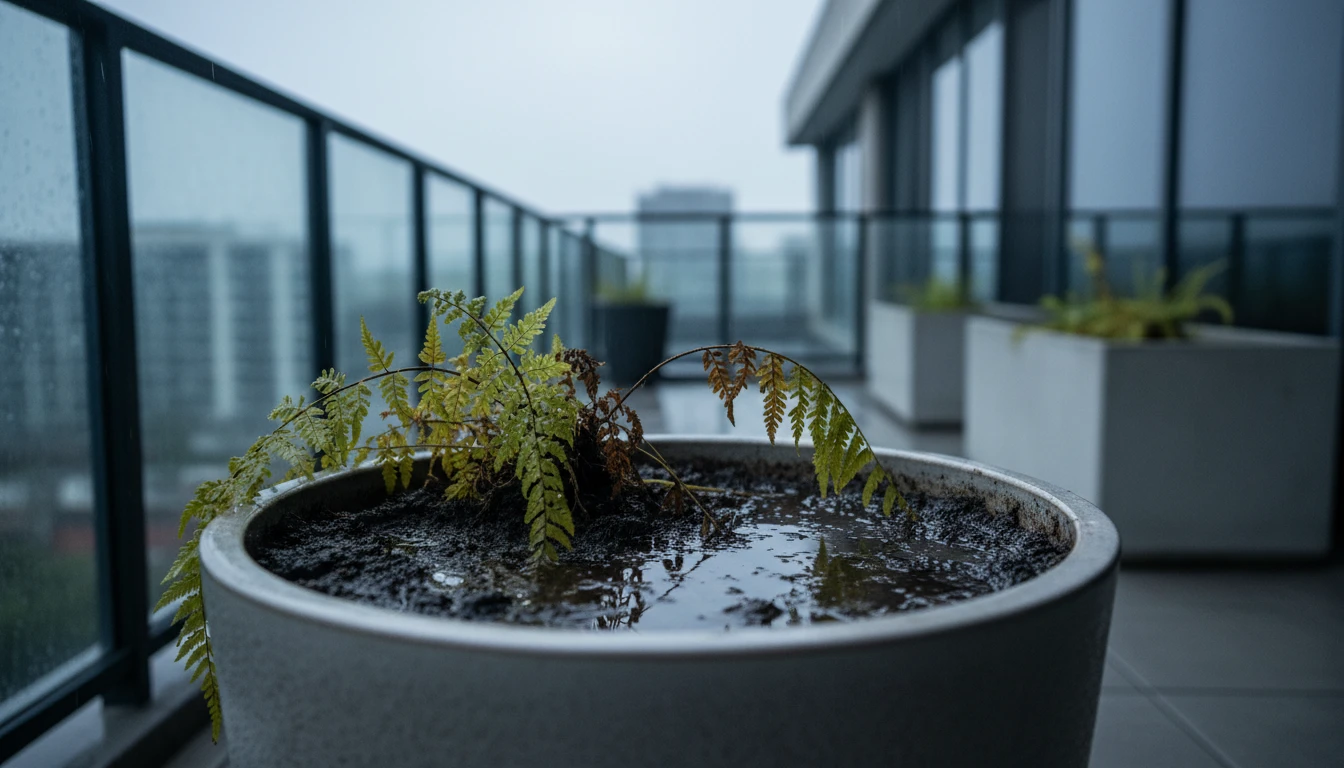
Waterlogging happens when soil becomes so saturated that water can't drain away, starving plant roots of the oxygen they need to survive. This soggy environment is not only a primary cause of root rot but also creates the perfect breeding ground for fungus
gnats. These tiny, mosquito-like insects lay their eggs in moist topsoil, where their larvae feed on fungi and decaying organic matter. If the infestation is large enough, the larvae will also feed on your plant's delicate root hairs, causing wilting, yellowing leaves, and stunted growth. By tackling poor drainage, you solve the root cause of both issues simultaneously.
Start with the Right Foundation
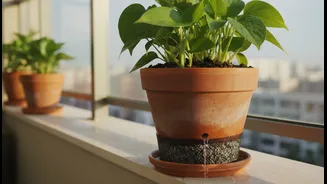
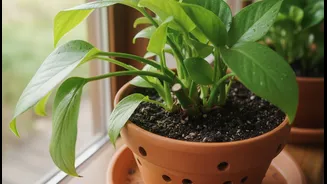
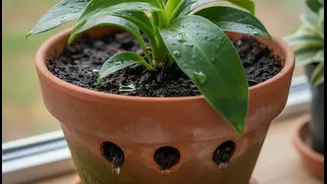
Effective drainage begins with your choice of container. Ensure every pot has adequate drainage holes. If a decorative pot lacks them, you have two options: carefully drill some yourself or use it as a cachepot. A cachepot is a decorative outer container that holds the plant's nursery pot. Simply place the plant, still in its plastic pot with drainage holes, inside the decorative one. After watering, wait about 30 minutes, then tip out any excess water that has collected in the bottom of the cachepot. This prevents the plant from sitting in stagnant water.
Build a Better Potting Mix
Garden soil is too dense and heavy for containers; it compacts easily and prevents water from escaping. Always use a high-quality potting mix specifically designed for containers. These mixes are lighter and engineered for superior drainage and aeration. Look for ingredients like perlite, vermiculite, and pine bark, which create air pockets for roots to breathe and water to flow through. For plants that are particularly sensitive to wet conditions, like succulents, choose a specialised cactus and succulent mix, which contains more sand or perlite for even sharper drainage.
Elevate Your Pots for Better Airflow
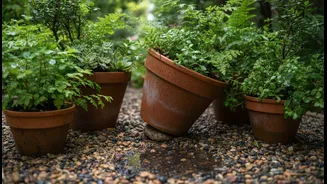
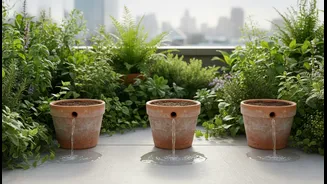
One of the simplest and most effective drainage tricks is to lift your pots off the ground. When a pot sits flat on a balcony floor, the drainage holes can become blocked or water can pool underneath, keeping the base of the soil constantly wet. Using 'pot feet' or even simple items like bricks or flat stones to raise the container by just an inch makes a huge difference. This small gap allows excess water to drain away freely and promotes air circulation around the entire pot, helping the soil dry out more evenly and discouraging pests.
Debunking the Gravel Myth
For years, gardeners were advised to add a layer of gravel or broken pot shards to the bottom of containers to improve drainage. However, horticultural science has shown this actually has the opposite effect. This practice creates something called a 'perched water table'. Essentially, water doesn't move easily from the fine-textured potting mix to the coarse-textured gravel layer. Instead, it collects in the soil just above the gravel, raising the saturated zone higher and closer to your plant's roots. For optimal drainage, it is better to use a uniform, well-aerated potting mix throughout the entire container.
Watering Wisely is Key
Smart drainage techniques are only effective when paired with proper watering habits. Instead of watering on a rigid schedule, check the soil first. The 'finger test' is a reliable method: stick your finger about an inch or two into the soil. If it feels dry, it's time to water. If it's still moist, wait another day or two and check again. When you do water, do so thoroughly until you see water flowing from the drainage holes. This ensures the entire root ball is hydrated and helps flush out any mineral buildup in the soil.