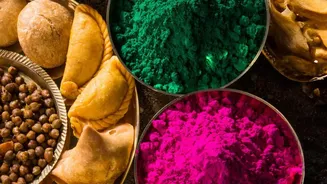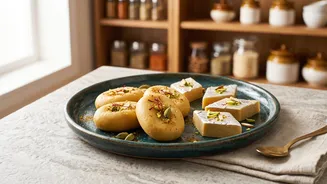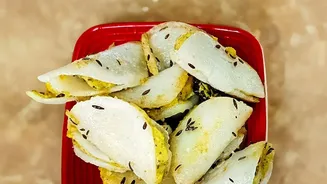





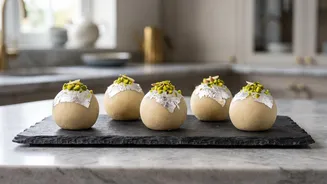
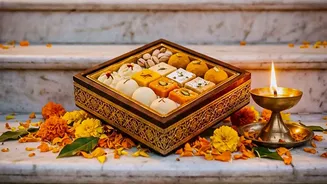
The aroma of gujiyas frying is the scent of celebration in many Indian homes. These golden, crescent-shaped pastries, filled with sweet mawa and nuts, are a festive staple. This guide will help you master this traditional mithai at home.
The Soul of the Gujiya: The Filling
The heart of a great
gujiya is its rich, aromatic filling. The traditional choice is a mixture centered around khoya (also known as mawa), which are milk solids. To begin, take about 1 cup of grated or crumbled khoya and dry-roast it in a pan on low heat until it turns a light golden brown and releases a nutty aroma. This step is crucial as it removes excess moisture, which enhances the shelf life of the gujiyas. Once roasted, transfer the khoya to a bowl and let it cool down completely. It is very important not to add sugar while the khoya is hot, as this will cause the sugar to melt and create a watery, sticky mixture that can make the gujiyas burst while frying. Once cool, mix in about ¾ cup of powdered sugar, ½ teaspoon of cardamom powder, and a generous ¼ cup of finely chopped nuts like almonds, cashews, and pistachios. Many recipes also include desiccated coconut or raisins for extra texture and flavour.
Crafting the Perfect Crispy Shell
The secret to a perfectly crisp and flaky gujiya shell—one that provides a satisfying crunch without being hard or chewy—lies in the dough. For every 2 cups of all-purpose flour (maida), you will need about 4 to 6 tablespoons of ghee. The technique is to add the ghee to the flour and rub it between your palms until the mixture resembles breadcrumbs. This process, known as 'moyan', creates layers of fat in the dough, which results in a flaky texture. For an even crispier shell, some cooks add a tablespoon or two of fine semolina (suji) or rice flour to the maida. Once the fat is incorporated, slowly add cold water and knead into a firm, stiff dough—it should be tighter than a chapati dough. A soft dough will absorb too much oil and result in a soggy gujiya. Once kneaded, cover the dough with a damp cloth and let it rest for at least 30 minutes. This allows the gluten to relax, making the dough easier to roll.
Assembling and Sealing Your Gujiyas
After the dough has rested, divide it into small, equal-sized balls. Keep them covered with a damp cloth to prevent them from drying out. Take one ball and roll it into a thin, even circle about 4-5 inches in diameter. Place a spoonful of the cooled filling onto one half of the circle, making sure to leave the edges clear. A common mistake is overfilling, which causes the gujiya to burst open during frying, so be conservative with the amount of filling. To seal, lightly brush the edges with water, fold the other half of the dough over to create a semi-circle, and press the edges together firmly. You can use a fork to crimp the edges or a special gujiya mould for a decorative and secure seal. A strong seal is essential to prevent the filling from leaking into the oil.
The Art of Frying to Golden Perfection
Patience is the key to frying gujiyas. The temperature of the oil or ghee is critical for achieving that perfect golden-brown, crispy finish. Heat the oil on medium, but just before you add the gujiyas, lower the flame to low or medium-low. The oil should not be too hot; if a small piece of dough dropped in rises to the surface too quickly, the oil is too hot and will brown the outside before the inside cooks, resulting in a raw or soft pastry. If the oil is too cool, the dough will absorb excess oil and become greasy. Slide a few gujiyas into the pan, being careful not to overcrowd it. Fry them slowly, for about 10–12 minutes for the first batch, turning them occasionally until they are evenly golden and crisp. Some cooks even recommend double–frying them—a first fry on low heat until pale, followed by a second fry on slightly higher heat for ultimate crispness. Once fried, remove the gujiyas and place them on a wire rack or paper towel to drain any excess oil.