

Start With The Right Potato
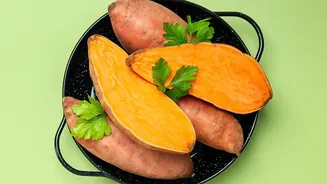
The first step to a great fry is choosing the right raw material. For that signature crispy exterior and fluffy interior, you need a potato with high starch and low moisture content. The undisputed champion in this category is the Russet potato. Its starchy
composition and low water content are ideal for frying, helping to prevent the oil absorption that leads to greasy, limp fries. While other starchy varieties like Kennebec or Yukon Gold can also work, waxy potatoes like red or new potatoes should be avoided as their high moisture content prevents them from crisping up properly.
The Essential Cold Water Soak
Once you've cut your potatoes into uniform sticks, don't just throw them in the fryer. One of the most important, yet often skipped, hacks is soaking them in cold water. This simple step is crucial for removing excess surface starch. Rinsing away this starch prevents the fries from sticking together and helps them achieve a more even, golden-brown colour without burning. A soak of at least 30 minutes is recommended, but you can even leave them in water overnight in the refrigerator. This not only improves texture but also prevents the cut potatoes from oxidizing and turning brown.
Dry Them Completely
After their bath, your potato sticks must be thoroughly dried. This is a non-negotiable step for both safety and crispiness. Water and hot oil are a dangerous combination that will cause violent splattering. From a texture standpoint, any lingering moisture is the enemy of a crisp fry; it steams the potato from the outside in, leading to a soggy result. Pat them dry with a clean kitchen towel or paper towels until the surface feels completely free of moisture. Don't rush this part; perfectly dry potatoes are a prerequisite for a perfectly crisp fry.
The First Fry: Cooking The Inside
The secret of the double-fry method lies in cooking the potato in two distinct stages at two different temperatures. The first fry, sometimes called blanching, is done at a lower temperature, typically around 160°C (320-325°F). The goal here is not to brown the fries but to cook the inside until it's soft and tender, much like a baked potato. Fry them in small batches for about 5 to 7 minutes. They will come out pale and limp, which is exactly what you want at this stage.
The Cool Down Is Crucial
After the first fry, remove the potatoes from the oil and let them cool down completely. You can drain them on a wire rack or paper towels. This cooling period is essential. It allows the starches, which were softened in the first fry, to retrograde, or firm up. This process helps create a stronger exterior that will become the crispy shell in the second fry, while ensuring the inside remains fluffy. For best results, let them rest for at least 30 minutes at room temperature, or you can even refrigerate or freeze them for later.
The Second Fry: The Golden Crisp
Now for the final, transformative step. Increase the oil temperature to a much hotter 185-190°C (365-375°F). Frying the cooled potatoes at this higher temperature for just 2 to 4 minutes is what creates that coveted golden-brown, shattering crust. This second, hotter fry rapidly removes any remaining surface moisture, resulting in a super-crispy exterior. Work in batches to avoid overcrowding the pot, which can cause the oil temperature to drop and lead to greasy fries.
Season Immediately
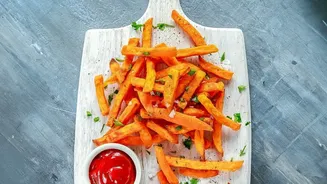
The moment your fries come out of the hot oil from the second fry is the perfect time to season them. The residual heat and oil on the surface will help the salt and any other seasonings adhere perfectly. Tossing them in a bowl with fine salt ensures every single fry gets an even coating. Waiting for them to cool will mean the salt won't stick as well. Serve them immediately while they are at their peak of crispiness and flavour.