





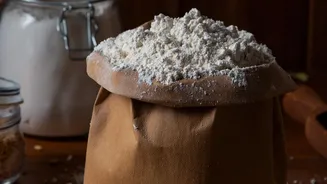
The Power of Indian Flour
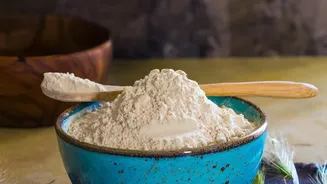
The foundation of any great sourdough starter is the flour. While many recipes call for imported bread flour, you can achieve fantastic results using everyday Indian flours. Whole wheat atta is rich in the natural yeasts and microbes needed to kickstart
fermentation. In fact, the warmth of the Indian climate can make your starter become active much faster, sometimes in just three or four days. A combination of whole wheat atta and all-purpose flour (maida) is often ideal. Atta provides the nutrients and wild yeast, while maida gives the starter a lighter texture and helps you clearly see the bubbling activity. You don't need to source special rye or bread flour; the treasure is already in your pantry.
Gathering Your Simple Tools
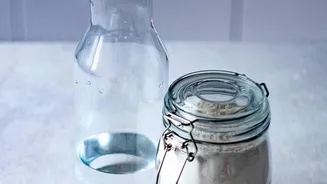
Creating life in a jar doesn't require a professional lab. All you need are a few basic items. First, a clean glass jar that can hold at least 750ml. A clear jar is crucial because you need to watch for bubbles and mark its growth. Second, a kitchen scale for accuracy. Sourdough is a science, and measuring flour and water by weight is far more reliable than using cups. Finally, you will need a spatula for mixing and some filtered or dechlorinated water. Tap water is often fine, but if it has a strong chlorine smell, let it sit out for a few hours to allow the chlorine to evaporate, as it can hinder yeast growth.
Day 1: The Initial Mix
This is the simplest step. In your clean glass jar, combine 50 grams of whole wheat atta and 50 grams of lukewarm water. Mix them thoroughly until no dry flour remains, scraping down the sides. The consistency should be like a thick paste. Cover the jar loosely—a cloth secured with a rubber band or the jar’s lid placed on top without sealing it works well. This allows carbon dioxide to escape. Place the jar in a warm spot in your kitchen, away from direct sunlight. Now, you wait. For the first 24 hours, you may not see much activity, and that's completely normal.
Days 2 to 7: The Feeding Schedule
For the next week, your job is to feed your growing yeast colony. Each day, you will discard a portion of the starter before feeding it. This prevents the starter from growing too large and ensures the yeast has fresh food. A typical schedule looks like this: Day 2: Add another 50g of atta and 50g of water and mix well. You might start to see a few small bubbles. Day 3: You should see more activity. From today, start discarding. Remove all but 50g of your starter. To this, add 50g of flour (you can use a 50/50 mix of atta and maida now) and 50g of water. Mix, cover, and wait. Days 4-7: Repeat the Day 3 process every 24 hours. Discard all but 50g of starter, and feed it with 50g of flour and 50g of water. During this time, your starter will go through phases. It might smell fruity, vinegary, or even like old socks at one point—this is normal as different bacteria compete before the stable yeast culture takes over. Consistency is key.
Is It Ready? Signs of a Healthy Starter
By the end of the first week, you should have a mature and active starter. A healthy starter has several key signs. First, it will become very bubbly and aerated a few hours after feeding. Second, it will reliably rise in the jar, at least doubling in volume. You can use a rubber band to mark the level right after feeding to track its growth. It should rise to a peak and then begin to fall, indicating it's hungry again. Finally, the smell should evolve into something pleasantly tangy, yeasty, or fruity—think yoghurt or green apples. If your starter shows this predictable pattern of rising and falling and has a pleasant aroma, it is ready to bake with.
Troubleshooting in a Warm Climate
Indian weather can be both a blessing and a challenge. The warmth accelerates fermentation, but high humidity can make the starter too runny or develop an overly sour smell quickly. If your starter seems hyperactive and falls just a few hours after feeding, it's burning through its food too fast. You can slow it down by using cooler water for feedings, moving it to a cooler spot, or even storing it in the fridge during the hottest part of the day. If a dark, alcoholic liquid (called 'hooch') forms on top, it's just a sign your starter is hungry. Simply stir it back in or pour it off before your next feeding. If you see any pink, orange, or fuzzy mould, however, you must discard it and start over.