


Manage Expectations: Dots, Not Discs
First, let's set a realistic goal. Without the powerful magnification of a telescope, planets will not appear as detailed, colourful spheres. Instead, they will look like intensely bright, star-like points of light. This might sound underwhelming, but
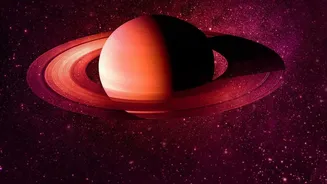
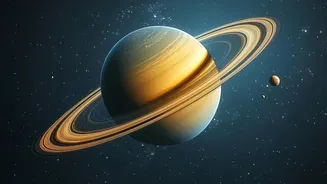
the thrill comes from identifying and capturing light from another world. With a good telephoto lens, you can distinguish the planets from stars, see their distinct colours—like Mars's reddish hue—and even capture the four largest moons of Jupiter, known as the Galilean moons, as tiny pinpricks of light flanking the planet. You may even be able to resolve Saturn's rings as a distinct silhouette, confirming you're not just looking at a star.
The Essential, Telescope-Free Gear
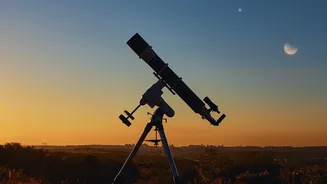
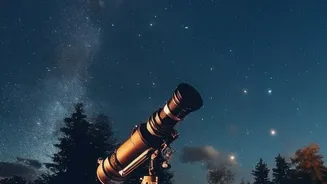
You don't need specialised equipment to get started, but a few key items are non-negotiable. At a minimum, you will need a DSLR or mirrorless camera that allows for manual control over its settings. The most crucial piece of gear is your lens; a telephoto lens with the longest focal length you can afford or borrow is best. A lens in the 200mm to 600mm range will give you the magnification needed to make the planets appear as more than just a faint dot. Finally, a sturdy tripod is absolutely essential. The long exposures required for astrophotography mean even the slightest camera shake will result in blurry trails, so a solid base is critical to getting sharp images. A remote shutter release or using your camera's built-in timer will also help prevent vibrations.
Finding Your Target in the Night Sky
The five planets visible to the naked eye—Mercury, Venus, Mars, Jupiter, and Saturn—are your primary targets. They are often brighter than the surrounding stars, making them relatively easy to spot, even from light-polluted cities. To find out which planets are visible and where to look, use a stargazing app on your smartphone, like Stellarium, SkyView, or Star Walk. These apps use your phone's GPS and compass to show you a real-time map of the sky, making it simple to locate your desired planet. It's best to photograph them when they are high in the sky, away from the turbulent atmosphere near the horizon.
Dialing in the Right Camera Settings
Switch your camera to Manual (M) mode. Since planets are bright, your settings will be different from those used for deep-sky objects like nebulae. A good starting point is to set your aperture to its widest setting (the lowest f-number) to let in as much light as possible. Your shutter speed will be a balancing act; too short and you won't capture enough light, too long and the planet's movement across the sky will cause it to streak. With a telephoto lens on a stationary tripod, start with a shutter speed between 1 and 5 seconds. For ISO, begin around 800 to 1600 and adjust as needed. A higher ISO brightens the image but also introduces more digital noise or 'grain'. Always shoot in RAW format, as it captures the most data and gives you greater flexibility in post-processing.
Achieving Pinpoint Focus and Stability
Autofocus will struggle with a tiny point of light in the dark, so you'll need to focus manually. Switch your lens to manual focus and use your camera's 'Live View' mode. Digitally zoom in on the planet on your camera's LCD screen as far as you can. Then, carefully turn the focus ring on your lens back and forth until the point of light is as small and sharp as possible. This is the most critical step for a clear photo. Once focused, don't touch the lens again. Use a remote shutter or the camera's two-second timer for every shot to ensure you don't introduce any camera shake when you press the shutter button.
Advanced Technique: Stacking for Detail
While a single shot can be rewarding, professional astrophotographers use a technique called 'lucky imaging' or 'stacking'. This involves taking not one photo, but a short video or a burst of hundreds of still images. Free software programs like PIPP and AutoStakkert! can then analyze these frames, discard the blurry ones affected by atmospheric turbulence, and stack the sharpest ones on top of each other. This process dramatically reduces noise and can bring out surprising detail, like Jupiter's main cloud bands or the gap in Saturn's rings, even from a telephoto lens. While it adds a layer of complexity, it's the secret to transforming a bright dot into a recognisable planet.