




Gather Your Simple Tools
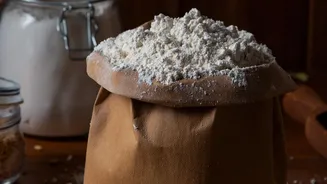
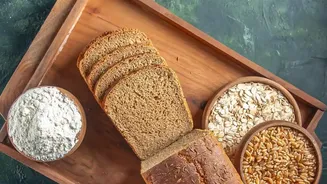
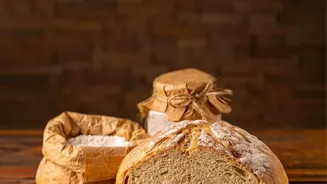
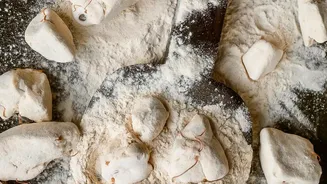
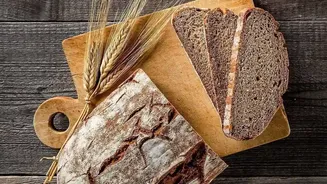
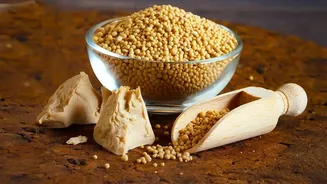
You do not need fancy equipment to begin. All it takes are two simple ingredients and a few basic kitchen items. First, you will need whole wheat flour, often known as atta in India. Whole wheat is ideal for beginners because the bran and germ contain
abundant natural yeasts and bacteria, which kickstart fermentation. Second, you need water, preferably filtered or dechlorinated, as the chlorine in tap water can hinder yeast growth. For equipment, a clean glass jar is perfect as it allows you to see the activity inside. You will also need a kitchen scale for accurate measurements—weighing your ingredients is far more reliable than using cups. Finally, grab a spoon or spatula for mixing.
Day 1: The Beginning
Let's begin. On your kitchen scale, measure out 50 grams of Indian whole wheat flour and 50 grams of lukewarm water directly into your glass jar. Mix them thoroughly until no dry flour remains and the consistency is like a thick paste. Scrape down the sides of the jar to keep things tidy. Cover the jar loosely with its lid or a small cloth. You want to allow air to circulate but keep any dust or pests out. Now, let the jar sit at room temperature in a relatively warm spot in your kitchen for 24 hours. Patience is the main ingredient from here on out.
Days 2-5: The Feeding Schedule
For the next few days, you will follow a simple but crucial routine: feeding your starter. After the first 24 hours, you may or may not see small bubbles. Regardless of activity, it is time to feed. To do this, you first need to 'discard' a portion of the starter. Remove all but about 50 grams of the starter from the jar. To the remaining starter, add a fresh 50 grams of whole wheat flour and 50 grams of water. Mix everything well, scrape the sides, and cover loosely again. Repeat this process every 24 hours. During these days, your starter will go through changes. It might develop a slightly tangy or fruity smell, which is a good sign. You might also see a dark liquid form on top, known as 'hooch'. This is perfectly normal and just an indicator that your starter is hungry; simply stir it back in before you discard and feed.
Days 6-7: Signs of an Active Starter
By the end of the first week, you should notice significant changes. A healthy, active starter will be full of bubbles, both big and small. It will have a pleasantly tangy, yogurt-like, or slightly alcoholic aroma. The most important sign is its predictable rise and fall. Within 4 to 8 hours after a feeding, a mature starter should roughly double in volume before it starts to fall again. You can track this by placing a rubber band around the jar at the level of the starter just after feeding. This visual cue makes it easy to see how much it has grown.
The Float Test: Is It Ready for Baking?
Before you bake your first loaf, there is one final check: the float test. This simple test helps confirm if your starter is mature and airy enough to make bread rise. To perform it, drop a small spoonful of your starter (at its peak, after it has risen) into a glass of water. If the spoonful of starter floats, it is full of gas produced by the yeast and is ready for baking. If it sinks, it likely needs a few more days of consistent feedings to build more strength. Don't be discouraged; just continue your daily discard and feeding routine. The process can sometimes take up to two weeks.
Long-Term Care and Maintenance
Congratulations, you have created life! Once your starter is active and bubbly, you can adjust its feeding schedule. If you plan to bake frequently, you can continue to leave it at room temperature and feed it daily. If you bake less often, you can store your starter in the refrigerator. In the fridge, it will only need to be fed once a week to stay healthy. When you are ready to bake, take it out of the fridge, give it a couple of feedings at room temperature over 12-24 hours to wake it up, and then you are good to go.