





The Budget-Friendly Secret Weapon
Before we dive into the 'how,' let’s talk about the 'why.' Velcro rollers are a game-changer for anyone wanting to add soft volume and shape, especially to delicate areas like bangs. Unlike curling irons or straighteners, they require little to no heat,
which means less damage to your hair. They are incredibly affordable, reusable, and easy to find in most beauty supply stores or online. Their self-gripping nature makes them perfect for beginners, as they hold onto hair without complex clipping techniques. For layered bangs, they provide the ideal lift at the root and a gentle curve through the ends, creating that coveted 'effortlessly chic' style that looks like a professional blowout.
Choosing Your Tools of the Trade
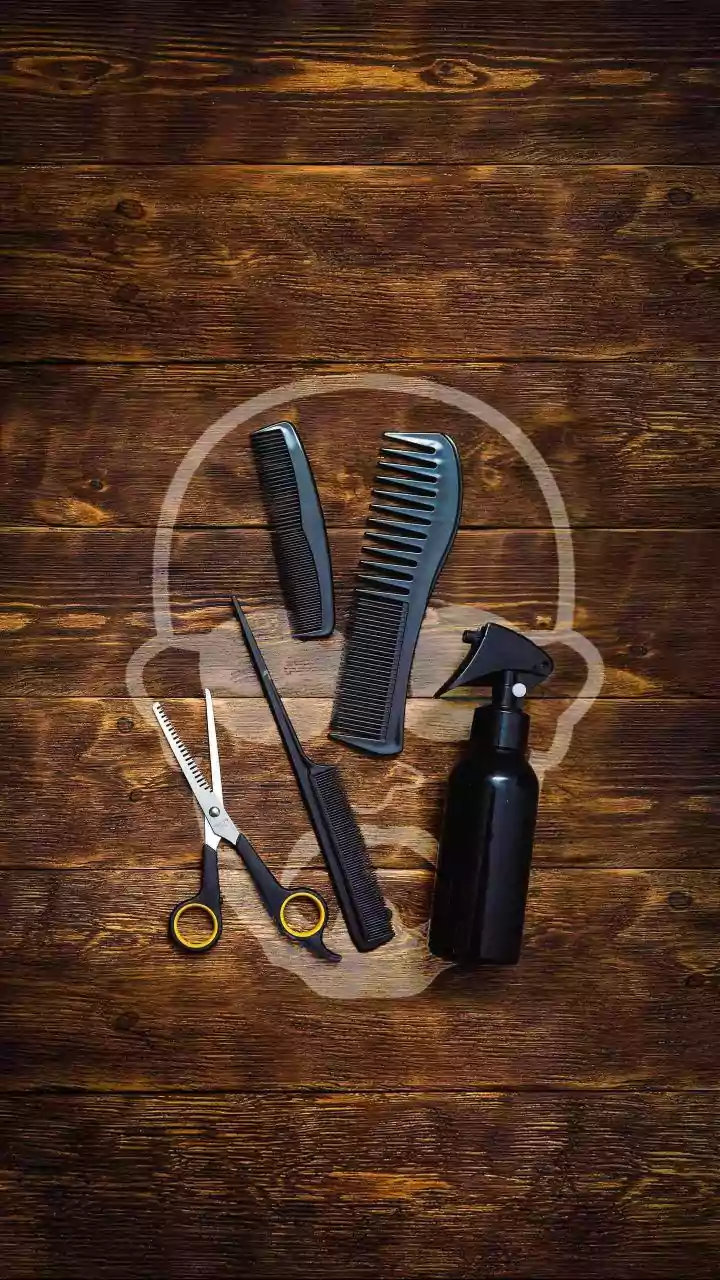
The key to success is selecting the right size roller. For most layered or curtain bangs, a medium to large roller (around 1 to 1.5 inches in diameter) is your best bet. A larger roller will give you more volume and a soft, gentle bend, while a smaller roller will create a tighter curl. If your bangs are on the shorter side, you might opt for a medium size to ensure the hair can wrap around it properly. If you have longer, sweeping layers, a large roller is perfect for that face-framing swoop. Besides the rollers, you’ll only need a comb for sectioning and perhaps a light-hold hairspray or a volumizing mousse to give your style staying power.
Step 1: Prep Your Hair
For the best results, you want your hair to be about 90% dry but still slightly damp. You can either let it air-dry or give it a quick blast with a blow dryer. If you start with completely dry hair, you can lightly mist your bangs with water. This little bit of moisture helps the hair mould into the shape of the roller as it fully dries. If you want extra hold and lift, now is the time to apply a small amount of volumizing mousse or a root-lifting spray to your bangs section. Make sure to comb through the product to distribute it evenly and ensure your bangs are smooth and tangle-free before you start rolling.
Step 2: The Rolling Technique
This is where the magic happens. First, separate your bangs from the rest of your hair. If you have curtain bangs, part them down the middle. Take the first section of your bangs and lift it straight up. Place the roller at the ends of your hair and begin to roll it down towards your scalp, making sure to keep the hair taut. For that classic outward swoop, roll the hair away from your face. One popular technique for curtain bangs involves rolling the hair up and back, leaving a small gap at the root before securing the roller. This creates fantastic lift. Make sure the roller feels snug against your scalp. Its velcro texture should be enough to hold it in place, but you can use a duckbill clip for extra security if needed.
Step 3: Let Them Set
Patience is a virtue, even in hairstyling. For a no-heat set, leave the rollers in for about 15-30 minutes, or until your hair is completely dry and cool to the touch. This cooling period is crucial, as it’s what locks the style in place. If you're short on time, you can speed up the process. Use a blow dryer on a low heat and low speed setting to warm up the hair on the roller for a minute or two. Then, and this is the important part, let it cool down completely before you even think about taking it out. You can use this waiting time to do your makeup or finish getting ready.
Step 4: The Finishing Touches
The grand reveal should be gentle. To remove the roller, carefully unroll it in the opposite direction you rolled it, avoiding any pulling or tugging which can create frizz. Once the roller is out, don’t immediately reach for a brush. Instead, use your fingers to gently style and position your bangs. This will maintain that soft, separated look. You can see how they fall naturally into a beautiful, bouncy shape. For a little extra security to make your style last all day, finish with a light mist of a flexible-hold hairspray. The result is perfectly shaped bangs that look professionally styled, all achieved with minimal effort and cost.