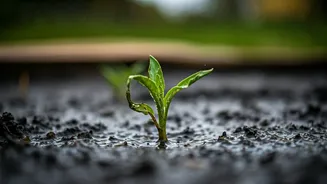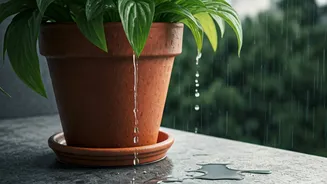


Why Good Drainage is Non-Negotiable
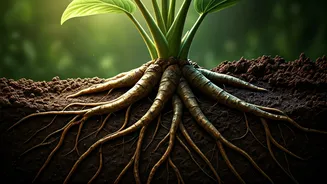
To understand why drainage is so important, you need to think like a plant root. Roots don't just absorb water and nutrients; they also need to breathe. They absorb oxygen from tiny air pockets in the soil. When a pot gets waterlogged after a heavy shower,
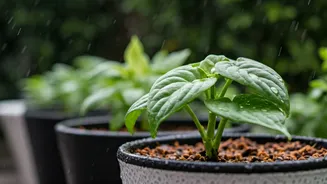
these air pockets fill with water. The roots are effectively drowning, deprived of oxygen. This leads to a condition called root rot, a fungal disease that thrives in anaerobic (oxygen-free) environments. The roots turn brown and mushy, lose their ability to absorb anything, and the plant above ground begins to wilt, yellow, and die. Ironically, a plant dying from overwatering often looks like it's thirsty, which can lead gardeners to water it even more, sealing its fate.
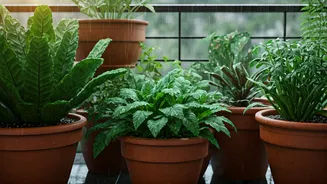
The Five-Minute Drainage Check
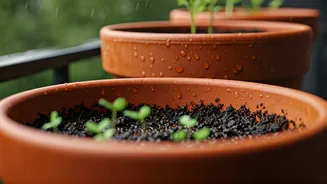
Before the next big rain, take a few minutes to inspect your pots. It’s a simple but crucial health check for your garden. First, look at the bottom. Can you see at least one, preferably multiple, drainage holes? If a pot has a saucer attached, lift the pot to make sure the holes aren't blocked. For plastic pots, holes can sometimes be sealed from the moulding process and may need to be punched out. For terracotta and ceramic pots, check for blockages from soil or roots. If you see white, crusty mineral deposits around the holes, that’s a sign that water is evaporating from there, which is good. If you don't see any holes at all, that pot is a red flag and needs immediate attention before the heavens open.
How to Add or Improve Drainage
If you've found a pot without holes, don't panic. You can often add them yourself. For plastic pots, you can use a drill with a standard bit, or even carefully heat a screwdriver or metal skewer and melt holes through the base. Be sure to do this in a well-ventilated area. For terracotta or unglazed ceramic pots, you'll need a special masonry or tile drill bit. Start with a small bit to create a pilot hole, then widen it with a larger one. Go slowly and apply steady, gentle pressure to avoid cracking the pot. Always aim for at least three to four holes, each about the size of a one-rupee coin, for a standard 12-inch pot. If the existing holes are too small, carefully widen them using the same methods.
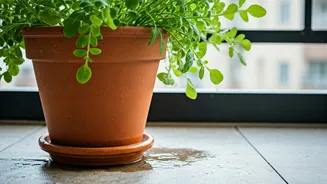
The Myth of a Gravel Layer
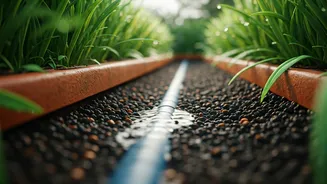
For generations, gardeners were told to add a layer of gravel, broken pot shards, or stones to the bottom of pots to improve drainage. This is a persistent myth that actually makes things worse. Water doesn't move easily from the fine-textured potting soil to the coarse-textured gravel layer. Instead, it creates something called a 'perched water table.' The water saturates the soil completely before it finally crosses the barrier into the gravel. This means the bottom few inches of your pot become a swamp, keeping the roots constantly wet and defeating the entire purpose of drainage. It's far better to fill the entire pot with a good quality, well-draining potting mix and rely on clear drainage holes at the bottom.
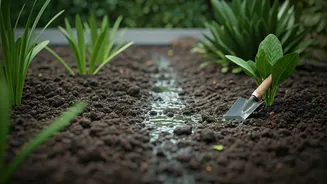
Emergency Care After a Deluge
What if you’re reading this after a storm and your pots are already waterlogged? Act fast. First, empty any overflowing saucers. If possible, gently tip the pot on its side to allow the excess water to drain out of the holes. If the pot is small enough, you can even remove the entire plant with its soil ball and set it on a stack of newspapers to wick away the moisture before repotting it with fresh, drier soil. For larger pots, you may need to aerate the soil. Carefully poke a few deep holes into the soil with a thin stick or skewer, being careful to avoid the main root ball. This helps introduce air back into the soil and speeds up the drying process. Avoid watering again until the top few inches of soil are completely dry to the touch.