
The Magic of Homemade Compost
Before you start, it’s worth knowing why compost is so beneficial. Commercial potting mixes are often sterile and their initial nutrients get depleted over time. Homemade compost infuses life back into the soil. It’s teeming with beneficial microbes that
create a healthy root environment, improve soil structure for better drainage and water retention, and provide a slow, steady release of essential nutrients like nitrogen, phosphorus, and potassium. This leads to lusher foliage, stronger plants, and better resistance to pests and diseases, often eliminating the need for chemical fertilizers.
Gathering Your Green Ingredients
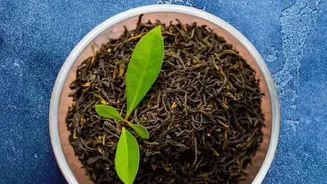
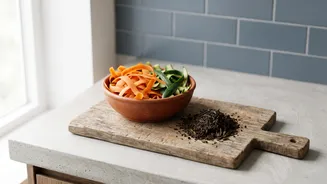
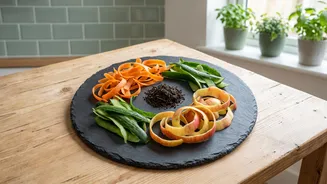
Your journey to rich compost begins at the kitchen counter. The best items are nitrogen-rich 'greens'. This includes all your fruit and vegetable peels—from potatoes and carrots to banana peels and apple cores. Used tea leaves, a star ingredient mentioned in our headline, are fantastic as they add nitrogen and organic matter. Coffee grounds are another excellent addition. Don't forget to rinse and crush eggshells, which provide a slow release of valuable calcium for your plants. Essentially, most raw plant-based scraps from your daily cooking are perfect candidates.
What to Leave Out of the Bin
Just as important as knowing what to add is knowing what to avoid. Certain scraps can attract pests, create foul odours, and ruin your compost. Steer clear of meat, fish, bones, and all dairy products. Oily, greasy, or heavily salted cooked foods should also be excluded as they can disrupt the decomposition process and attract rodents. While small amounts of citrus peels, onions, and garlic are okay, large quantities can be too acidic or smelly for a small home compost system. Finally, avoid adding any diseased plants, pet waste, or non-biodegradable items like plastic.
Simple Steps for Apartment Composting
You don’t need a large garden to compost. An apartment-friendly method uses a simple lidded bucket or a terracotta pot (khamba). First, ensure your container has a few small holes for aeration, as oxygen is key to avoiding bad smells. Start with a 2-inch base layer of 'browns'—carbon-rich materials like dried leaves, torn-up cardboard, or coco peat. On top of this, add your kitchen scraps ('greens'). For best results, chop them into smaller pieces to speed up decomposition. Cover the green layer with another thin layer of browns. This balance is crucial for a healthy, odour-free compost pile. Continue layering greens and browns as you collect more scraps. Keep the pile as moist as a wrung-out sponge and turn it with a small rake or stick every few days to keep it aerated.
Harvesting and Using Your 'Black Gold'
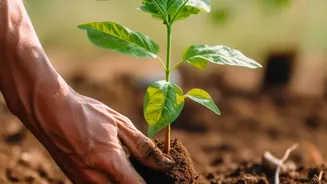
In India's warmer climate, your compost could be ready in as little as four to eight weeks. You'll know it's done when it looks dark and crumbly, and smells earthy like a forest floor. You shouldn't be able to recognise the original food scraps. Once ready, it's time to feed your plants. There are two main ways to use it. You can mix it into your potting soil when repotting a plant, using a ratio of about one part compost to four parts soil. Alternatively, you can 'top dress' your existing plants by spreading a one-to-two-inch layer of finished compost on the surface of the soil, taking care to keep it a few inches away from the plant's stem. Each time you water, valuable nutrients will seep down to the roots.