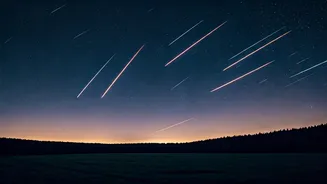


Why the Solstice Season is Special
The period around the June solstice (around June 20-21) is a magical time for stargazers in the Northern Hemisphere, including India. During these summer months, the Earth's night side faces the dense, bright core of our Milky Way galaxy. This means the most
dramatic and photogenic part of the galaxy—a glittering band of stars and nebulae—arcs across the sky. While the solstice itself is a specific date, think of the entire June-July period as your prime window for this celestial spectacle. The longer nights of winter might seem better for stargazing, but they offer a view of the less dramatic outer arms of the galaxy. For that jaw-dropping core, summer is king.
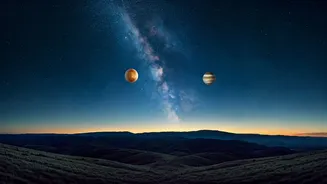
Timing Your 'Midnight Window' Perfectly
The key to a great Milky Way shot is darkness. Absolute, profound darkness. This means you have two main enemies: city lights and the moon. Your ideal 'midnight window' is a period when the sun is far below the horizon (after astronomical twilight ends) and the moon is not in the sky. For the 2024 solstice, the moon will be in its bright waxing gibbous phase, making photography challenging. Your best bet is to wait for it to set. On these nights, your window will open very late, typically after 1 AM, and last until the first hints of dawn. Always use a sky-watching app (like Stellarium or PhotoPills) to check for moonset/moonrise times and the exact position of the Milky Way for your specific location. The weeks surrounding the New Moon are always the absolute best time for astrophotography.
Essential Gear for the Galactic Hunt
You don't need a space telescope, but you do need more than just your phone. Here’s the essential kit: 1. **A Camera with Manual Mode:** A DSLR or mirrorless camera is a must. You need full control over aperture, shutter speed, and ISO. 2. **A Wide, Fast Lens:** 'Wide' means a focal length like 14mm to 24mm to capture the sheer scale of the sky. 'Fast' means a wide aperture (like f/1.8, f/2.8, or f/4) to let in as much light as possible. 3. **A Sturdy Tripod:** You'll be using long shutter speeds, so any camera movement will result in a blurry mess. A heavy, stable tripod is non-negotiable. 4. **A Remote Shutter or Intervalometer:** Pressing the shutter button manually can cause camera shake. A remote release or your camera's built-in 2-second timer will ensure sharpness.
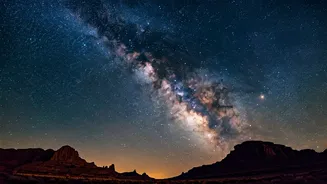
Finding Your Dark Sky Sanctuary
Light pollution from our cities is the single biggest obstacle to seeing the Milky Way. You need to get away. In India, this means heading to remote areas. The Himalayas are a world-class destination, with places like Hanle in Ladakh (home to the Indian Astronomical Observatory), Spiti Valley, and parts of Uttarakhand offering pristine dark skies. The Rann of Kutch in Gujarat and remote parts of the Thar Desert in Rajasthan are also excellent choices. Even the Western Ghats have dark pockets away from major cities like Pune and Bengaluru; think of hill stations like Coorg or parts of the Sahyadris. Use a light pollution map online to find a 'Bortle Scale' Class 1, 2, or 3 zone near you.
Nailing Your Camera Settings
Here are the magic numbers to get you started. Set your camera to Manual (M) mode. * **Aperture:** Set it to the widest possible setting (the lowest f-number, e.g., f/2.8). * **Shutter Speed:** This is a balance. Too short, and you won’t capture enough light. Too long, and the stars will start to create trails due to the Earth's rotation. A good starting point is the '500 Rule': divide 500 by your lens's focal length. For a 20mm lens, that's 500 / 20 = 25 seconds. This is a rough guide; start there and adjust. * **ISO:** This controls the camera's sensitivity to light. Start at ISO 1600 and be prepared to go up to 3200 or even 6400, depending on your camera's performance in low light. Higher ISOs will introduce more 'noise' or grain into the image. * **White Balance:** Set it to a custom Kelvin value between 3200K and 4500K for a natural-looking blueish night sky.
Achieving Pin-Sharp Focus in the Dark
Autofocus will fail you in the dark. Switch your lens to manual focus (MF). The easiest way to get sharp stars is to use your camera's live view screen. Find the brightest star or planet in the sky, digitally zoom in on it as much as possible, and then manually turn your lens's focus ring until that star is a tiny, sharp point of light. Once you've nailed the focus, be careful not to bump the focus ring for the rest of the night. Some photographers use a small piece of gaffer tape to lock it in place.