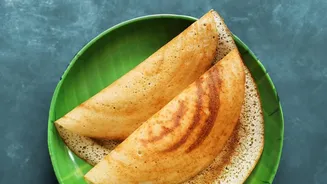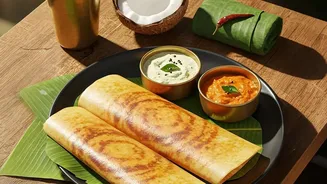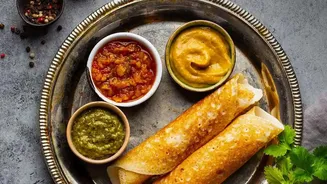


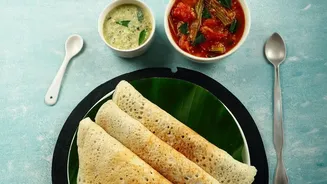
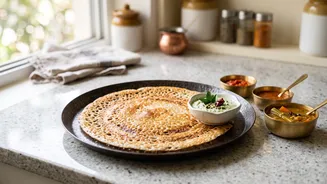
That perfect, paper-thin, golden-brown dosa with shatteringly crisp edges can feel like a restaurant secret. When attempted at home on a cast-iron tawa, the results are often thick, sticky, or soft. This guide demystifies the process completely.
Why Cast Iron Is Worth the Effort
There's
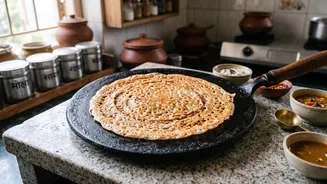
a reason generations swear by a heavy iron 'kallu' or tawa for dosas. Unlike lighter pans, cast iron excels at retaining and distributing heat evenly. This stable temperature is crucial for cooking the dosa uniformly without burnt spots or raw patches. Over time, as you cook with it, the iron develops a natural non-stick surface called a patina. This layer of polymerized oil, when properly built and maintained, allows the dosa to glide off the surface and helps create that signature crisp texture that other pans struggle to replicate. It's an initial investment in time for a lifetime of superior dosas.
The Foundation: Seasoning Your Tawa
A new or poorly maintained cast-iron tawa is the primary culprit behind a sticking dosa. Seasoning is the process of bonding oil to the iron, creating that essential non-stick layer. To start, wash a new tawa with mild soap and water to remove any factory coating, and dry it completely on a low flame to evaporate all moisture. Then, apply a very thin layer of a high-smoke-point oil, like sesame or groundnut oil, across the entire cooking surface. Heat the tawa on a medium flame for 10-15 minutes until it begins to smoke lightly, then let it cool completely. Wiping away any excess oil and repeating this process two or three times builds a strong, slick foundation.
Getting the Batter Just Right
Even the best tawa can't save a bad batter. The ideal consistency is smooth, well-fermented, and pourable—often described as being like a thin pancake or cream consistency. If the batter is too thick, it will be difficult to spread and result in a heavy, soft dosa. If it's too watery, it will create holes and won't form a cohesive crepe. It's always better to start with a thicker batter and dilute it with small amounts of water as needed. For best results, allow the batter to come to room temperature before you begin cooking, as cold batter straight from the fridge doesn't spread as easily.
Mastering Temperature Control
Heat management is arguably the most critical factor. Cast iron needs time to preheat gradually. Place it on a medium flame for several minutes. To test if it's ready, sprinkle a few drops of water on the surface. If they sizzle and dance before evaporating, the temperature is perfect. If they disappear instantly with a loud hiss, the pan is too hot and the batter will seize and stick on contact. If the water just sits and boils, the pan is too cold, which will also cause sticking. If the tawa gets too hot between dosas, briefly lower the flame or sprinkle some water and wipe it away to bring the temperature down before pouring the next one.
The Art of the Perfect Spread
Before your first dosa, rub the hot tawa with a little oil using a cloth or half an onion—this adds flavour and ensures a smooth start. Pour a ladleful of batter into the centre of the tawa. Using the flat back of the ladle, apply gentle, even pressure and immediately begin spreading the batter in a continuous outward spiral motion. The key is to be quick and light-'handed', without going back over the same spot. Once spread, drizzle a few drops of oil or ghee around the edges. This helps the dosa become crisp and brown. Don't try to lift the dosa too early. Be patient and wait until the edges begin to turn golden and lift away from the pan on their own. At that point, it will release easily.