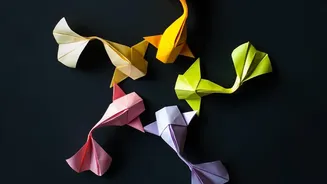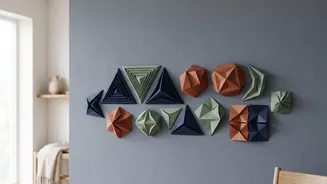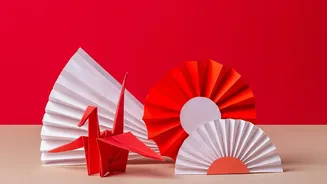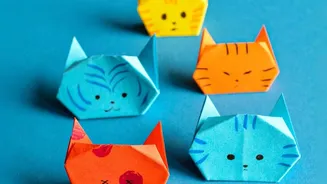






Looking to refresh a dull wall without the mess and commitment of paint? Origami wall art offers a stunning, personal, and budget-friendly alternative. This guide breaks down the facts on how to turn simple paper into a captivating 3D feature.
Why Choose Origami Wall Art?
Beyond being
a simple paint-free solution, origami wall art brings a unique combination of texture, colour, and personal expression to any room. Unlike mass-produced prints, each piece is a product of your own creativity. It's an affordable project, often requiring nothing more than paper and adhesive. The process itself is a benefit; the repetitive, focused act of folding can be a meditative practice that helps reduce stress and improve concentration. This craft enhances patience and boosts creativity by helping you think about spatial relationships and design. In essence, you get to de-stress while making something beautiful and entirely your own.
Choosing the Right Paper
The foundation of your project is the paper, and your choice will affect both the folding process and the final look. For beginners, 'kami' is the standard, widely available origami paper that is thin, easy to fold, and comes in countless colours. For more durable and decorative pieces meant for display, consider 'washi' paper, a traditional Japanese option known for its strength and beautiful textures. Another excellent choice is 'Tant' paper, which is slightly stiffer, holds creases well, and comes in a wide variety of solid colours, making it perfect for modular geometric designs that pop on a wall. For a truly upscale look, some artists use thicker paper or cardstock (120g-240g/m²) for a stiffer, more sculptural final product, though it can be harder to fold.
Essential Tools and Setup
The beauty of origami is its simplicity. At its core, all you truly need is paper. However, for a polished wall art project, a few other items are helpful. You’ll want a flat surface for folding, scissors or a paper cutter for sizing, and a ruler for precision. To assemble your art, you'll need an adhesive. Options range from a simple glue stick or double-sided tape for lighter pieces to a stronger PVA glue for more complex, 3D modular designs. For mounting, you can attach your creations to a piece of foam board or sturdy cardboard, which can then be hung on the wall. Alternatively, you can use wall-safe adhesive strips to attach individual origami pieces directly to the wall for a more free-form look.
From Simple Squares to Modular Art
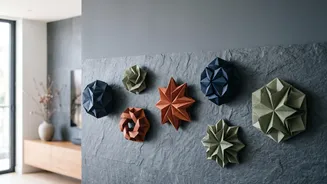
You don't need to be an origami master to create something stunning. A great starting point is creating a collection of simple, flat folded squares and arranging them in a geometric grid. You can play with colour gradients to create an ombre effect or mix patterns for a vibrant collage. Another popular approach is modular origami, where you fold multiple identical units (like the classic 'sonobe' unit) and join them together to create larger, threendimensional structures. These can form everything from interlocking pyramids to complex polyhedra, creating incredible texture and shadow play on your wall. Many tutorials are available online for all skill levels, from beginnerndfriendly shapes to more advanced modular designs.
Paper is delicate, but with a few precautions, your origami art can last for years. The most significant threats are sunlight and moisture. Display your art away from direct sunlight to prevent colours from fading. Avoid hanging it in humid areas like bathrooms or near windows where condensation can form, as moisture will cause the paper to warp. For 3D pieces, framing them in a shadow box is an excellent way to protect them from dust and physical damage. Some crafters also apply a protective sealant, such as a clear archival spray fixative or a brushon glaze. If you choose to use a sealant, always test it on a scrap piece of paper first to ensure it doesn't cause the ink to run or the paper to unfold.