



More Than Just Waste
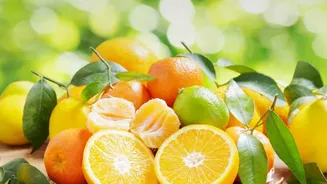
Before you get started, it’s worth knowing why orange peels are worth saving. Far from being simple kitchen scraps, they are surprisingly nutritious. Orange peels contain high concentrations of Vitamin C—even more than the fruit itself by weight—along
with Vitamin A, dietary fibre, and beneficial plant compounds like flavonoids. These antioxidants can help support your immune system. By using the entire fruit, you not only capture these benefits but also take a meaningful step toward a zero-waste kitchen, reducing food waste while creating something delicious from scratch. This process honours the entire fruit, turning potential compost into a culinary treasure.
Tackling the Bitterness
The main challenge when cooking with orange peels is their natural bitterness. This flavour is concentrated in the peel's oil and, to a lesser extent, the white pith. While some believe the pith is the primary culprit, the bitterness is actually present throughout the peel. The most effective way to reduce it is through a process called blanching. This involves boiling the peels in water and then discarding the water. Repeating this process two or three times can significantly mellow the bitter notes, leaving behind the bright, citrusy essence you want in your marmalade. While you can't eliminate the bitterness entirely, blanching makes it pleasantly palatable, much like the balanced bitterness in coffee or dark chocolate.
Gather Your Ingredients and Tools
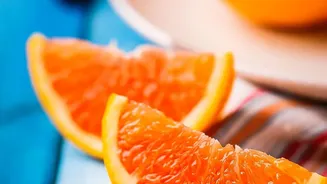
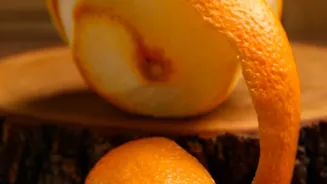
This recipe is wonderfully simple and requires just a few basic items. For a small batch, you will need: Peels from 3-4 large oranges (preferably organic and well-washed) 2 cups of sugar (or to taste) 4 cups of water Juice of one lemon (for its acid and natural pectin) A large saucepan or pot A sharp knife or vegetable peeler * Clean, sterilised glass jars with lids Wash your oranges thoroughly before peeling. Using a vegetable peeler or a knife, separate the peel from the fruit. You can choose to leave some of the white pith on, as it contains natural pectin which will help your marmalade set, but be mindful that it can contribute to a slightly more bitter flavour. The fruit itself can be set aside for another use.
Step-by-Step to Perfect Marmalade
First, prepare your peels. Slice them into thin strips, as fine or as chunky as you prefer. Place the sliced peels in your saucepan, cover with water, and bring to a boil. Let them boil for about 10 minutes, then drain the water. Repeat this blanching process at least once more for a milder flavour. After the final blanching, return the peels to the pot. Add the 4 cups of fresh water, the sugar, and the lemon juice. Bring the mixture to a slow boil over medium heat, stirring until the sugar completely dissolves. Once it’s boiling, reduce the heat to a steady simmer. Let the mixture cook for 45-60 minutes, stirring occasionally to prevent it from sticking. The marmalade is ready when the peels are translucent and the liquid has thickened to a syrupy consistency. To test if it's ready, place a small drop on a cold plate; it should wrinkle when you push it with your finger.
Jarring and Storing Your Preserve
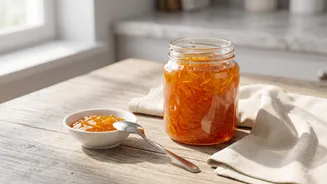
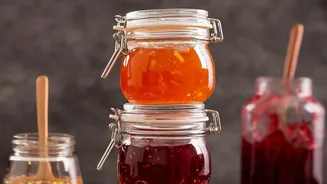
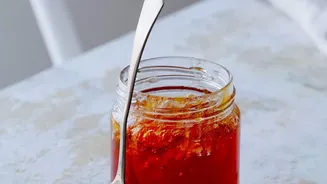
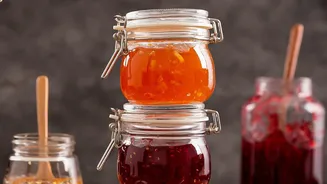
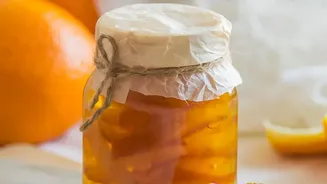
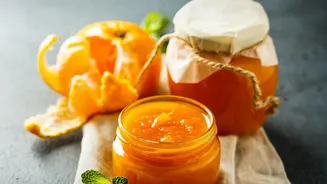
Properly storing your marmalade ensures it stays fresh and safe to eat. For long-term storage, it's essential to use sterilised jars and a water bath canning process. Ladle the hot marmalade into hot, sterilised jars, leaving about a quarter-inch of headspace at the top. Wipe the rims of the jars clean to ensure a good seal, then secure the lids until fingertip-tight. Place the filled jars in a boiling water canner, ensuring they are covered by at least an inch of water. Process them for 10 minutes. Afterward, carefully remove the jars and let them cool on a counter for 12-24 hours. You'll know the seal is successful if the lid's centre does not flex when pressed. If you don't want to can it, simply let the marmalade cool and store it in a clean jar in the refrigerator. It will keep for several weeks.