

What Exactly Are Microgreens?
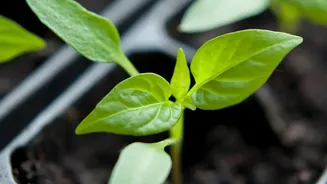
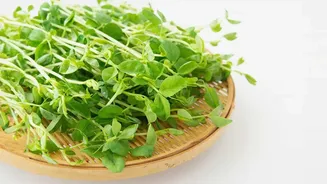
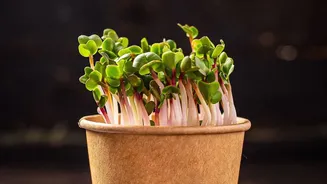
You’ve likely seen them delicately placed atop a fancy restaurant dish, but microgreens are far more than just a pretty garnish. They are the young seedlings of edible vegetables and herbs, harvested just 7 to 21 days after planting, shortly after their
first set of true leaves appear. Unlike sprouts, which are germinated in water, microgreens are grown in soil and require light, allowing them to start photosynthesis. This process creates a tiny plant, typically one to three inches tall, that is packed with concentrated flavour and an astonishing amount of nutrients.
An Antioxidant Powerhouse on Your Sill
The primary claim to fame for microgreens is their incredible nutrient density. Research has consistently shown that these tiny plants can contain four to 40 times more vitamins and antioxidants per gram than their fully grown counterparts. This is because they are harvested at a peak metabolic stage, when the nutrients stored in the seed are fully mobilized. A landmark study by the USDA found that red cabbage microgreens, for example, had 40 times the Vitamin E and six times the Vitamin C of mature red cabbage. These antioxidants, which also include compounds like polyphenols and carotenoids, help protect your body's cells from damage, supporting everything from cardiovascular health to reducing inflammation.
Setting Up Your Windowsill Farm
Starting your own microgreen garden requires minimal space and equipment, making it perfect for urban apartments. You don't need a sprawling garden, just a sunny windowsill. Here’s what you’ll need: a shallow tray (a repurposed plastic takeaway container with drainage holes works perfectly), some potting soil or a seedling mix, a spray bottle for watering, and your seeds of choice. The tray only needs to be filled with an inch or two of loosely packed, moist soil, giving the roots just enough room to anchor themselves.
From Seed to Harvest in a Week
Growing microgreens is a wonderfully impatient gardener's project. First, sprinkle your seeds evenly and densely over the moist soil, ensuring they are close but not overlapping. Gently press them down and cover with a very thin layer of soil. Mist the surface with water and cover the tray to maintain humidity until the seeds sprout, which often takes just a few days. Once you see germination, remove the cover and place the tray in a spot that gets several hours of light daily. Continue to mist the soil daily to keep it moist but not waterlogged. In as little as five to ten days, your microgreens will be two to three inches tall and ready to harvest. Simply take a pair of scissors and snip the stems just above the soil line.
Easy, Flavourful Varieties to Start With
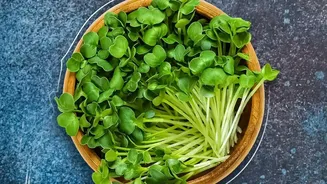
For your first crop, it’s best to start with seeds that are known to be fast and easy growers. Radish microgreens are a popular choice, offering a spicy kick and often ready to harvest in under a week. Broccoli microgreens are another fantastic option, known for their mild flavour and high levels of beneficial compounds. Others like mustard greens provide a peppery taste, while sunflower microgreens have a nutty, crunchy texture. You can start with a single variety or buy a pre-made 'mild' or 'spicy' mix to see what your family enjoys most.
Adding a Fresh Burst to Daily Meals
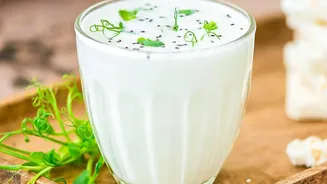
Now for the best part: eating them. The concentrated flavour of microgreens means a small amount goes a long way. Their use is incredibly versatile. Toss a handful into a finished dal or sabzi for a fresh, peppery note. Sprinkle them generously over salads, soups, or scrambled eggs. They add a delightful crunch and a burst of flavour to sandwiches and wraps, replacing or supplementing traditional lettuce. You can even blend them into smoothies for a nutrient boost that kids won't even notice. Getting the whole family involved in the growing and harvesting process can also make them more excited to eat their greens.