





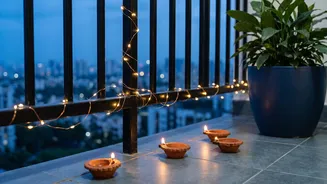
Choose the Right Lights
Before you begin, selecting the correct fairy lights is crucial for both safety and aesthetics. Always opt for lights specifically rated for outdoor use. In India, this means looking for a minimum IP65 rating, which ensures the lights are dust-tight and can
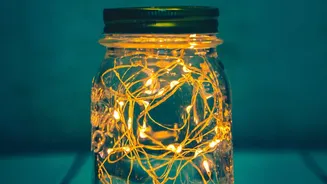
withstand monsoon rains and water jets. You'll have several choices to make. First, consider the power source: plug-in, battery-operated, or solar-powered. Plug-in lights offer consistent brightness, while solar is eco-friendly and avoids wiring issues. Battery-operated options are great for small spaces where a power source is unavailable. Next, decide on the colour temperature. Warm white (around 2700K-3000K) creates a soft, inviting, and cozy glow perfect for a relaxing atmosphere. Cool white offers a more modern, crisp light. Finally, think about the bulb style. Delicate 'fairy' wires are subtle, while larger globe or Edison-style bulbs make a bolder statement.
Gather Your Supplies
Once you have your lights, a little preparation makes the installation process much smoother. You won't need many tools, but having the right ones on hand is key. Here's a quick checklist of what to gather: your outdoor-rated fairy lights, a measuring tape, and fasteners. For securing the lights to the railing, clear or colour-matched zip ties are a popular and effective choice because they are durable and can be snipped for a clean look. You could also use specialty light-hanging clips or even sturdy weatherproof tape. If you're using plug-in lights that need to reach a distant socket, make sure you have an outdoor-rated extension cord. Using an indoor cord outside is a significant safety hazard. Finally, keep a pair of scissors handy for cutting the ends off zip ties.
Plan Your Design and Layout
Take a moment to plan your design before you start wrapping. First, use your measuring tape to determine the length of your railing. This will help you ensure you have purchased enough lights to cover the area. It’s always better to have a little extra length than to come up short. Next, decide how you want the lights to look. You can do a simple, tight wrap around the railing for a dense and bright look. Alternatively, you could create gentle 'swags' or 'drapes' between the railing posts for a more classic, scalloped effect. Another option is an organic, random weave for a more whimsical feel. Before you begin installation, plug the lights in to make sure all the bulbs are working. It's much easier to fix a problem now than after they're fully installed. Also, identify your starting point, ensuring it’s close to your power source if you're using plug-in lights.
Installation: The Step-by-Step Process
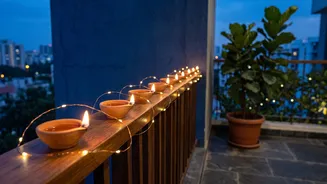
With your plan in place, it’s time to hang the lights. Start at one end of the railing, securing the beginning of the light string firmly with a zip tie or clip. Begin wrapping or draping the lights according to your chosen design. As you go, attach the string to the railing every foot or two with another fastener. This prevents the lights from sagging or being pulled loose by wind. Try to maintain even tension—not so tight that it strains the wire, but not so loose that it looks messy. If you are wrapping the railing, working with one section at a time can help keep things neat. If you have vertical spindles or posts, you can wrap them as well for extra sparkle. Once you reach the end, secure the final light firmly. If you have any excess string, you can either loop it back or tuck it away discreetly.
Prioritise Electrical Safety
Creating a beautiful space should never come at the expense of safety. The most important rule is to only use lights and extension cords that are explicitly marked for outdoor use and have a sufficient IP rating for Indian weather conditions, like IP65. These products are designed to resist moisture and dust, preventing electrical shorts and hazards. Never overload a socket by plugging too many strings together; check the manufacturer's instructions for the maximum number of strings that can be connected. Ensure that any connections between light strings or to an extension cord are tight and protected from rain and standing water. Taping connections with electrical tape or using purpose-built waterproof connector boxes offers an extra layer of protection.
Add Your Finishing Touches
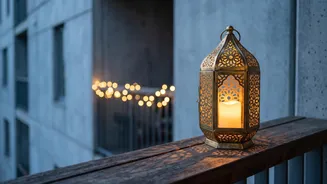
With your lights perfectly installed, you can add other elements to complete the festive and cozy atmosphere. Consider weaving in faux or real garlands of pine, holly, or eucalyptus along the railing with the lights. For a touch of rustic charm, hang small lanterns with flameless candles from the railing. During festive seasons, you can attach weather-resistant ornaments or ribbons to add pops of colour. The lights themselves provide a beautiful base, creating a warm and inviting glow that makes your balcony feel like an extra room. They are perfect for quiet evenings, morning coffees, or celebrating with friends and family.