


Gather Your Materials and Tools
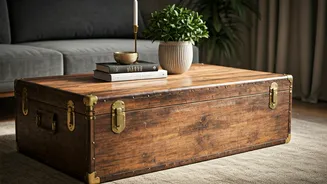
Before you begin, gathering all your supplies will make the process smooth and enjoyable. A well-prepped workspace is the first step to a beautiful finished product. You don’t need a professional workshop, just a clear table and a bit of patience. **Materials:**
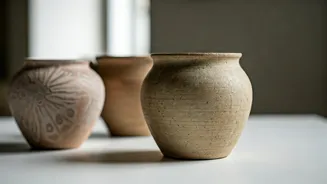
- A clean terracotta or clay pot (6-10 inches in diameter is a good size for a table lamp) - A pre-assembled lamp kit (this should include a socket with a threaded base, a power cord with a plug, and a switch) - A lampshade (a simple drum shade in linen or cotton works best for a minimal look) - An LED light bulb (choose a warm white for a cosy glow) - Primer (spray-on is easiest) - Matte or chalk-finish paint in your chosen colour (white, black, charcoal, or beige are great minimal choices) - Clear matte sealant (optional, but recommended for durability) **Tools:** - Electric drill - Masonry or tile drill bit (slightly larger than your lamp cord diameter) - Painter’s tape - Sandpaper (medium grit) - A clean cloth
Prepare and Paint the Pot
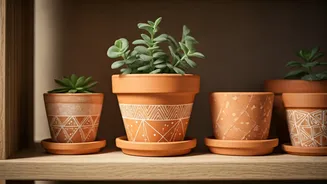
The key to a professional-looking finish is proper preparation. Start by thoroughly cleaning your clay pot with soap and water, removing any dirt or debris. Let it dry completely. Terracotta is porous, so this may take several hours. Once dry, lightly sand the entire surface to create a better grip for the paint. Wipe away any dust with a clean cloth. Next, apply a thin, even coat of primer. This is a crucial step that prevents the porous terracotta from soaking up all your paint and ensures a uniform colour. After the primer has dried according to the manufacturer's instructions, apply your chosen paint. Two or three thin coats are always better than one thick, drippy one. Allow each coat to dry completely. For a true minimalist aesthetic, a matte finish is ideal as it diffuses light softly and avoids distracting glare. If you'd like extra protection, finish with a clear matte sealant.
Drill the Hole for the Cord
This is the most intimidating step for many, but it’s straightforward with the right technique. You'll need to drill a hole in the side of the pot, near the base, for the lamp cord to exit. Decide where you want the cord to come out. Place a small piece of painter's tape on this spot; this will prevent the drill bit from slipping when you start. Using a masonry or tile drill bit, start drilling slowly and with gentle, steady pressure. Do not force it. Applying too much pressure can crack the pot. Some DIY experts recommend periodically spritzing the area with a little water to keep the bit cool and reduce dust. Once you’ve drilled all the way through, you can gently feed your lamp cord through the new hole from the outside in. This will leave the plug on the outside and the socket end inside the pot.
Assemble the Lamp Kit
This part is simple thanks to the pre-assembled lamp kit. With the power cord threaded through the side hole, pull enough slack through to work comfortably. The lamp socket should have a threaded base with retaining rings or nuts. You will feed this threaded base through the drainage hole at the bottom (now the top) of your inverted pot. Secure it in place by tightening the retaining rings on both the inside and outside of the pot until the socket is stable and doesn't wobble. Ensure it’s nice and snug. Never perform any of these steps with the cord plugged into an electrical outlet.
Add the Finishing Touches
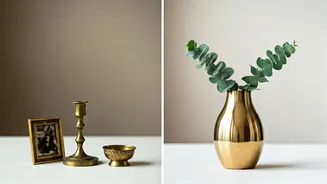
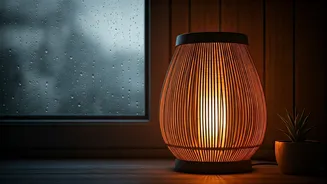
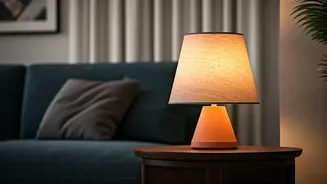
Your custom lamp is almost complete. Screw in your LED bulb—LEDs are recommended because they produce very little heat, which is safer for a DIY fixture. Next, place your chosen lampshade onto the socket. Most shades will either sit directly on the socket before the bulb is screwed in (a 'spider' fitting) or clip onto the bulb itself. The simple, clean lines of a cylindrical drum shade in a neutral fabric like white, cream, or grey will perfectly complement the minimalist base you’ve created. Place your new lamp on a side table or console, plug it in, and enjoy the warm, ambient light of your handmade creation.