




Understanding the Zest
Before you begin, it's crucial to know what you're aiming for. The peel of an orange has two parts: the outer, coloured layer called the zest (or flavedo), and the spongy, white layer beneath it known as the pith. The zest is where the fragrant essential
oils are concentrated, delivering that pure, punchy orange flavour. The pith, on the other hand, is bitter and should be avoided as much as possible to prevent adding an unpleasant taste to your dish. The goal of zesting is to shave off only that vibrant orange layer.
The Right Tool for the Job
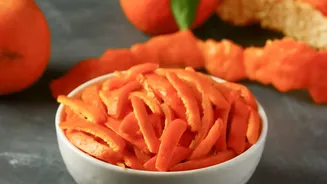
While you don't need a drawer full of gadgets, different tools produce different results. A microplane is a favourite for many bakers, creating fine, fluffy shavings of zest that incorporate beautifully into batters, doughs, and vinaigrettes. A traditional citrus zester, with its small, sharp holes, creates long, thin, curly strips ideal for garnishes. A simple box grater's smallest holes can also be used; just be careful to apply light pressure. In a pinch, a vegetable peeler or a sharp paring knife can remove wide strips of peel, which you can then finely mince with a knife. This method requires a steady hand but works perfectly well.
Perfecting Your Technique
Regardless of your tool, the technique is key. First, always wash and thoroughly dry your orange, especially if it's not organic, to remove any wax or residue. It's also much easier to zest a whole fruit before you juice or peel it. Hold the orange firmly and move the tool across its surface with light, even pressure. Rotate the fruit as you go, stopping as soon as you see the white pith appear underneath. If using a microplane or grater, the zest will collect on the underside; simply tap the tool to release it. Remember, it's better to leave a little orange colour behind than to scrape too deeply and pick up the bitter pith.
Unlocking Maximum Flavour
To get the most out of your orange zest, consider how you add it to your recipe. One of the best professional tips is to rub the fresh zest directly into the sugar you'll be using for your baked goods. Using your fingertips, massage the zest and sugar together until the mixture becomes fragrant and slightly coloured. The abrasive sugar crystals help break down the zest, releasing its essential oils and infusing the entire batch of sugar with a powerful orange aroma and flavour that will permeate your cake, cookies, or muffins.
Storing Leftover Zest
If a recipe only calls for a small amount of zest, don't let the rest go to waste. Fresh zest can be stored in a tightly sealed container in the refrigerator for up to a week. For longer-term storage, freezing is an excellent option. You can spread the zest on a plate to freeze, then transfer the frozen zest to an airtight bag or container, where it will last for months. Some cooks like to pre-portion it into teaspoon-sized amounts before freezing. Another method is to mix the zest with sugar, which acts as a preservative, and store it in a clean jar. You can also dry the zest in a dehydrator or a low oven until crisp.
Zest in Action: Recipe Inspiration
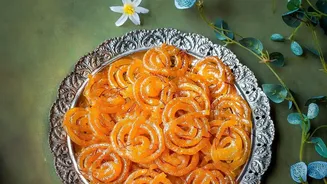
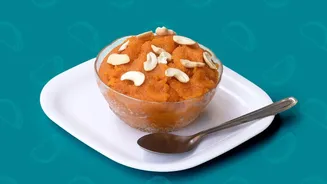
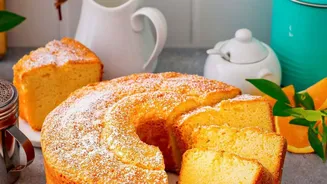
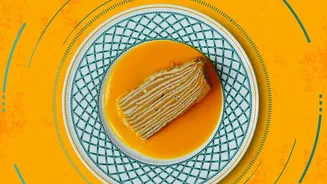
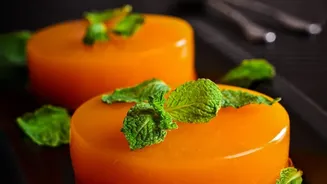
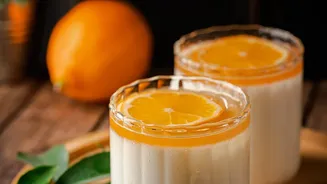
Now that you've mastered the technique, it's time to put your skills to use. Orange zest is incredibly versatile. Fold it into the batter for cakes, muffins, and scones for a bright, citrusy crumb. Add it to creamy desserts like cheesecakes, custards, and possets for a fragrant lift that cuts through the richness. It's a wonderful addition to chocolate chip cookies, creating a classic flavour pairing. You can also use it to make vibrant glazes, icings, and syrups to finish your desserts with a final punch of flavour. Don't be afraid to experiment; a little zest can elevate almost any sweet treat.