
Reading the Signs: When to Repot
Before you get your hands dirty, it’s important to know if your plant actually needs a new home. Repotting too soon can cause unnecessary stress. Look for clear signs that your plant has outgrown its current container. One of the most obvious clues is
seeing roots growing out of the drainage holes at the bottom of the pot. Another tell-tale sign is that the soil dries out very quickly, sometimes within a day or two of watering, forcing you to water more frequently. You might also notice that your plant's growth has slowed down or stopped, or the new leaves it produces are smaller than previous ones. In some cases, the plant may become top-heavy and unstable, or the roots become so dense that you can feel a hard mass if you gently tip the plant to inspect it.
Gather Your Supplies
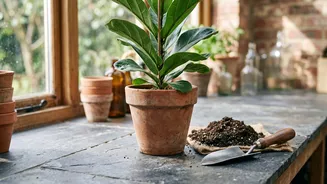
A successful repotting session starts with having the right tools on hand. This prevents you from leaving a plant with its roots exposed for too long. You will need a new pot, fresh potting mix, and a pair of clean scissors or pruning shears. When choosing a new pot, resist the urge to go too big. A pot that is excessively large holds onto too much moisture, which can lead to root rot. A general rule of thumb is to select a new container that is only about 1 to 2 inches wider in diameter than the old one. Ensure the new pot has drainage holes to allow excess water to escape. Materials like terracotta are excellent for plants that prefer drier conditions, while plastic is good at retaining moisture.
Choose the Right Soil
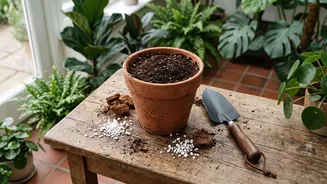
Using the wrong soil is one of the most common repotting mistakes and can undermine all your efforts. Never use soil directly from your garden, as it is too dense, drains poorly in a container, and can introduce pests or diseases. Instead, opt for a high-quality potting mix designed for indoor plants. Most common tropical houseplants thrive in a mix that contains peat moss, perlite, and compost. Perlite, the small white particles you see in potting mix, is crucial for aeration and drainage, preventing the soil from becoming waterlogged. For succulents and cacti, you'll need a special mix with more sand or perlite to ensure faster drainage.
The Repotting Process: A Step-by-Step Guide
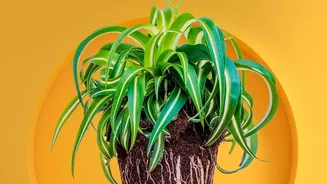
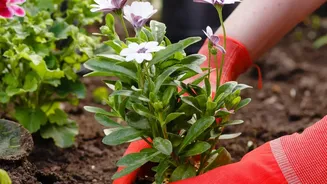
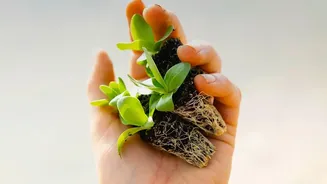
First, water your plant a day or two before you plan to repot; this helps reduce stress and makes the plant easier to remove. To get the plant out, turn the pot on its side and gently tap the bottom, wiggling the plant out by its base. Once it's free, inspect the root ball. If the roots are tightly wound in a circle (a condition known as being 'root-bound'), gently tease them apart with your fingers to encourage them to grow outwards in the new pot. Don't be afraid to trim any roots that are dead, mushy, or broken using your clean shears. Place a layer of fresh potting mix in the bottom of the new pot. Set the plant inside, ensuring the top of the root ball sits about a quarter-inch to a half-inch below the rim of the pot. Planting it too deep can restrict air circulation and lead to rot. Fill in the space around the plant with more soil, gently firming it to eliminate large air pockets without compacting it too much.
Crucial Aftercare for a Happy Plant
Your plant's journey isn't over once it's in the new pot. Aftercare is essential for helping it recover from 'transplant shock'. After repotting, give the plant a thorough watering until you see it run out of the drainage holes. This helps settle the soil around the roots. After this initial watering, allow the soil to approach dryness before watering again; the new soil may dry at a different rate. It's also critical to hold off on fertilizing for at least a few weeks. Fresh potting mix usually contains enough nutrients, and feeding a stressed plant can burn its sensitive, newly disturbed roots. Place your plant back in a spot where it receives the appropriate amount of light and monitor it for the next few weeks as it adjusts to its new home.