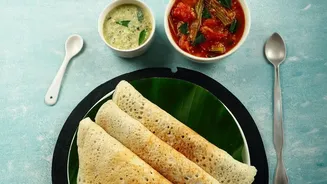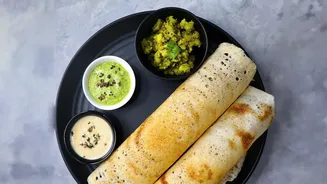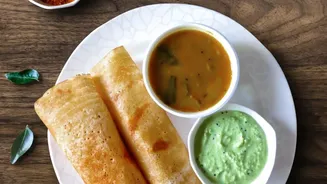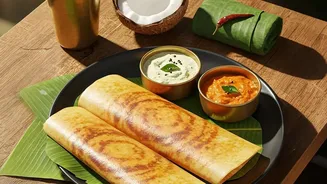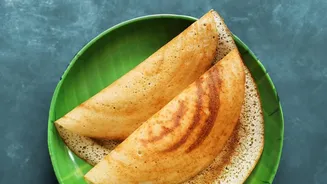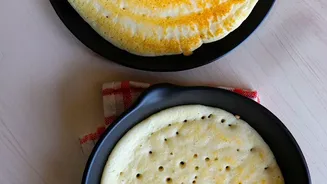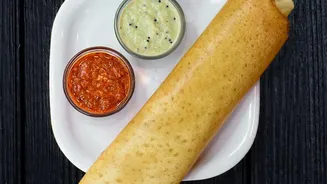

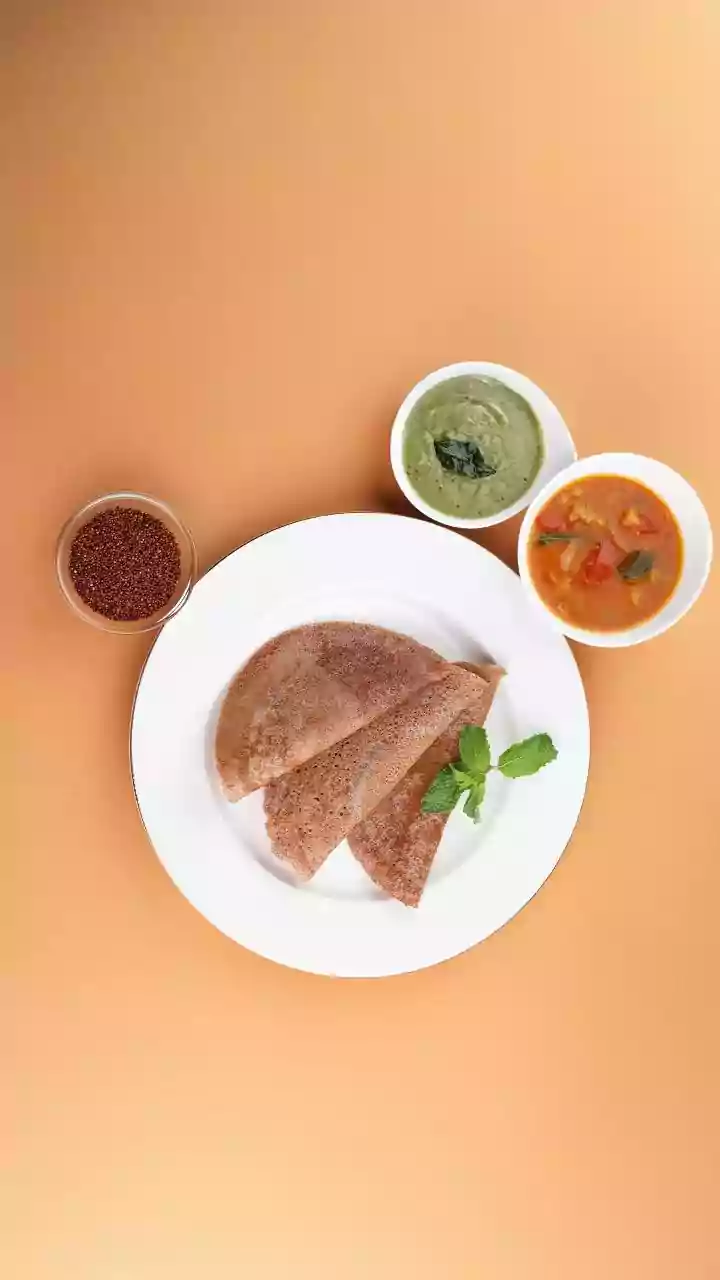


The quest for that perfect, paper-thin, golden-brown dosa often ends in disappointment with a soft, pale imitation. But the secret to achieving that restaurant-style crispiness isn't a complex recipe; it's all in the pan and the technique.
Why Cast Iron Is King
Before diving
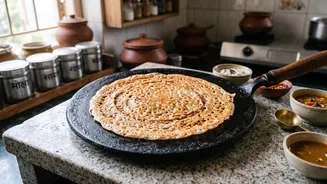
into the method, it's important to understand why a cast-iron tawa is the preferred tool for a crispy dosa. Unlike modern non-stick pans, cast iron excels at heat retention and distribution. It heats up slowly but holds a steady, even temperature across its entire surface, which is crucial for uniform cooking. This consistent heat cooks the thin layer of batter quickly, driving off moisture to create that signature snap. Over time, a well-cared-for cast-iron tawa develops a natural non-stick surface called a patina, which is formed by layers of baked-on oil. This not only prevents sticking without chemical coatings but also adds a unique, subtle flavour to the dosa that other pans cannot replicate.
The Batter: Consistency is Crucial
Your journey to a crisp dosa begins with the batter. A perfect batter should be smooth, well-fermented, and have the right consistency. If the batter is too thick, it will be difficult to spread thinly and will result in a soft, thick dosa. If it's too watery, it won't hold its shape. The ideal consistency is often described as being like thin cream—pourable in a steady stream but still able to coat the back of a spoon. It's also best to use batter that is at room temperature; batter straight from the fridge will cool down the tawa and can hinder the cooking process. If your batter has been refrigerated, let it sit out for about 30 minutes before you begin.
Mastering Tawa Temperature
Getting the temperature of your cast-iron tawa just right is perhaps the most critical step. This is a two-part process: preheating properly and then managing the heat. Start by heating the tawa on a medium flame for several minutes. Cast iron needs time to heat up evenly. To check if it's ready, use the water-drop test: sprinkle a few drops of water onto the surface. If they sizzle and evaporate immediately, the tawa is ready. If they just sit and steam, it's too cold. Conversely, if the water vanishes instantly with a sharp crackle and the pan is smoking, it's too hot. An overheated tawa will cause the batter to set on contact, making it impossible to spread. If your tawa is too hot, reduce the flame and splash a little water on it, wiping it away with a cloth to bring the temperature down before pouring the batter.
The Art of Spreading and Cooking
With your batter ready and tawa perfectly heated, it's time to cook. Lightly grease the hot tawa. Many traditional cooks use half an onion dipped in oil, which seasons the pan and adds flavour. Pour a ladleful of batter into the centre of the tawa. Working quickly, use the back of the ladle to spread the batter in a continuous, outward spiral motion. Apply gentle pressure and do not go back over areas you've already spread. The goal is to create the thinnest possible layer. Once spread, drizzle a little oil or ghee around the edges. This helps the edges crisp up and pull away from the pan. Now, be patient. Do not try to lift the dosa until the edges turn golden brown and start to lift on their own. This is your sign that the dosa is cooked and ready to be folded. Trying to lift it too early will cause it to tear.
Common Mistakes and Easy Fixes
If your dosa sticks, the most likely culprits are improper heat or a poorly seasoned tawa. If the tawa wasn't hot enough, the batter will fail to form a crust and will stick. If it was too hot, the batter will seize and stick. Another common issue is using too much oil, which can make the dosa greasy instead of crisp. Only a very thin film is needed. Also, never cover a dosa while it's cooking; the trapped steam will make it soft. Finally, don't use the same tawa for dosas and chapatis, as any dry flour from chapatis can damage its seasoning and cause sticking.