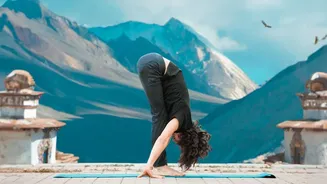

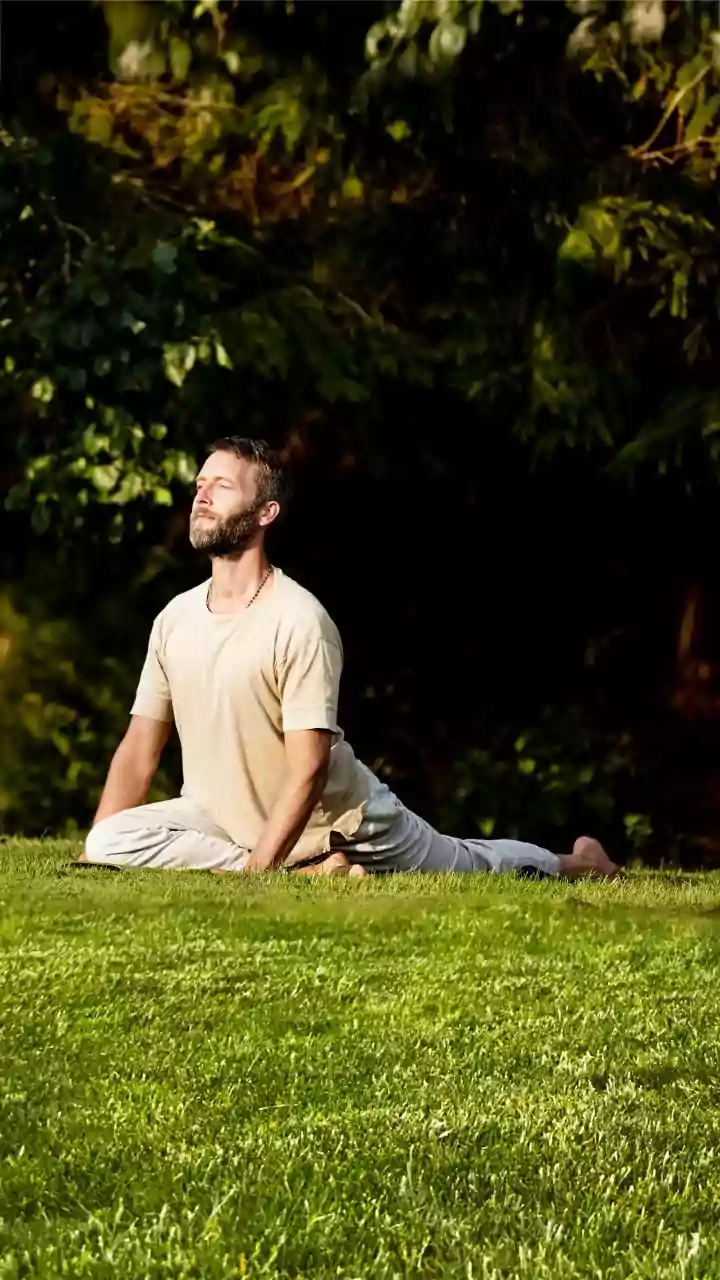

The Seated Forward Bend, or Paschimottanasana, is a fundamental yoga pose known for its deep stretch and calming effects. But for many, tight hamstrings make it feel impossible. The solution isn't to force it; it's to modify it intelligently.
Why Bending Your Knees Is a Smart Choice
In yoga,
the goal is never to force your body into a specific shape, but to find a version of the pose that serves your body. Forcing straight legs in Paschimottanasana when your hamstrings are tight can do more harm than good. Tight hamstrings pull on your sitting bones, causing your pelvis to tuck under and your lower back to round. This shifts the stretch from your hamstrings to your vulnerable lower back, risking strain or injury. Bending your knees generously allows your pelvis to tilt forward correctly from the hips, which is the true foundation of this pose. This protects your spine and allows you to receive the intended benefits: a safe hamstring stretch and a release for your entire back body.
Who Benefits From This Modification?
The bent-knee modification isn't just for beginners; it's a valuable tool for many practitioners. You should consider bending your knees if you are a beginner learning the basic alignment of a forward fold, have naturally tight hamstrings or calves from activities like running, or spend long hours sitting. It is also highly recommended for those with general lower back tension or sensitivity. Bending the knees reduces compression in the lumbar spine, making the pose more therapeutic. On any given day, even experienced yogis might bend their knees to accommodate how their body feels, honouring the principle of listening to your body over chasing an aesthetic.
A Step-by-Step Guide to a Modified Seated Forward Bend
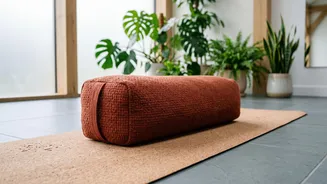
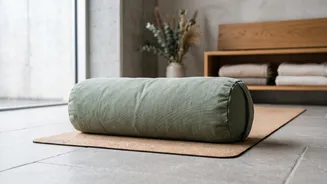
To practise the modification correctly, focus on length before depth. Start by sitting on the floor in Staff Pose (Dandasana), with your legs extended in front of you. Sit on the edge of a folded blanket to help your pelvis tilt forward. Now, bend your knees enough so you can place your feet flat on the floor. Inhale and lengthen your spine, sitting up tall. As you exhale, begin to hinge forward from your hip creases, not your waist. The goal is to bring your chest toward your thighs, not your head to your knees. Rest your torso on your thighs and grasp your shins, ankles, or the outer edges of your feet. Let your head and neck relax. With every inhale, you might find a little more length in your spine; with every exhale, you can soften into the pose.
Common Mistakes to Avoid
The most common mistake in any forward bend is rounding the back aggressively in an effort to touch the toes. This sacrifices spinal integrity for the illusion of depth. Another error is pulling forcefully with the arms, using a strap or your own hands to yank yourself forward. This creates tension in the shoulders and neck and can lead to injury. Instead, the arms should assist lightly, while the fold originates from the hips. Also, be mindful not to hold your breath. A steady, calm breath is crucial, as it helps calm the nervous system and allows your muscles to release naturally. The focus should always be on the sensation of a productive stretch, not on pain or force.
Progressing Your Practice Safely
Using a bent knee modification doesn't mean you'll be stuck there forever. It's a stepping stone to greater flexibility. As you continue to practise, you'll find that your hamstrings gradually open up. You can progress the pose by slowly sliding your heels forward, bit by bit, while maintaining the connection between your torso and thighs. Only straighten your legs to the degree that you can keep your spine long and your fold originating from the hips. The moment your lower back starts to round, you've gone too far. This mindful approach ensures you are building flexibility sustainably, without risking injury. Remember, the journey in yoga is one of patience and self awareness.