



The Golden Age of Glamour
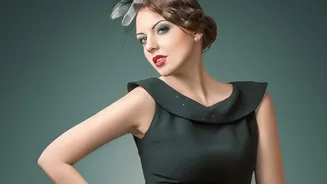
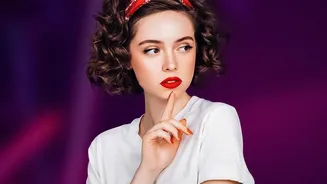
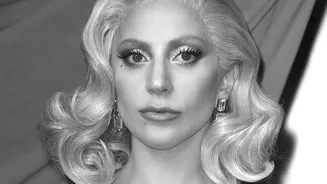
Step into the world of 1930s and 1940s Hollywood, and you'll find pin curls at the heart of its most iconic looks. This was the era when actresses like Rita Hayworth and Veronica Lake graced the silver screen with their signature soft, cascading waves.
The pin curl technique evolved from the tight, flat finger waves of the 1920s, offering a fuller, softer, and more voluminous silhouette that perfectly captured the growing desire for glamour. During a time of wartime rationing, women focused on elaborate hairstyles as a form of personal expression and elegance, making the pin curl set a weekly ritual for many. It was a versatile foundation for many styles, from bouncy ringlets to structured 'victory rolls', cementing its place as a hairstyling staple for decades.
What Exactly Is a Pin Curl?
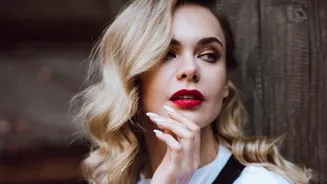
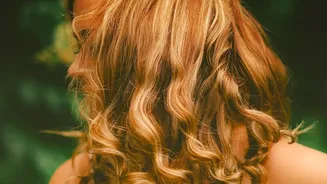
At its core, a pin curl is a curl created without heat. The technique involves taking a small section of damp hair, winding it from the end up to the scalp into a neat circle, and then securing it flat against the head with a pin or clip. The hair is then left to dry completely, either overnight (often protected by a silk scarf) or with the help of a hooded dryer. As the hair dries, it sets into the shape of the curl. The 'soft' look is achieved during the brush-out phase; once the pins are removed, the curls are gently brushed until they relax into soft, uniform waves rather than staying as tight, separate ringlets. The size of the section determines the outcome: larger sections create loose, flowing waves, while smaller sections result in tighter, more defined curls.
The Simple Tools You Need
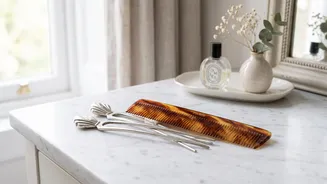
One of the greatest appeals of the pin curl is its simplicity. You don’t need an arsenal of expensive hot tools to achieve a professional-looking result. The essentials are quite basic: a fine-toothed comb for creating clean sections, double-prong clips or bobby pins to secure the curls, and a setting product. Traditionally, a setting lotion or a light mousse is applied to damp hair to provide hold and help the curls last longer. For an overnight set, a silk or satin scarf is crucial to keep the curls in place and prevent frizz. That's it. It’s a low-cost, low-damage method that has been trusted for generations.
A Beginner’s Guide to Creating Soft Curls
Ready to try it yourself? Start with clean, damp hair that isn't dripping wet. Work a small amount of setting lotion or mousse through your strands. Begin at the front, take a one-to-two-inch section of hair, and comb it smooth. Holding the ends, wrap the hair around one or two fingers, rolling it upwards towards your scalp. Once you reach the scalp, slide the curl off your fingers and pin it flat against your head. Make sure the clip slides across the circle, not through its center, to avoid leaving dents. Repeat this process across your entire head. For a classic waved look, try creating rows of curls that all face the same direction, then alternate the direction in the next row. Once your hair is completely dry, carefully remove the pins and gently brush through the curls until they form soft, cohesive waves.
The Pin Curl in Modern Times
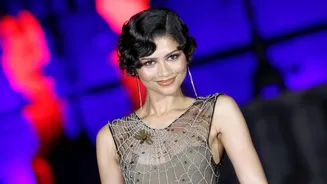
While its peak may have been in the mid-20th century, the pin curl has never truly gone away. It remains a go-to technique for creating vintage-inspired looks for special occasions and red carpet events. Celebrities like Taylor Swift and Dita Von Teese have often channeled old Hollywood glamour with beautifully set waves that pay homage to the pin curl. Modern interpretations sometimes use a curling iron to create the initial curl before pinning it to cool, which speeds up the process significantly. This hybrid method combines modern convenience with a classic setting technique to create those signature soft, bouncy curls that are less damaging and longer-lasting than curls created by heat alone.