



What Exactly Are Microgreens?
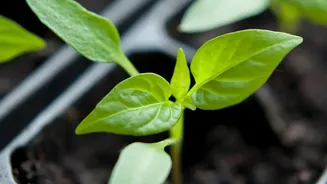
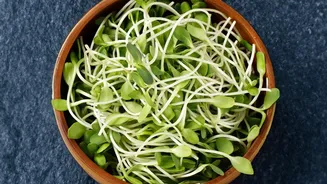
Microgreens are the young seedlings of edible vegetables and herbs. They are harvested just after the first set of 'true' leaves appear, which is typically 7 to 21 days after germination. They are not to be confused with sprouts, which are germinated
seeds often grown in water and consumed whole, including the root. Microgreens are grown in a medium like soil or coco peat, and only the stem and leaves are eaten. Their appeal lies in their intense flavour, vibrant colours, and the incredible speed at which they grow, making them perfect for impatient gardeners and anyone wanting a quick, rewarding project.
A Superfood Power Punch
Don't let their small size fool you; microgreens are nutritional powerhouses. Research has shown they can contain up to 40 times more nutrients than their mature counterparts. They are exceptionally rich in minerals like potassium, iron, zinc, and magnesium. Furthermore, microgreens are an excellent source of antioxidants and vitamins C, E, and K, which support a healthy immune system, promote strong bones, and can even contribute to radiant skin by boosting collagen production. Incorporating these tiny greens into your diet is a simple way to add a concentrated dose of nutrition to your meals.
Your Windowsill Garden Setup
Getting started is simpler and cheaper than you might think. You don't need a sprawling garden or expensive equipment. All it really takes is a bright window, especially one facing east to catch the gentle morning sun. Here's a basic checklist to begin: a shallow tray (about 2-3 inches deep, ideally with drainage holes), a growing medium like coco peat or a quality seedling mix, high-quality seeds, and a spray bottle for watering. Many companies offer all-in-one starter kits that provide everything you need for your first few harvests, removing all the guesswork.
A Step-by-Step Growing Guide
Growing microgreens is a straightforward process. First, fill your tray with about an inch of your pre-moistened growing medium, leveling the surface gently. Next, sprinkle your seeds evenly across the top; there's no need to bury them. Mist the seeds thoroughly and cover the tray to create a dark, humid environment for a few days to encourage germination. Once the sprouts are about an inch tall, remove the cover and move the tray to a spot with bright, indirect light. Water them daily, preferably from the bottom by adding water to a catch tray, to keep the leaves dry and prevent mold.
Easiest Greens for Beginners
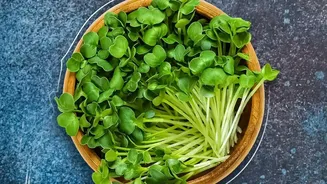
For your first crop, it's best to start with varieties that are fast-growing and forgiving. Radish is a top choice for beginners, often ready to harvest in as little as five to seven days, with a peppery kick. Mustard greens are another quick and easy option, known for their sharp, zesty flavour. Fenugreek (methi) is also a fantastic choice, especially for Indian households, offering a familiar bitter and slightly sweet taste. These varieties sprout quickly and can tolerate minor beginner mistakes, giving you a successful and confidence-boosting first harvest.
Harvest and Enjoy in Days
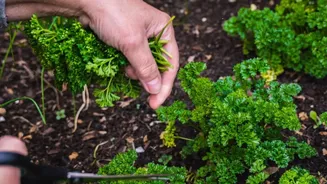
Depending on the variety, your microgreens will be ready to harvest in 7 to 14 days. You'll know they're ready when they are about 2-4 inches tall and have developed their first set of true leaves. To harvest, simply use a clean pair of scissors to snip the greens just above the soil line. For the best flavour and nutritional value, it's recommended to eat them raw soon after harvesting. They make a fantastic, flavourful topping for salads, sandwiches, and soups, a colourful garnish for dals and curries, or can be blended into smoothies for a hidden nutritional boost.