


Step 1: Assess and Make a Plan
Before you start pulling things apart, take a moment to assess the situation. It’s easy to feel overwhelmed, but a simple plan makes all the difference. Identify which plants are still healthy, which ones are struggling, and which are beyond saving. Be honest
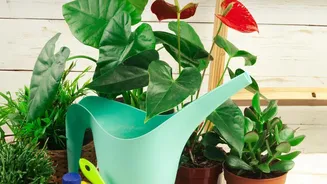
with yourself. Is that withered plant going to make a miraculous comeback, or is its pot better used for something new? Decide what you want to keep, what you want to move, and what needs to go. Check your supplies: do you have fresh potting soil, spare containers, or basic tools like shears? A little preparation prevents you from having to stop midway through the cleanup.
Step 2: The Big Clear-Out
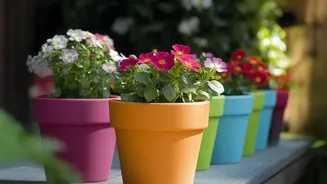
Now it’s time to get your hands dirty. Start by removing all the dead plants, dried leaves, and accumulated debris from your pots and the balcony floor. Empty out the soil from containers that housed dead plants; don’t reuse this old soil, as it can harbour pests and diseases. This stage is immediately satisfying as it instantly creates space and reduces the visual clutter. Gather all the empty pots you wish to reuse and give them a good scrub with soap and water to get rid of any lingering pests or fungal spores. A clean slate is the foundation for a healthy garden.
Step 3: Prune with Purpose
Overgrown plants often become 'leggy'—with long, sparse stems and few leaves—as they stretch for sunlight. Pruning is the solution. Don't be timid; many plants benefit from a significant trim. Use a clean, sharp pair of scissors or pruning shears to cut back overgrown stems, typically just above a leaf node (the little bump where a leaf grows). This encourages the plant to branch out, resulting in denser, bushier growth. For flowering plants, 'deadheading', or pinching off spent blooms, redirects the plant's energy into producing new flowers instead of seeds. Also, remove any yellowing, diseased, or damaged leaves to improve air circulation and overall plant health.
Step 4: Repot and Refresh the Soil
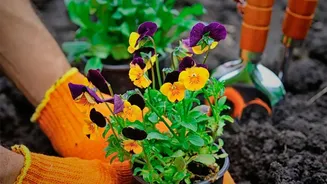
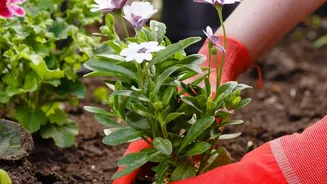
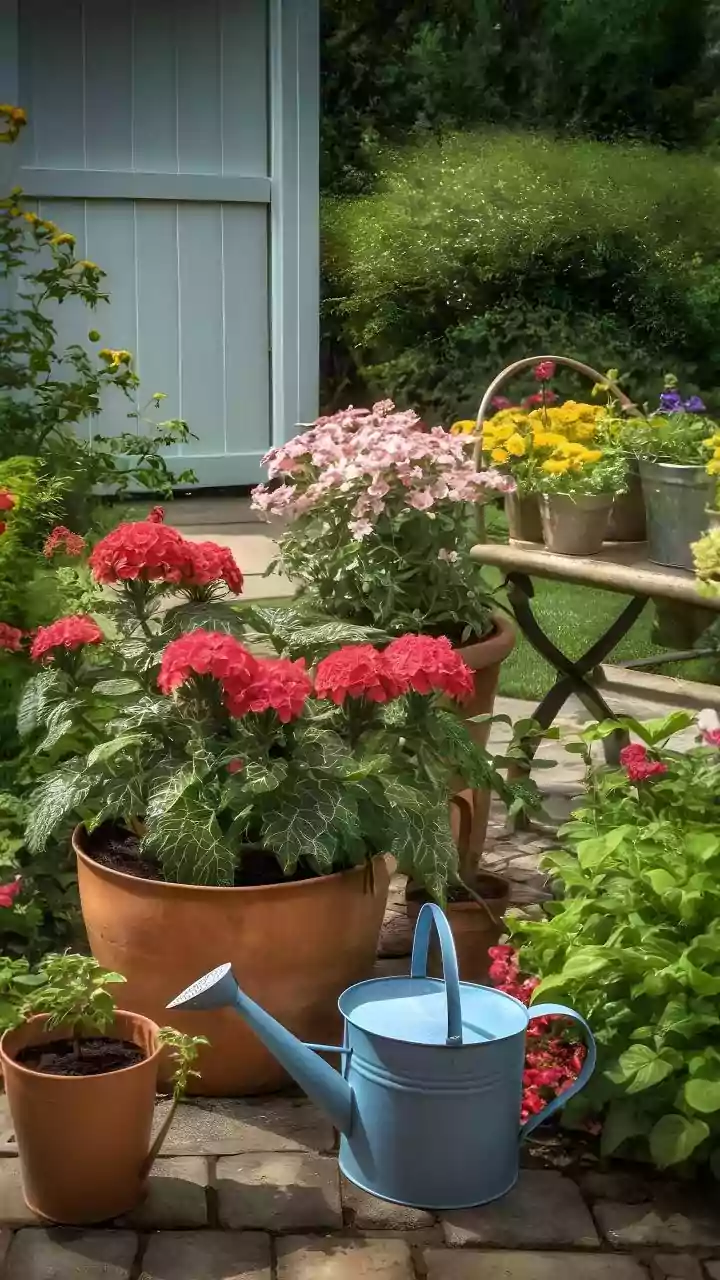
Some of your surviving plants may be 'root-bound', with roots tightly circling the inside of the pot. Signs of this include roots growing out of the drainage holes or water running straight through without being absorbed. These plants need a new home. Choose a new pot that is no more than two inches wider in diameter than the current one. Gently remove the plant, loosen the tangled roots with your fingers, and place it in the new pot with a base layer of fresh, high-quality potting mix. Fill the surrounding space with more soil, pressing gently, and water thoroughly to help it settle. Even for plants that don't need a larger pot, refreshing the top layer of soil can provide a much-needed nutrient boost.
Step 5: Tackle Pests Organically
An overgrown garden can be a haven for pests like aphids, mealybugs, and spider mites. Inspect your plants carefully, paying close attention to the undersides of leaves and where stems meet. For most common pests in Indian climates, a simple spray made from neem oil, a bit of mild liquid soap, and water is a highly effective and organic solution. Apply this mixture in the evening to avoid burning the leaves in the sun. Companion planting can also help; placing pots of basil, marigolds, or mint among your other plants can naturally deter many unwanted insects.
Step 6: Reorganise for Space and Sun
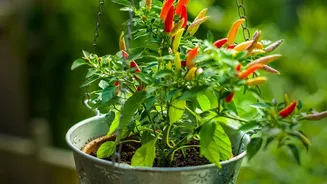
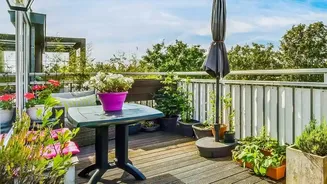
With your plants pruned and repotted, it's time to rethink the layout. Balcony gardening is all about maximising small spaces. Use vertical space by installing wall-mounted planters, tiered shelving, or hanging baskets. Group plants with similar needs together. Place sun-loving plants like tomatoes, chillies, and hibiscus in the brightest spots, and those that tolerate some shade, like mint and money plants, in less sunny corners. A well-organised layout not only looks tidier but also ensures each plant gets the light it needs to thrive.