



Choose the Right Pot and Chilli
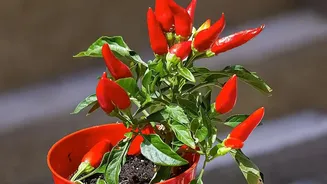
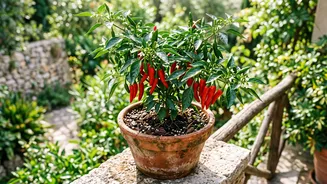
Your journey begins with selecting the right home for your plant. Thai chillies, including the popular Bird's Eye variety, thrive in containers. Look for a pot that is at least 10-12 inches deep and wide, which is roughly the size of a 5-gallon bucket.
This provides ample space for a strong root system to develop. The most critical feature is drainage; ensure your pot has several holes at the bottom. Without good drainage, water can log the roots, a condition chillies despise. As for the chilli itself, starting with a healthy sapling from a local nursery is often easier than starting from seed, but both are great options. Compact varieties are perfect for balcony spaces.
Create the Perfect Soil Foundation
Chillies are particular about their soil. They need a potting mix that is light, airy, and drains well, but also holds enough moisture. Using heavy garden soil is a common mistake; it will compact in a pot and suffocate the roots. A high-quality commercial potting mix is a good starting point. To create an ideal blend, you can mix this with other components. A great recipe combines standard potting compost with perlite for drainage and coco peat (or peat moss) for moisture retention. A simple mix could be one part compost, one part coco peat, and a smaller part of perlite to ensure water flows through freely, preventing root rot.
Mastering Sun and Water
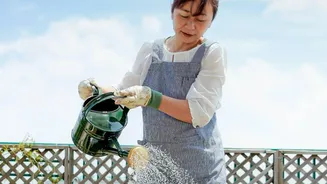
The phrase 'sunny balcony' in the headline is key. Chilli plants are sun-lovers, requiring at least 6-8 hours of direct, bright sunlight every day to produce a bountiful harvest. A south-facing balcony is often ideal. Watering is a balancing act. The goal is to keep the soil consistently moist but never waterlogged. A good rule of thumb is to water deeply whenever the top inch or two of soil feels dry to the touch. In hot Indian summers, this might mean watering daily, especially in the morning. Overwatering is a common cause of problems, so always check the soil before reaching for the watering can.
Feeding Your Plant for More Fruit
While good soil provides an initial nutrient boost, potted chillies are heavy feeders and will need regular fertilising to thrive. Wait until about three to four weeks after potting your plant before you start a feeding routine. Once the plant begins to flower, it's time to switch to a fertiliser that is high in potassium (K). Liquid tomato feed works perfectly for this, as it's designed to encourage fruit production rather than just leafy growth. You can fertilise every couple of weeks during the growing season, always following the instructions on the package and applying it to moist soil to avoid burning the roots.
Pest Patrol and Troubleshooting
Even on a balcony, pests can find your plants. In India, common culprits include aphids, spider mites, and thrips, which suck sap from the leaves. Infestations can lead to curled leaves and slower growth. Regularly inspect your plants, especially the undersides of leaves. Many issues can be managed with simple organic solutions like a spray of neem oil solution or insecticidal soap. Ensuring good air circulation around your plant can also help prevent fungal diseases like powdery mildew that thrive in humid conditions.
When and How to Harvest
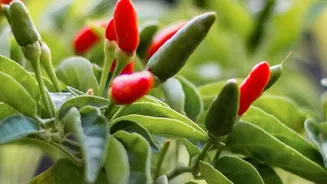
The best part is finally here: harvest time. Thai chillies can be picked when they are green, but for maximum heat and a fuller, sweeter flavour, wait until they turn a vibrant red. The plants will take about 70-90 days from transplanting to produce mature fruit. Use a pair of scissors or small snips to cut the chillies from the stem. Simply pulling them off can damage the branches. Regular harvesting is a signal to the plant to produce more flowers and, subsequently, more chillies, so pick them often to enjoy a continuous supply throughout the season.