


Know What Healthy Roots Look Like
Before you even think about moving a plant, it’s essential to understand its foundation. A plant’s ability to absorb water and nutrients depends entirely on its roots. Healthy roots are the key to a thriving plant, both in its current pot and its future
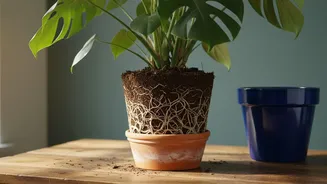
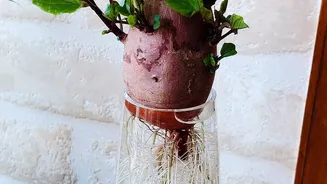
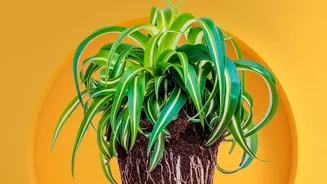
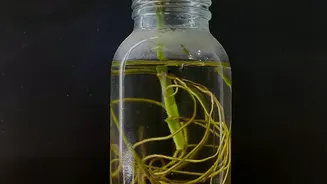
home. When you gently slide a plant out of its container, healthy roots should appear white, tan, or light-coloured. They should feel firm and fleshy, not soft or mushy. You'll often see fine, white tips, which are signs of active growth. Conversely, unhealthy roots are often brown or black, feel brittle or slimy, and may fall apart easily. These are signs of root rot, often caused by overwatering, and a plant with these roots is already in distress and will need extra gentle handling.
Prepare the Plant for the Move
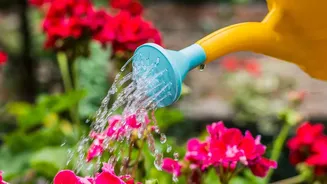
A successful transplant begins a day or two before the main event. The goal is to minimize what's known as 'transplant shock'—a period of stress where the plant may wilt, drop leaves, or stop growing after being moved. To arm your plant against this shock, water it thoroughly one to two days before you plan to repot it. A well-hydrated plant is much more resilient to the stress of being uprooted. This also helps the root ball hold together better when you remove it from the pot. While you're at it, prepare the new pot. Make sure it has drainage holes and is only about two to four inches larger in diameter than the current one; a pot that’s too big can hold excess moisture, leading to root rot.
The Art of Gentle Removal
This is the most critical step. To remove the plant, turn the pot on its side and gently tap the bottom and sides to loosen the soil. Support the base of the plant with one hand and try to slide it out. Avoid pulling on the stem, as this can cause damage. If the plant is stubborn, you can run a butter knife or a small trowel around the inner edge of the pot to separate the root ball from the container walls. Once the plant is out, you'll have a clear view of the root system. Take a moment to inspect it. Your goal is to keep the root ball as intact as possible to avoid disturbing the delicate network of roots.
Loosen and Inspect the Root Ball
If you notice the roots are 'rootbound'—meaning they are tightly coiled in the shape of the pot—you'll need to gently intervene. Use your fingers to carefully massage and untangle the bottom of the root ball. The idea is to encourage the roots to grow outward into the new soil rather than continuing to circle. You may lose a few very fine roots in the process, which is generally okay, but be careful not to tear or break the larger, thicker primary roots. If the roots are extremely matted, you can make a few shallow vertical cuts with a clean knife to help free them, but this should be done with care. Prune any roots that are clearly dead, black, or mushy.
Settling into the New Home
Now, it's time to place your plant in its new pot. Add a layer of fresh, appropriate potting mix to the bottom of the new container. Position the plant so that the top of its root ball sits about half an inch to an inch below the rim of the pot. Hold the plant steady and begin filling the surrounding space with new soil, ensuring it gets into all the empty pockets. Gently pat the soil down to secure the plant, but avoid compacting it too firmly, as this can reduce air circulation to the roots. The final soil level should be the same as it was in the original pot; piling soil against the plant's stem can lead to rot.
Crucial Aftercare for Recovery
The first few weeks after a transplant are vital for recovery. Water the plant thoroughly right after repotting to help the new soil settle around the roots. Keep the soil consistently moist but not waterlogged as the plant establishes itself. Place the plant in a spot where it receives indirect light, as direct sun can add further stress. It’s also wise to hold off on fertilizing for a few weeks; the roots are in a fragile state, and fertilizer can 'burn' them. Give your plant time to acclimate and focus its energy on developing a strong new root system in its new environment.