


Find a Dark Spot
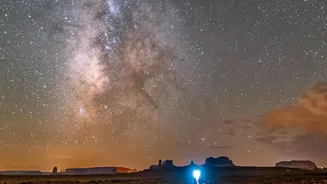
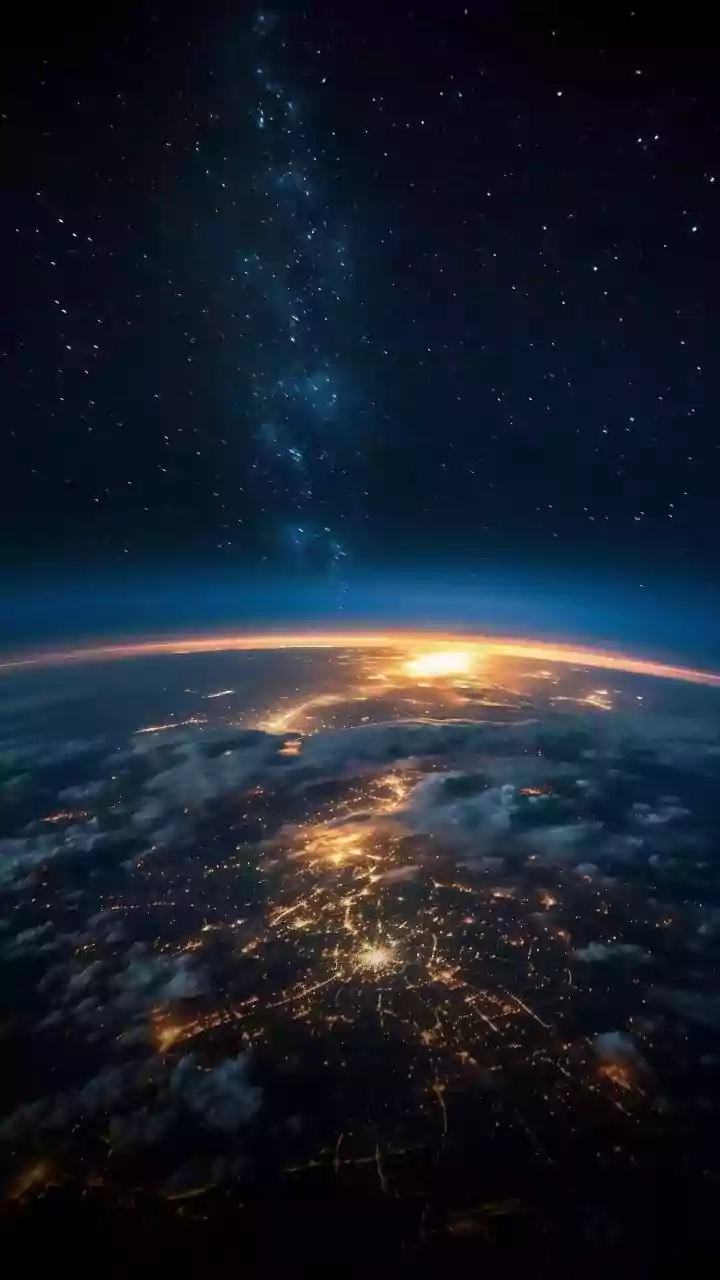
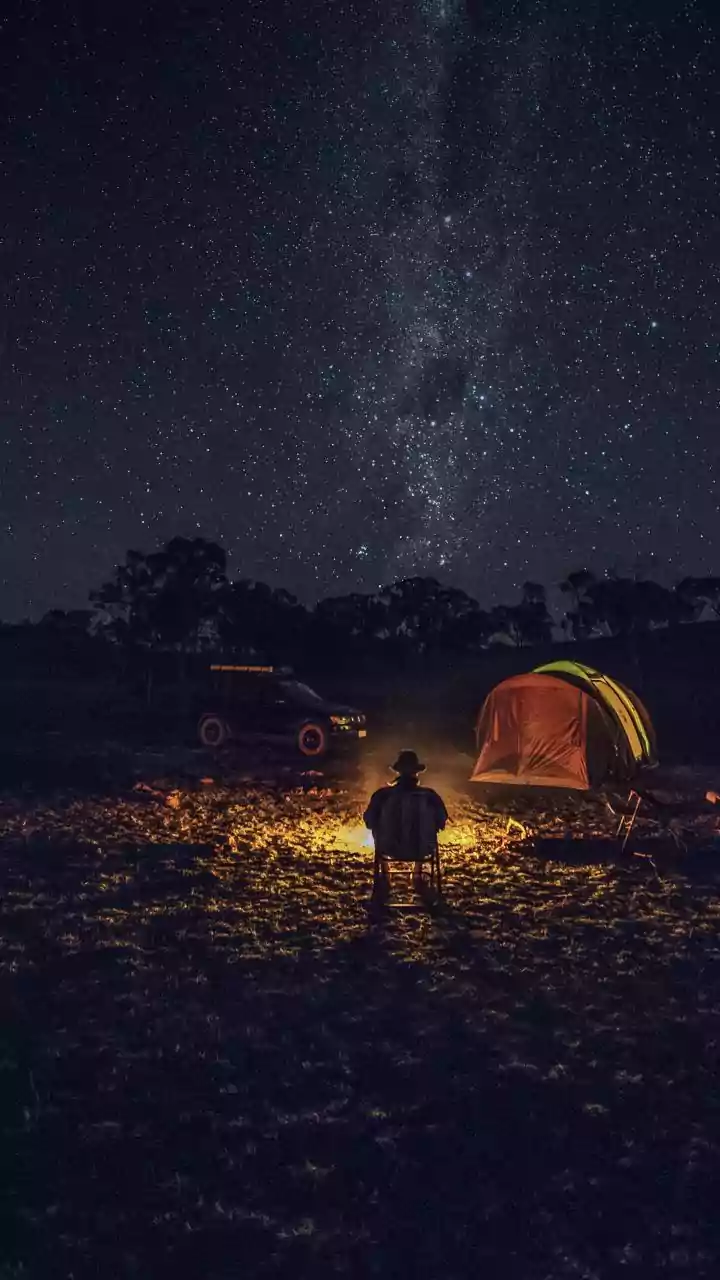
The first and most crucial step is to escape light pollution. The glow from cities, streetlights, and even your own home can wash out all but the brightest celestial objects. For the best views, find a location away from city centres. Parks, rural areas,
or designated dark-sky locations are ideal. Even finding the darkest corner of your backyard or a local park can make a significant difference. Give yourself the best possible canvas to work with, and the stars will put on a show.
Let Your Eyes Adapt
Patience is a stargazer's greatest virtue. Your eyes need time to adjust to the darkness, a process called dark adaptation. It can take up to 30 minutes for your pupils to fully dilate and for your eyes to build up the light-sensitive chemicals needed to see faint starlight. During this time, avoid looking at any bright lights, especially your phone screen. A quick glance at a bright white light can reset the entire process. If you need to use a light, a red flashlight is best because it has the least impact on your night vision. Many stargazing apps also have a 'red light mode' for this reason.
Use a Stargazing App
Your smartphone is one of the most powerful tools for a budding astronomer. Free and low-cost apps like Star Walk 2, SkyView Lite, and Stellarium use your phone's GPS and compass to create a real-time map of the sky. Simply point your phone towards the stars, and the app will identify constellations, planets, and even satellites like the International Space Station passing overhead. These apps are fantastic for learning your way around and knowing what you're actually looking at. They take the guesswork out of stargazing and turn a sea of dots into a navigable map.
Start with Bright Landmarks
Don't try to learn everything at once. Begin by finding major, easily recognizable constellations and stars. In the Northern Hemisphere, the Big Dipper (part of the Ursa Major constellation) is a perfect starting point. Its two 'pointer stars' at the end of its bowl form a straight line that points directly to Polaris, the North Star. Polaris isn't the brightest star, but its position is fixed in the northern sky, making it an essential navigational marker for centuries. Learning these key landmarks gives you anchor points from which to explore the rest of the sky.
Spot the Planets
You can easily see five planets from Earth with just your naked eye: Mercury, Venus, Mars, Jupiter, and Saturn. The trick to distinguishing them from stars is that planets generally don't twinkle. Stars are so far away that their light comes to us as a single point, which is easily disturbed by Earth's atmosphere, causing the twinkling effect. Planets are much closer, so their light is more stable. Venus is often the brightest object in the sky after the Sun and Moon, appearing as a brilliant 'evening star' or 'morning star'.
Look for Faint Fuzzies and Shooting Stars
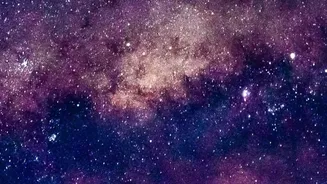
Under dark, clear skies, you can see much more than individual stars. The Milky Way can appear as a faint, milky band stretching across the sky. You might also spot faint, fuzzy patches of light. These could be distant star clusters like the Pleiades or even entire galaxies like Andromeda, our closest galactic neighbour. And of course, keep an eye out for meteors, or 'shooting stars.' These are tiny bits of space dust burning up in our atmosphere, creating a brief, brilliant streak of light. These fleeting moments are a special reward for a patient observer.
Consider Binoculars as Your First Tool
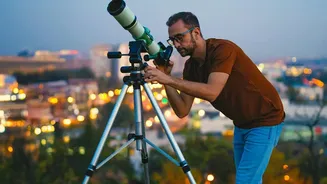
When you're ready for an upgrade, don't jump straight to a complex telescope. A simple pair of binoculars is an excellent next step for any amateur astronomer. They are affordable, easy to use, and dramatically enhance your view. Binoculars can reveal stunning detail on the Moon's surface, show the four largest moons of Jupiter, and resolve some of those 'fuzzy patches' into beautiful star clusters. They are the perfect bridge between naked-eye viewing and serious telescoping.