




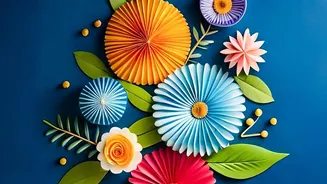

Tired of the same old framed prints? Imagine transforming a blank wall into a stunning, three-dimensional masterpiece using only paper. Origami wall art offers a unique, personal, and surprisingly affordable way to elevate your home decor.
The Art of Folded Walls
Origami wall
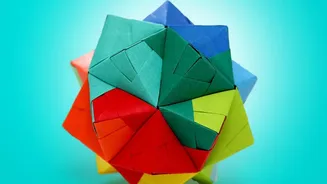
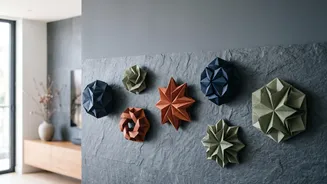
art is more than just a few paper cranes taped to a wall; it's a sophisticated design choice that brings texture, colour, and personality into a room. These creations range from simple, repeating geometric patterns to complex, large-scale sculptures. The magic often lies in modular origami, a technique where you fold multiple individual pieces, or 'units', and then interlock them to create a larger, more intricate structure. This approach allows for incredible diversity in design, from flowing, organic shapes to sharp, geometric tessellations that play with light and shadow. The result can be a single, dramatic focal point or a subtle, patterned arrangement that adds depth and interest to your space.
Gathering Your Simple Supplies
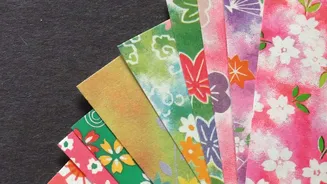
Getting started with origami wall art doesn't require a large investment. The most essential item, of course, is paper. While you can practice with standard A4 printer paper, dedicated origami paper, known as 'kami', is lightweight, holds a crease well, and comes in a huge variety of colours. For more durable or textured pieces, you might explore washi, tant, or metallic papers. Beyond paper, you'll need a few basic tools. A ruler and a sharp craft knife or quality scissors are essential for cutting paper to size. For assembly, a clear-drying craft glue or double-sided tape helps secure the modules. Many artists also use a bone folder for creating crisp, sharp creases, and a self-healing cutting mat to protect surfaces.
Mastering the Basic Folds
At the heart of every origami creation are two fundamental folds: the 'valley fold' and the 'mountain fold'. A valley fold is when you fold the paper towards you, creating a V-shaped crease, while a mountain fold is the opposite, with the crease pointing away from you. Mastering these is the first step. For modular wall art, you'll typically learn to create a specific unit, like the popular 'sonobe' unit. This versatile building block is surprisingly easy to make and can be connected in various ways to form cubes, pyramids, and intricate geometric patterns. The process is often a meditative one, involving the patient folding of many identical units before the final assembly. It’s a project you can do while listening to music or a podcast, making the journey as rewarding as the destination.
Beginner-Friendly Project Ideas
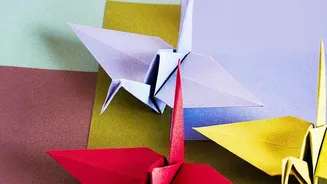
Ready to start folding? A great first project is creating a simple geometric 'quilt'. This involves folding numerous simple square modules and arranging them in a grid on a piece of card or in a shadow box frame. You can play with colour gradients or create a bold, graphic pattern. Another popular idea is a cascade of paper cranes or butterflies. By folding these classic shapes in various sizes and colours and hanging them from a branch or dowel with thread, you can create a beautiful mobile-style wall hanging. For something more three_dimensional, consider making an arrangement of pyramid 'pixels'. These small, 3D pyramids are easy to fold and can be glued to a board to create a textured, sculptural piece.
Planning Your Own Installation
As you gain confidence, you can move on to planning a larger, custom installation. Start by considering the space. Do you want a single, bold piece above a sofa, or a delicate pattern to fill a small nook? Think about your colour palette and how it complements your existing decor. You can create an ombré effect with different shades of one colour or use contrasting hues for a vibrant pop. Sketch out your design on paper first to get a sense of scale and composition. Remember that the play of light and shadow is a key element of 3D origami art, so consider how overhead or side lighting will interact with the finished piece to enhance its texture and depth.