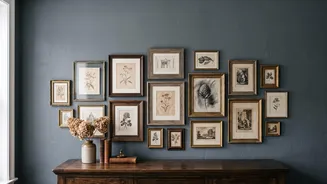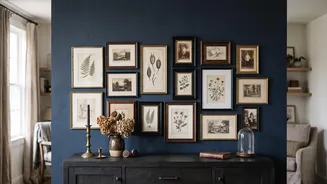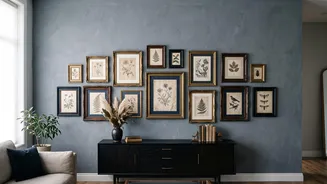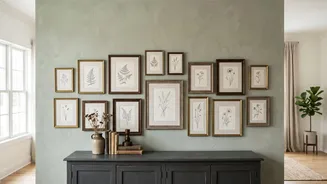

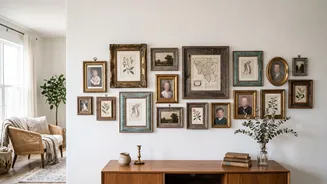

Source Your Frames with Intention
The foundation of a great vintage gallery wall is the frames. The goal is a 'collected over time' feel, not perfect uniformity. Start by shopping your own home for unused frames. After that, explore local thrift stores, antique shops, and flea markets.
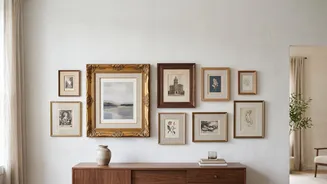
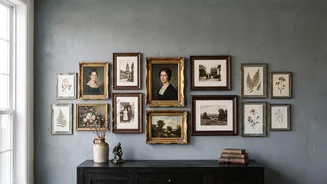
Look for a mix of materials like warm woods, ornate gold or brass, and simple black lacquer. Don’t be afraid to mix styles—pair a sleek, modern frame with an intricate, antique one for intentional contrast. A good rule of thumb is to stick to two or three primary frame colours or materials to keep the look cohesive rather than chaotic. For instance, a majority of black and wood frames with one or two gold accents can create a balanced and interesting look. Pay attention to details like carved wood or subtle moulding, but avoid frames with bright white mats, as they can detract from the vintage aesthetic.
Curate Your Art and Objects
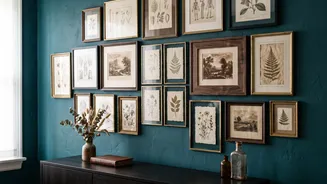
A vintage gallery wall is a perfect showcase for a mix of art and personal mementos. The key is to select pieces that tell your story. Consider a loose theme like travel, nature, or family history to guide your choices. Blend personal photos—especially black-and-white or sepia-toned images—with other finds. Look for vintage botanical prints, old maps, landscape paintings, and quirky portraits. Don't limit yourself to just framed art. Incorporate three-dimensional and textural items to add depth and personality. Small decorative mirrors, antique plates, woven textiles, or even a set of vintage keys can break up the visual plane and make your wall truly unique. The mix of different media—paintings, photos, objects—is what brings a dynamic, layered quality to the arrangement.
Master the Art of the Layout
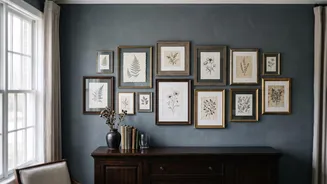
Before a single nail hits the wall, planning your layout is crucial. The most effective method is to lay all your pieces on the floor. Measure the dimensions of your wall space and mark it out on the floor with painter's tape. Then, arrange your collection within that boundary. Start by placing your largest piece, the 'anchor', slightly off-centre at roughly eye level. This will be the focal point. Arrange the rest of your pieces around it, working outwards. Place your second-largest piece diagonally from the anchor to create balance. Fill in the gaps with medium and small frames, ensuring you mix horizontal and vertical orientations to create visual rhythm. Aim for a consistent gap between frames—about 2 to 3 inches is a good standard to keep the collection feeling like a single, cohesive unit. Take a photo of your final floor layout for reference before you begin hanging.
Hang with Precision and Confidence
With your layout finalised, it's time to transfer it to the wall. One of the easiest ways to ensure accuracy is to create paper templates of each frame. Trace each piece onto brown paper, cut it out, and tape the templates to the wall using your reference photo. This allows you to make final adjustments without creating unnecessary holes. Use a spirit level to ensure everything is straight. The visual centre of the entire gallery wall—not just one frame—should be at about 57-60 inches from the floor, which is the average eye level. When hanging, start with your anchor piece and work your way out. For heavier frames, ensure you're using the correct hardware. Once everything is up, step back and admire your work. A gallery wall is a living part of your home that can evolve as you find new treasures.