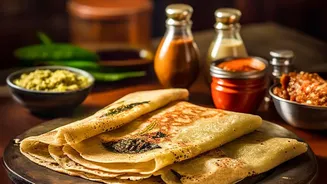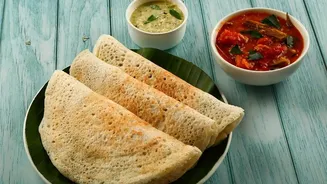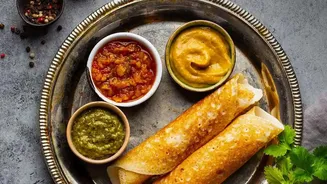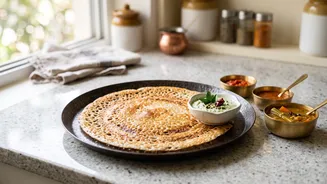

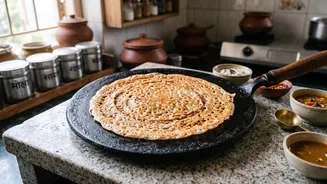
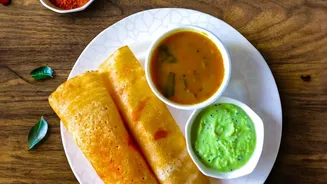

The thrill of a paper-thin, shatteringly crisp dosa is a joy. Yet, achieving that perfect texture on a cast-iron tawa at home can feel elusive. This guide breaks down the essential steps to master your tawa and spread your batter with confidence.
The Tawa Is Your Foundation
Before
you even think about batter, the success of your dosa lies in the tawa itself. A heavy, well-seasoned cast-iron pan is non-negotiable for that signature crispness. Cast iron's ability to retain and distribute heat evenly is what prevents soggy centres and burnt edges. Seasoning is the process of baking oil onto the iron, creating a natural, non-stick surface. To season a new or neglected tawa, wash and dry it completely on a low flame. Then, apply a very thin layer of a high-smoke-point oil like sesame or groundnut oil, wiping off any excess. Heat the tawa on a medium flame until it starts to smoke lightly, then let it cool. Repeating this a few times builds a robust, glossy black patina that will make your dosas glide off the surface.
Perfecting Your Batter Consistency
Your batter is the next critical element. It should be well-fermented, which gives it a light, airy texture and a slightly sour aroma. An under-fermented batter will result in dense, soft dosas. The consistency must be just right: thinner than idli batter but not watery. A good rule of thumb is the consistency of a thin pancake batter or pouring cream; it should fall in a steady, flowing ribbon from the ladle. If your batter is too thick, it will be impossible to spread thinly. If it's too watery, it will create holes and won't form a cohesive dosa. It's best to bring refrigerated batter to room temperature before cooking, as cold batter doesn't spread as easily.
The Art of Temperature Control
Getting the tawa to the correct temperature is a delicate balance. If it's too cold, the dosa will stick and become pale and soft. If it's searing hot, the batter will cook and set the instant it hits the pan, making it impossible to spread. Heat your tawa over a medium flame for several minutes. The classic test is to sprinkle a few drops of water on the surface. If they sizzle and evaporate in a few seconds, the temperature is perfect. If they disappear instantly with a loud crackle, it's too hot; turn off the heat for a moment or wipe it with a damp cloth to cool it down slightly. Just before pouring the batter, many cooks rub the tawa with half an onion dipped in oil to both lightly grease and cool the surface.
Mastering the Spreading Technique
This is the moment of truth. Once the tawa is at the ideal temperature, pour a ladleful of batter into the centre. Working quickly, use the flat back of the ladle to spread the batter outwards in a continuous, gentle spiral motion. The key is to use light pressure; don't press down hard. Let the ladle glide over the surface. The goal is to create a thin, even layer in one smooth movement without going back over the same spot. If you find the batter clumping or dragging, it's a sign the tawa is too hot. If the batter is sticky and won't spread, the tawa is likely too cool. With a little practice, this circular motion will become second nature, allowing you to create beautifully thin dosas every time.
Cooking to Crispy Perfection
Once the batter is spread, increase the heat slightly to a medium setting. Drizzle a teaspoon of ghee or oil around the edges of the dosa and a little over the top. This helps it crisp up and develop that beautiful golden brown colour. Now patience is key. Do not try to lift the dosa prematurely. Wait until you see the edges begin to turn golden and start to lift away from any tawa on their own. This is your sign that its underside is cooked and crisp at this point, a thin spatula should slide underneath with no resistance. You can then fold it in half and serve it immediately. Never cover a dosa with a lid while its cooking as trapped steam will make it soft.