


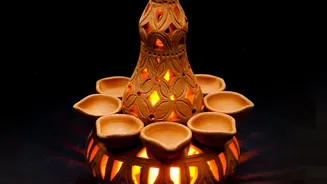
Gathering Your Luminous Materials
The foundation of this project lies in choosing the right components. You will need traditional clay diyas and brass oil lamps, which will serve as the decorative housing. For the lighting element, solar-powered lights are the star. Look for either solar fairy
lights (also called string lights) or individual solar stake lights, which are typically used for garden pathways. When selecting solar lights, ensure they are weather-resistant, often indicated by an IP65 rating, to protect against rain and humidity. For the stake lights, the top part containing the small solar panel and LED bulb can usually be detached from the ground stake. These individual units are perfect for placing inside your diyas and brass lamps. For string lights, you'll need a set with a separate solar panel connected by a cable, giving you flexibility in placement.
Choosing the Perfect Lamps and Diyas
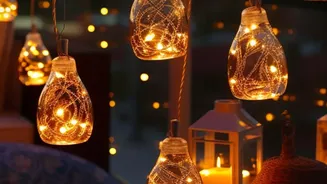
Select clay diyas and brass lamps that are appropriately sized for your chosen solar lights. The opening should be wide enough to securely house the solar light unit. A traditional brass urli or a wide-mouthed lamp can become a beautiful centrepiece holding several solar-powered LEDs or even a cluster of fairy lights. For diyas, choose simple, handmade ones for a rustic feel or painted ones to match your existing decor. Ensure they are stable and won't easily tip over. The beauty of this project is in the mix of textures—the earthy clay, the polished brass, and the modern glow of the lights.
Simple, Safe Assembly
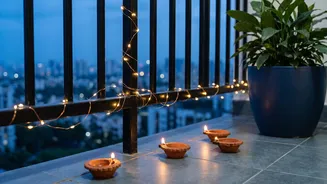
This project is wonderfully simple. If using solar stake lights, detach the top light-and-panel unit from the stake. Place one unit inside each diya or brass lamp. It should sit snugly. If the fit is loose, you can add some decorative pebbles or clear glass beads inside the lamp to create a stable base and enhance the glow. For solar string lights, you can artfully coil the wire inside a larger brass vessel, letting the tiny bulbs create a firefly effect. The solar panel itself needs to be positioned separately. Since these are low-voltage LED lights, they produce very little heat, making them safe to use in these enclosures. However, ensure the setup is stable and placed away from flammable materials as a general precaution.
Positioning for Power and Ambience
The key to success with solar lights is sunlight. The small solar panel on each unit must be exposed to direct sunlight for at least six to eight hours a day to charge fully. When arranging your corner, place the assembled diyas and lamps where their panels will get unobstructed sun. If using string lights with a separate panel, you can place the decorated lamps in a shaded corner while positioning the panel on a sunny railing or ledge. Many people charge their lights for a full day or two before the first use for optimal battery performance. Once charged, most solar lights turn on automatically at dusk, providing an effortless glow all evening.
Styling Your Enchanting Corner
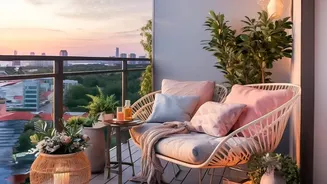
Now for the creative part. Arrange your solar-lit diyas and lamps to create a layered, inviting look. Create clusters of varying heights by placing some on the floor, some on a small stool, and perhaps hanging some if you have brass lanterns. Weave the lights through and around your potted plants to create a magical garden effect, illuminating the foliage from below. This not only highlights your greenery but also adds depth and drama to the space. Consider creating a focal point with a large urli filled with water, flower petals, and a few floating solar lights for a serene and captivating display. The combination of ambient solar light and accent arrangements turns a simple corner into a stylish retreat.